The moral of this post should be - trust your first instinct!
Everyone has a book rolling around in their head, right? Not the one you're reading, I mean the one you intend to write. I've had one that I started writing in my head a while ago, the gist of it is "seat of the pants" woodworking. Designing by doing. I do it all the time.
When I finished building the first dining table base a few weeks ago, I wasn't 100% sold on it. Don't get me wrong, it's gorgeous. It just doesn't "fit" in my home. So I hopped back on the saw and started building the base I should have been building all along.
I love Craig Vandall Stevens' book - Creating Coffee Tables: An Artistic Approach. His work is innovative and fresh, and I've been thinking about his legs ever since I read it. Well, not his legs; his table legs. Five sided and gorgeous.
I started by laminating some leg blanks, bookmatching the wood so that the grain would look amazing.

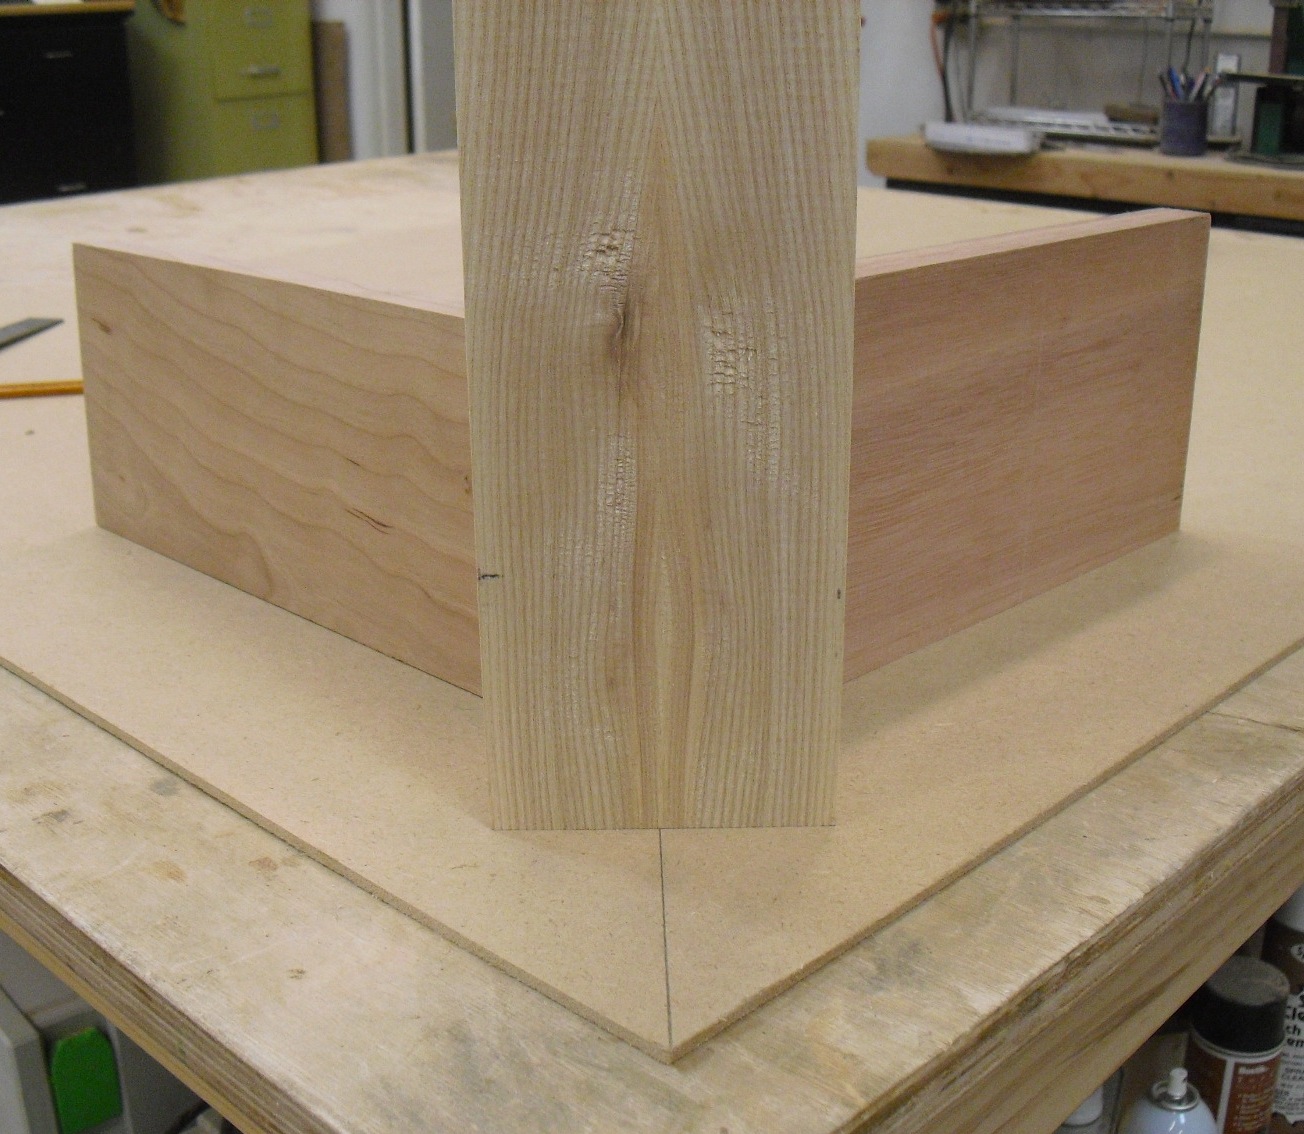
Next step was to start cutting the blanks, to create a square inside corner.


Once they're all cut, you can see how they will form the table base, which will connect via the aprons.

I checked their squareness,

and then found a scrap of plywood to play around with the amount of overhang that I wanted. This will determine the length of the aprons.

Working with a leg shaped like this is a bit of a challenge that can come back to haunt you. So it's really helpful to play with your design before you start cutting anything.
This line represents the center of my leg, and helps establish the exact position of the leg when everything is assembled.

Here, a couple of scraps of 1x4 simulate what the aprons will look like.
Notice how the leg is centered on that line, keeping the leg at its proper angle.

These legs are so gorgeous, I want to bring position them pretty close to the edge of the table top, instead of tucking them back under the table top. I use a couple of set-up blocks to set the proper overhang.

And then roughly mark the mortise locations.

Luckily, these clamp quite nicely in the mortiser, despite their awkward shape.

(Thanks, Lupe)

Perfect mortises


Before I get started on the aprons, I reposition the legs just like they will be oriented when the base is assembled. It might sound crazy, but the are subtle differences in the legs, and I want to control that. Laying them out and numbering helps accomplish that.

A few scraps of baltic birch plywood help me figure out the length of the tenons.


My next step will be to work on the aprons, but while I'm figuring those out in my head, I'll finish up the legs. Originally, I'd planned on rounding that front edge into a large gentle curve. Since I didn't have a shaper bit that large, nor the courage to use it, if I did have one, I decided to cut an angle the legs, and then finish up the rest of that curve with a sander.
Hot damn, indeed!
This is the base I should have made the first time! Remember, trust your instincts!
2 comments:
I keep reading/watching your posts and find myself wishing I was hanging out in your shop absorbing all of this first hand! Looking forward to seeing your new table!
I am a subscriber of your blog and I love to read and surf all your woodworking stuffs you share. Keep it up.
Post a Comment