It's not glamorous, but it IS pretty satisfying doing a little maintenance on some of the tools around the shop.
In the past few weeks, I've replaced a few motor belts, sanded a few tablesaw tops, and generally tried to get the school in shape for the upcoming summer session. As one might guess - this maintenance is never-ending.
But oddly enough - I enjoy it. When I put on some music and pull out a tool manual, it's time for a little R&R. That doesn't stand for "rest and relaxation" - in this case, it stands for "remove and replace."
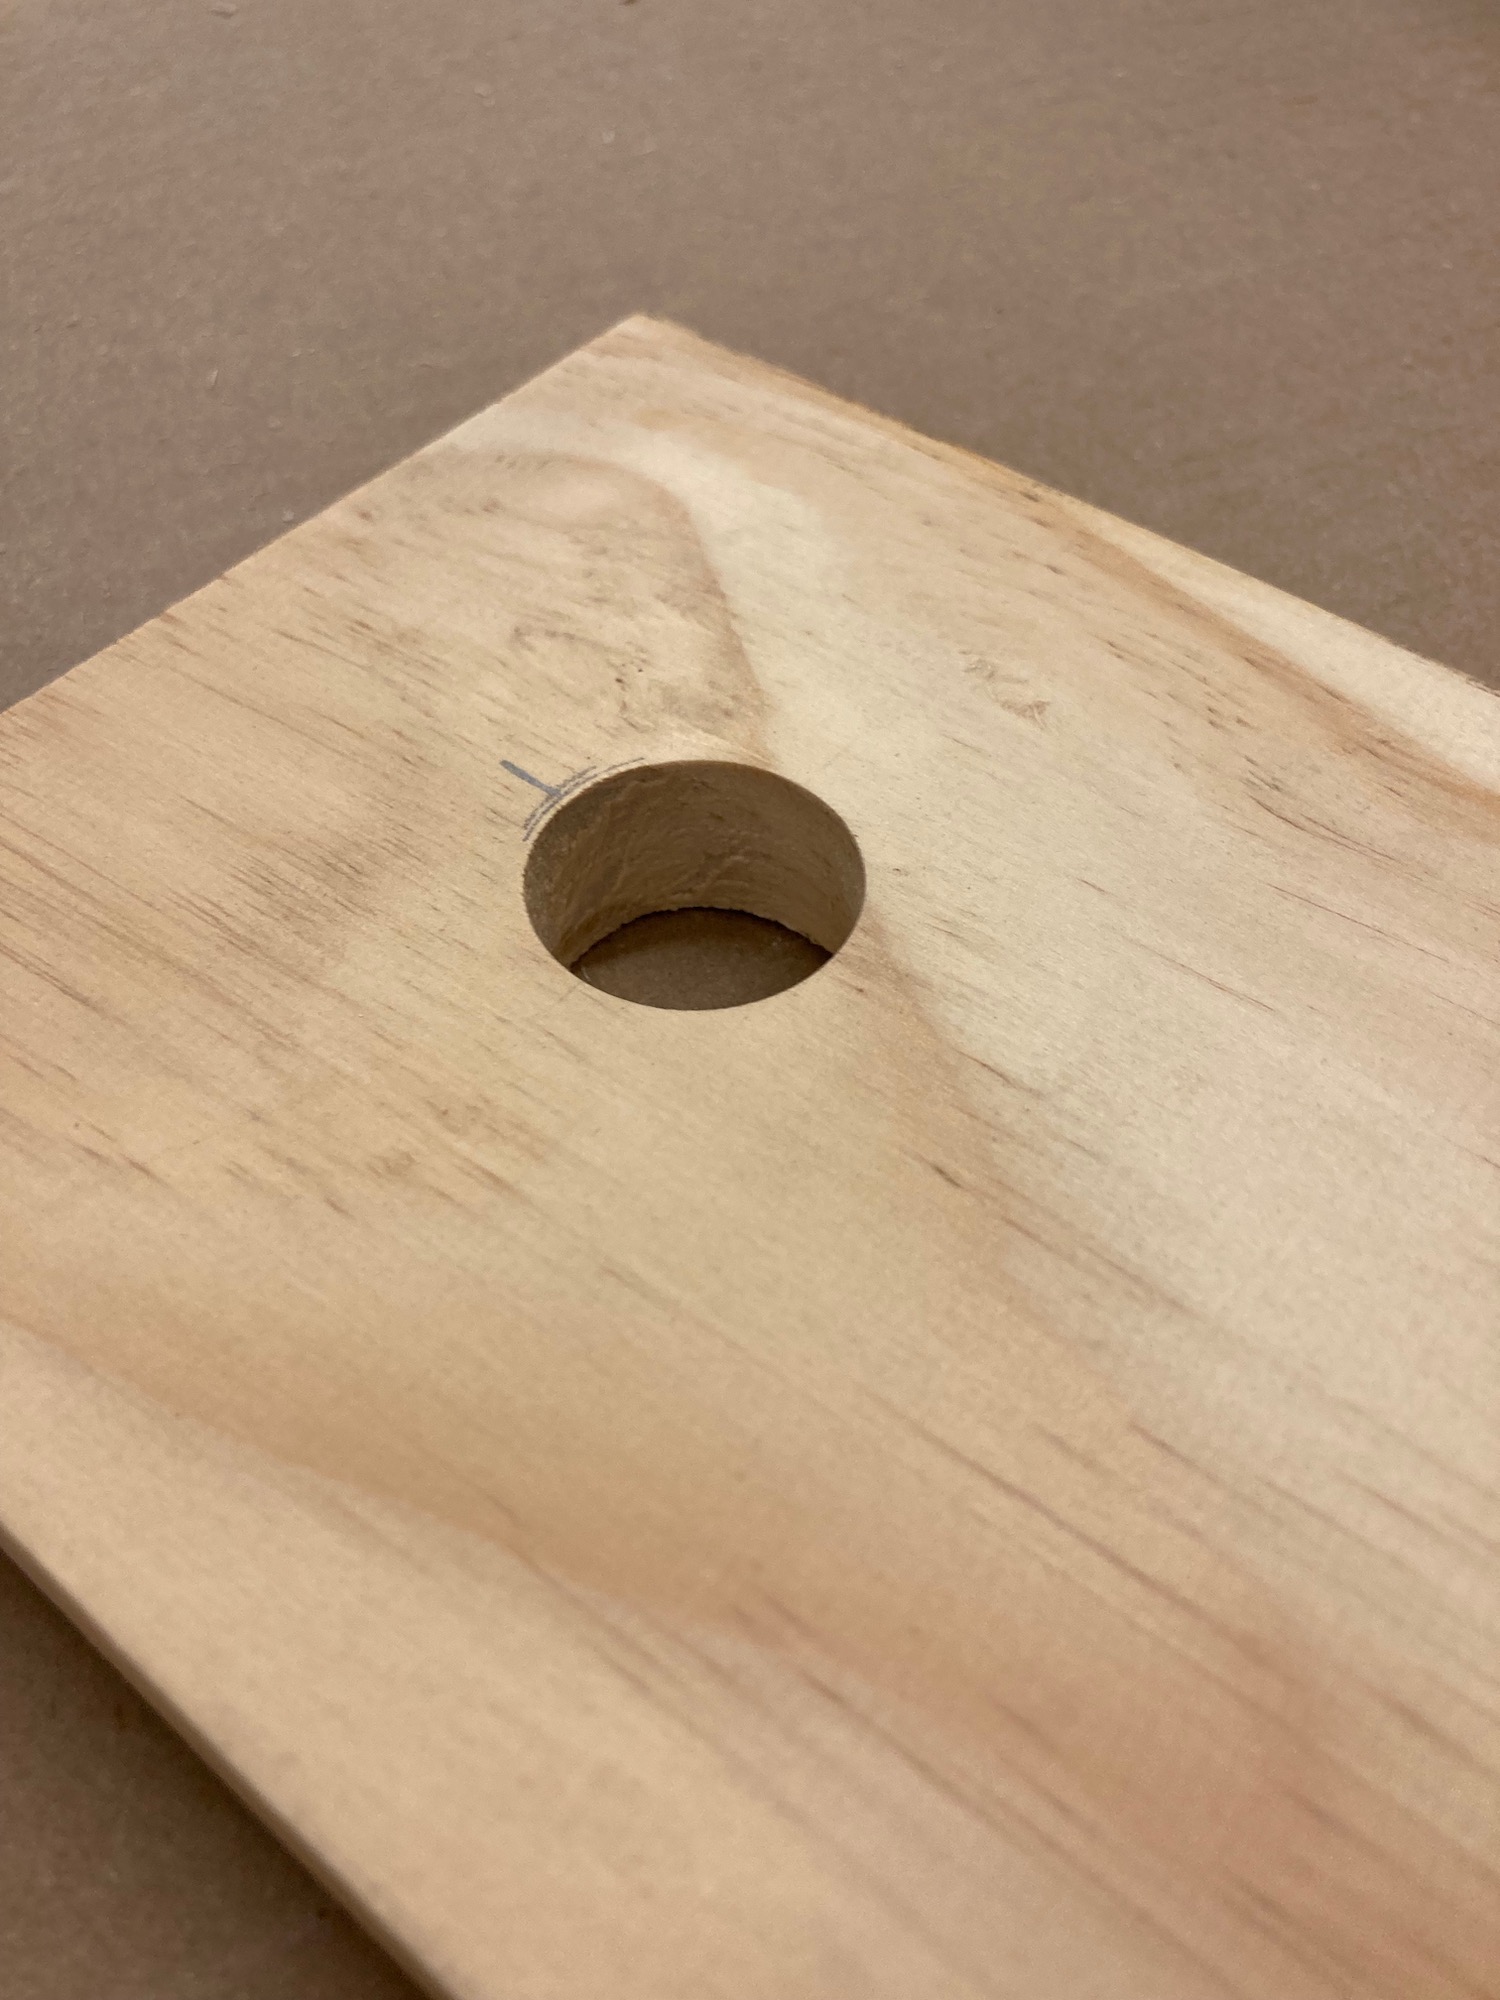
The 24" Bridgewood planer's knives needed some attention,
mostly due to nicks like this.
The nicks are a little hard to see, but those nicks make grooves across boards when they're run through the planer. And the quality of the cut is a little fuzzy, leaving the boards in need of more sanding.
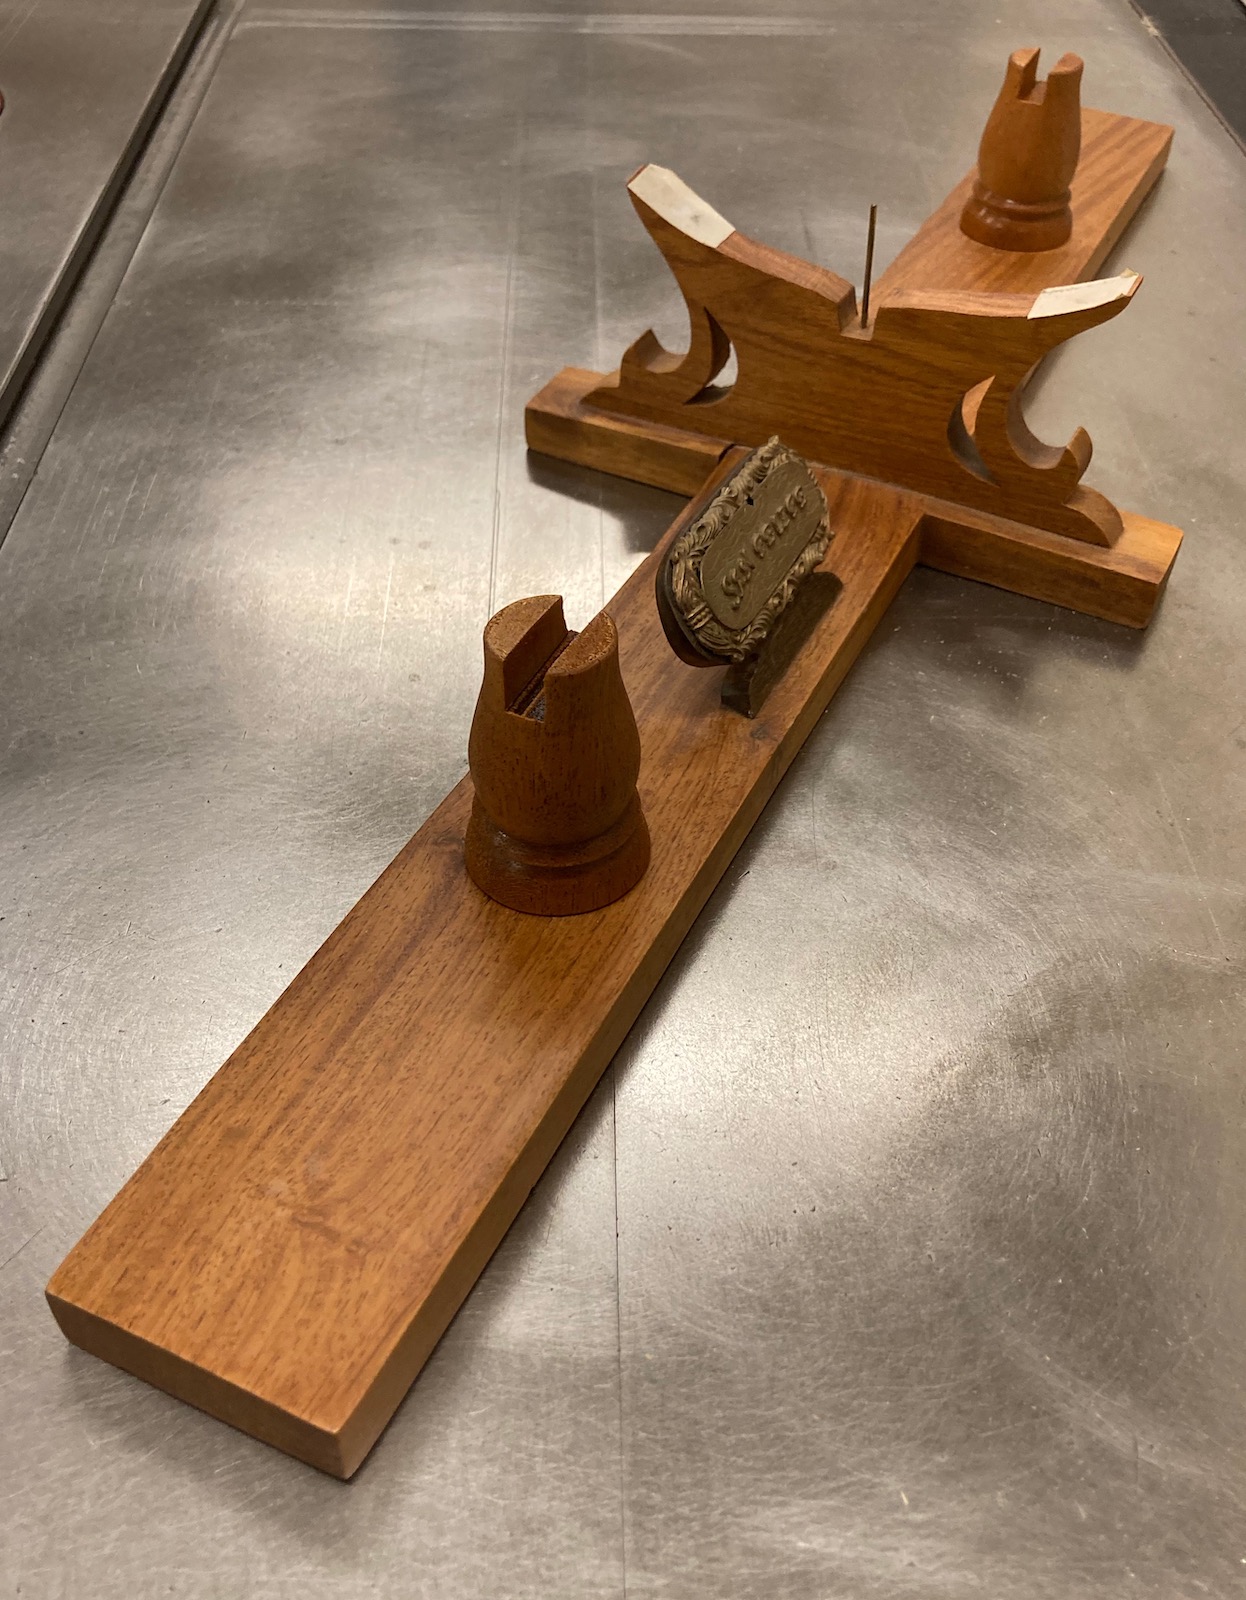
Good news is - this maintenance really only takes three tools. Well, four if you count the manual.
Some needle nose pliers, a wrench, and the knife press gauge that came with the planer.
Lifting up the top cover exposes the cutterhead.
Over the years, I've made some notes inside the planer,
like the size of the wrench needed, and which direction tightens or loosens the gib bolts.
When your hands are full and you're juggling a few things, and holding a razor sharp knife, it's nice to have this info right in front of you.
By the way, I would NEVER attempt changing the knives without gloves. In this video, I've loosened all of the gib nuts and am taking the knives out. Before you start blowing all of the dust out of the cutterhead, make sure you remove the springs that sit below the knives.
Reinstalling the knives is a breeze with this knife press gauge.
Simply put the springs back into their little slots, slip the gib and one knife back into place, and then place the press gauge over the knife.
It will gently lower the knife to the correct height while you tighten the bolts. There's no guessing, but if it's your first time, you may want an extra set of hands. I tighten the two outside bolts first, to get the knife locked into place at the correct height. Once you have it set at the right height, just go back and tighten all the rest of the bolts and you're done.
Honestly it takes about ten minutes per knife to take one out, blow the area clean, and reinstall it at the correct height. It almost took me longer to write this post than it did to change all three knives... about a half hour, with some extra minutes used for shooting photos and the video.
BTW, over the years, I've had many people write to me, asking for a copy of the BRIDGEWOOD manual. If you need a PDF of it, email me at jamie@wooditis.com and I'd be happy to email a copy to you.