Monday, September 30, 2013

Dining Room Chairs - some final shaping and assembly


All the components for this chair are cut, and everything is done except for some last minute shaping, sanding and assembling.


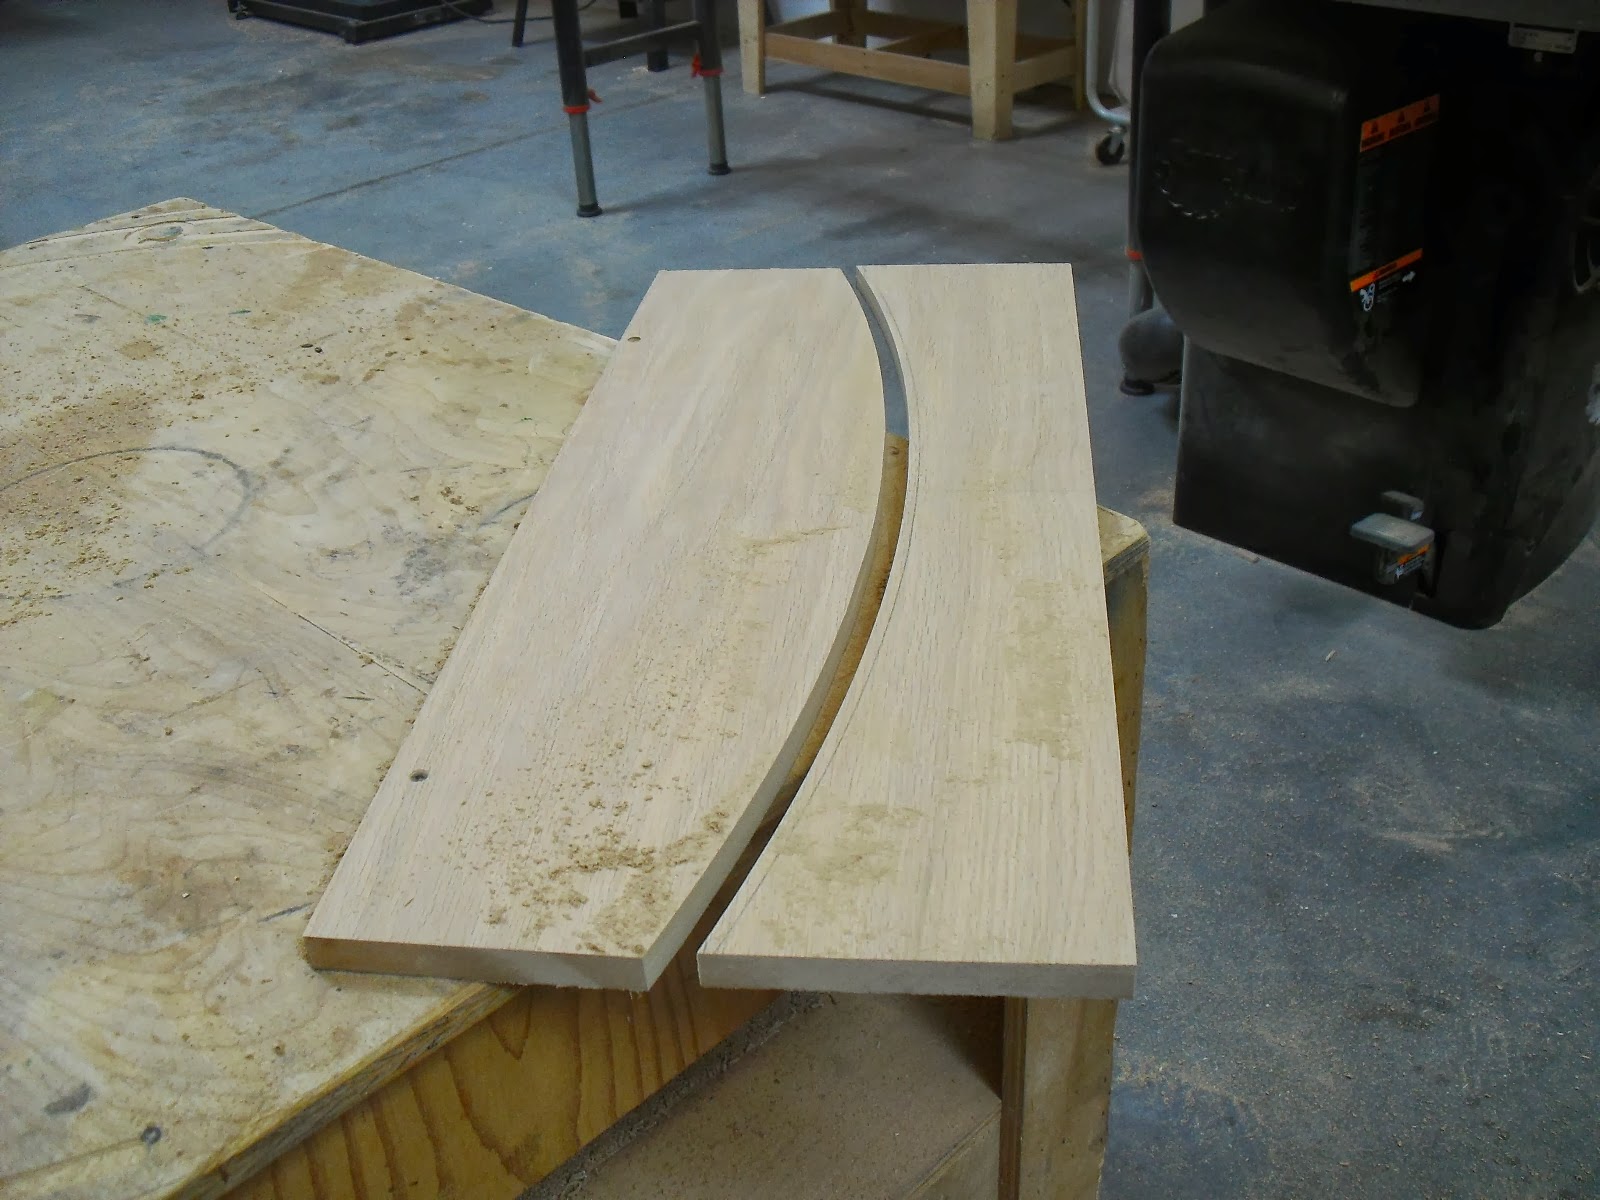
The seat needs to be curved, 


so it was time to pull out my drawing bow from Lee Valley. 


I love this tool, I use it all the time when drawing big broad curves.


After drawing everything, I took it to the bandsaw and sliced these curves into the seat. The upright sander smoothed all the cuts out, and now it's gorgeous.


The last detail I have to consider is the top profile of the posts for the front and back legs. 


I played around on a piece of scrap,  I like this chamfered top, but I know that when I sit in chairs, I usually have my arm draped over the top rail of the chair. So I think that sharp edges like this might be uncomfortable.


Honestly I wasted two hours futzing around with this top detail and in the end - I really think that just a simple rounded edge would be the best thing for this top. Rounded edges usually aren't my first choice.

I'll probably get some flack about saying that, but round-over bits seem to be the first bit that new wood workers employ, and they put that profile on every single thing that they make for the next 16 years.  So I tend to avoid that edge, unless there is a reason to use it. In this case - there is. 


On a totally unrelated note – as I was sanding my seat blank, I kept seeing this little grayish-silver spot in the wood. I thought it was a mark from my pencil, but it wouldn't sand out. My buddy Dan suggested it might be a carbide tooth from my Forrest blade, stuck in the wood from using that seat scooping jig. But I put a magnet next to it, and it wasn't carbide. The magnet wasn't attracted to it at all.

A little digging.... I think it's a piece of lead. It's soft, for one thing. Magnets are only attracted to iron, cobalt and nickle, or their biproducts, but lead isn't one of them. And - all woodworkers know that you will occasionally find metal (lead) in wood, because people shoot at targets on trees. 

I think I'm going to leave the lead in the seat - a nice reminder of this tree's past life. 


Friday, September 27, 2013

Making a dining chair - part three

Maybe I'm turning into an old geezer, but every time someone talks to me about the "newest and greatest" thing in woodworking gear - my eyes glaze over. People bring up everything under the sun - helical cutters heads, router lifts, silicone glue brushes, Micro-Jig push blocks, blah, blah, blah .... what ever happened to just doing woodworking? Without wasting your money?

So when I need a compass attachment for my router - I pull out my very fancy circle cutting jig (eye roll) - a piece of plywood with a router base attached to it. I've cut circles with this set-up for 30 years. In fact, that piece of plywood might be the original one - a thirty year old piece of plywood. 


I'm getting ready to make the jig for curving the seat backs, and I need a set of rails for the it. The radius for these rails is about 45"


 so I set up the jig to cut these rails on a low workbench at the shop. 


When finished, I'll have two matching sets of rails -


 both the convex and the concave sides. 


 Here's the seat back that I want to curve - and yes, I could use a bandsaw to do this. But I don't love the bandsaw for work like this - the blade can potentially drift, and I like things exact. 


 Many years ago, I saw Tage Frid demonstrate how to use a jig like this for machining curves - and I had to wrack my brain to remember how he put the jig together. 


There wasn't anything available on the web to jog my memory, so I pulled out a few of his old books, hoping I would find something. No luck. 

So I sat down with my sketchbook and tried to come up with something that would work, based on what I'd seen him do 25 years ago... and I actually was able to remember most of it.

That's pretty good, coming from someone who can barely remember what she wore yesterday, or had for dinner two nights ago. 

Here's the jig with the seat back held firmly in the center.


 The router has runners attached to the bottom of it, to ride along those side rails. 


 And here's how it worked!


 After I'd cut the concave side, I switched out the rails and routed the convex side, which gave me a perfectly shaped seat back. 


It's sort of a rite of passage to build the stool that Tage Frid discusses in his Furniture making books, so I built this set a long time ago.


 Using this jig would have come in very handy, but instead, I shaped these seats by hand. The two dining chairs are nearly complete - I need to do some shaping and routing, but they should be ready to assemble in no time! 


Tuesday, September 24, 2013

Making a dining chair - part two

Once the seat was scooped, it was time to start thinking about the legs. I actually propped the seat on a shop stool to just see how it felt on my rear end. 

It felt great! I'd made a couple of sample legs, to test how they fit into those notches on the seat and to experiment with the back angle. 


I'd decided decided on a 15° angle. So I dug out a nice piece of Ash and started laying them out. 


It's a little bit tricky, but if you're careful you can actually nest two pieces side-by-side and get two pieces out of a board that's about 7 inches wide. 


Which is what I did here.


Once the first piece is cut away, you can use the same fence setting to cut your second piece. You have to be careful that you don't intersect the two cuts with each other, or you'll get an overcut. 

Which is why they're connected on that center piece. I finished that cut using the bandsaw.


Using a dado blade, I cut the notches that fit around that seat blank. They fit in perfectly, and a clamp allowed me to actually sit on the chair.


 Carefully.


 These chairs match a dining room table that I made a while ago, and the legs on that table have six sides.  I wanted to match the legs of this chair with that table, so I took out a hand plane and shaped profiles that I needed. 

What?!

No, I didn't use a hand plane. Luckily I had a 30° chamfer bit for the router.  


 The last thing I did was cut some stretchers to go between the legs. Yes - I could've cut mortise and tenons to tie everything together, but I decided that to use the Festool Domino and employ floating tenons. The Domino is perfect for something like this... 

...and now it's time to start curving the back. I'll be using an old trick of Tage Frids - stay tuned!

Thursday, September 19, 2013

Juggling another cool commission...

Who gets the coolest commissions ever? 

I do! 

A juggler recently contacted me about making some spools - which are things he uses in his act. They sort of look like a wooden dumbbell, and he paints them in bright colors, and adds suede to each end, which (I guess) makes the ends "stickier" and able to grip each other. 

Honestly, I wasn't even sure I could make these spools efficiently - but once I made a prototype - I thought - no problema, chica!

The spool he brought to me was solid wood - probably Basswood, but I thought laminating Baltic Birch plywood was a better solution. Each end of the dumbbell was about 2" thick, with a massive dowel connecting them, so I laminated a long beam of BB plywood. 


Once it was dry, I squared it up, and cut it into blocks.


I needed to find the center of each of these blocks, so I made a simple jig for marking the centers. 


When the jig was slipped over a block,


I could mark the center and then - using a compass, mark the area to be sliced away. 


Here's a block sitting next to the prototype I made. To make things much easier, 


I tilted the table on the bandsaw, and sliced each block roughly to shape.


They didn't have to be perfect, but this saves a lot of time and work on the lathe. 


Or course, the bandsaw blade fell off the wheel when I got to the last two! It always seems to work that way in the shop.


Here are all 24 ends ready for drilling.


My plan was to drill each end and insert a large dowel, which would be turned down to its final size on the lathe. 


Everything was made oversize, giving me more than enough material to remove.


The dowels were then cut to length, and inserted into each block, making the dumbbell blanks.


 I glued each one in place, and used a long screw to secure and clamp the ends together.


Honestly - orders like this are challenging and rather enjoyable - they keep me on my toes, woodworking-wise. 


Two down, ten more to go. 


 The nice part about Baltic Birch plywood is that there are virtually no voids. When I found a small gap, it was easily filled.


 Four more to go...


 And finally - a dozen spools, ready for painting. 


I was holding onto this post for a while, hoping to include a link that would show this performer using some of these spools in his juggling act - but I just couldn't locate a video of him. 

Meanwhile, I searched Youtube for a video of someone using spools like these - and the closest thing I came up with is this video. At around 1:30 into this video, you'll see this juggler using spools similar to these that I've made. 

I think mine are nicer!