Wednesday, November 30, 2011

It's always something....

When you have as many people using your tools as I do, things are bound to break. Or wear out. Or get dull. Or...you get the idea.


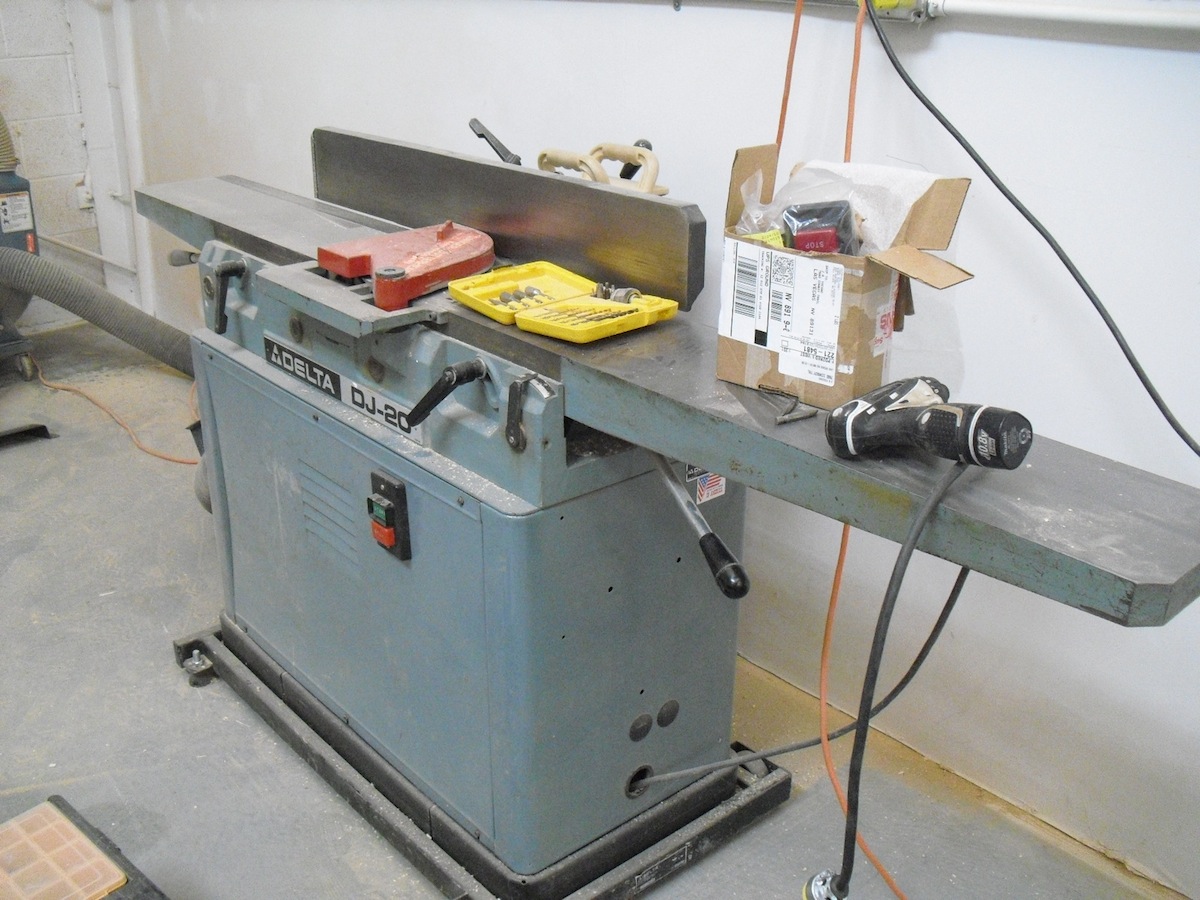
So when the switch on one of the jointers started acting up - it wasn't like I could call my local tool repairman to come over and fix it. Ummm... I'm the tool repairer.

Of course, I was just guessing it was the switch, and not the motor. That would be really bad.


I started by pulling the switch cover off,


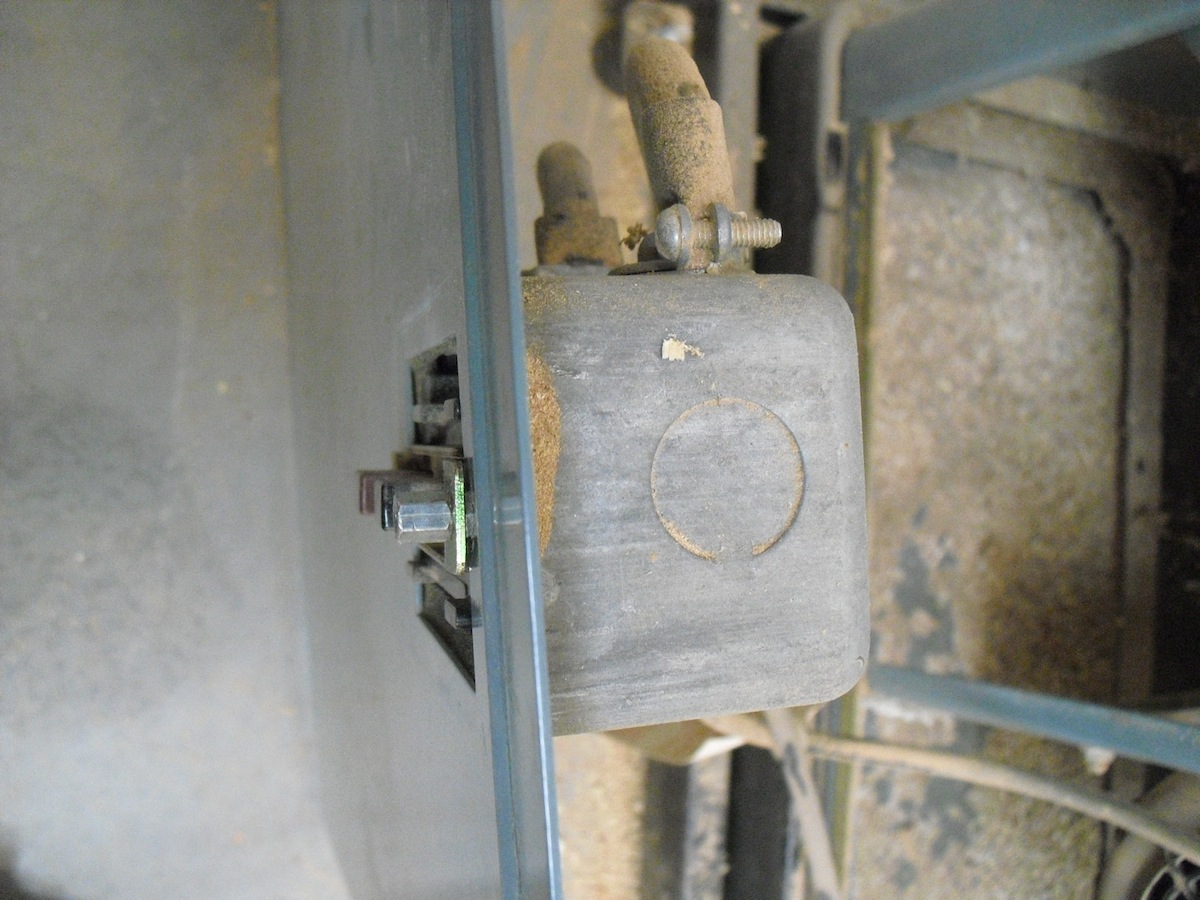
but then I realized that I'd have to go a step further and remove the whole front of the machine.


Here is what I'm looking for - the switch box.


One thing I've learned (the hard way) is to label everything before disconnecting a single wire.


Once everything was tagged, I removed the switch and bypassed it, by connecting both black wires together, and both white wires together. If you don't want a permanent hair perm, it's best to unplug the machine first.


After the switch was bypassed and the wires connected with wire nuts, I plugged the machine in. As I suspected - it started up just fine. About a half hour later, I'd located a replacement switch online, and ordered it.

Gotta love the internet! The part arrived a few days later.


Getting ready to install it - but first -


I added some connectors to the ends of the wires, to make the connection more secure.


Out with the old, in with the new.


If you're going to own tools like these, you might as well learn to repair them yourself. It's difficult to find anyone to repair them, and who wants to spend money on that, anyway?

But - the best part? It's actually fun to repair them. That may sound stupid, but it's a nice break from working with wood all the time. And the sense of accomplishment is pretty great, too.

Monday, November 28, 2011

Adding tile to wood

Classes are on a short break right now, which gives me some solid blocks of time to catch up on holiday orders. Last year, I overextended myself and I was miserable! So I vowed to lighten my load a little bit. I'm thrilled that I remembered to do that this year!

I've been working on a large mirror, and my clients wanted to add a small section of tile in the mirror frame, to tie it in with some other pieces in their home. They chose a gorgeous glass tile that has some texture in it; it looks amazing next to the African Mahogany that I used to build the frame.

But textured tile can often be tricky to work with - as the grout can get into the texture and ruin the look of the piece.

Here is the mirror with the grout drying - the area is masked off so that the grout doesn't stain the wood.


Once the grout dries, I uses a small piece of burlap to wipe off the residue. It helps to do this over a trash can, so all the dried bits of grout simply fall into it.


It is a little hard to see here, but the grout has infiltrated the texture, and needs to be removed. This is when I pull out my secret weapon -


a small section of dowel rod.

Sharpen one end in a pencil sharpener,


so that you get a pointy end.

Then - using that end, you can dig the grout out of the cracks. The dowel is much kinder to the tile than using a nail or something sharp that can scratch it.


Once - I used a pencil to do this, and ended up having to go back and wipe out graphite from the area that I was cleaning. Take it from me - don't use a pencil, no matter how handy it might seem.


An here is the finished tiled area - it's gorgeous!

The mirror is done and awaiting pick up - so I'm on to my next project - and this one is a doozy! I'll give you one hint -


Friday, November 25, 2011

you know you're a woodworker when...

Even though Fall officially ended a while ago, it is just starting to feel like it here. The leaves finally fell from the trees, covering the deck.


The garden was still raging, but with cooler temps coming, I decided it was time to pull everything out. I didn't want to do this when it's 45˚ and rainy outside, so better now than later.

I cut the artichoke plants down a month ago, covering them with mulch. We've had such nice weather that they've spurted right back out the top of the mulch.


Peppers are easy - just rinse them,


clean them and pop them right in the freezer.


Of course, it helps if you have a garden assistant.


Eggplant has become one of my favorite vegetables - they grow like weeds.


And there's nothing like grilled eggplant to make you feel like you're eating healthy.


After the garden was relieved of it's duty, it was time to move on to a more pressing chore - assembling the new saw. Yes, I bought another SawStop.


SawStop makes three different versions of their saw; this is the Mama (medium sized) version. After assembling two of them already, I thought that things would go more smoothly this time around.

But after snapping a bolt in half while assembling the mobile base, I knew things weren't going to go so well.

In fact - you know you're a woodworker when you have SawStop's tech support number on speed-dial.


It's a good thing there are lots of other things I can work on until that bolt arrives!

I have a few commissions to complete before Christmas arrives, so you'll know where to find me!


Tuesday, November 22, 2011

Adirondack Chairs

We just finished a terrific class on building Adirondack chairs - and I couldn't be more proud of the chairs that everyone built. I used to offer this class every summer in Ohio, and it was quite popular. But - here in the desert? Most locals don't know what an Adirondack chair is, let alone how to pronounce it!

The plans are based on this book, which I think is one of the best on the subject.


Most of the people in this class had a few classes under their belt, so they felt pretty comfortable with the building process. Still, there were a few new techniques that challenged them.

We started with the chair base; here they are, lined up after class.


Next came the backs; everyone had an opportunity to put their own spin on their chairs.


Once the back and base were finished, things started progressing pretty quickly.


One of the bigger challenges in this class was plugging all the screw holes. Everyone in the class became quite skilled with a mallet and chisel. Or not.


I built my chair out of lyptus - remind me to think twice about it, if I decide to use lyptus again! It's heavy and I'm allergic to it. A nasty splinter I got on the first day of class still hasn't healed.


But it sure is pretty!

Stella and I had to try it out, even though I hadn't attached the arms yet.


It was a joy to watch everyone's chair parts turn into a complete chair. This chair was modeled on a photo that one student brought in. Her back was dramatic and - simply gorgeous!


Smiling while plugging holes is a good sign!


The most rewarding thing is to see the look of accomplishment on everyone's face.


Last minute plugging before the class presented their chairs at the monthly Sin City Woodworkers meeting.


Having this much fun in a class ought to be illegal! This group effort was an amazing thing to experience. Not only did they go home with some gorgeous chairs, but they really proved something to themselves about their woodworking skills.

Congrats to everyone on their amazing accomplishment! You should all be quite proud. I know I am!