Saturday, December 17, 2022

Supply chain issues

These holidays feel ever so slightly more sane than in the past - and I appreciate the slower pace. 

Sure, people still want the things that they've ordered ASAP. But I've long given up on the idea of promising that something will be done by a certain date. Deadlines take on a different meaning when you are partially retired.

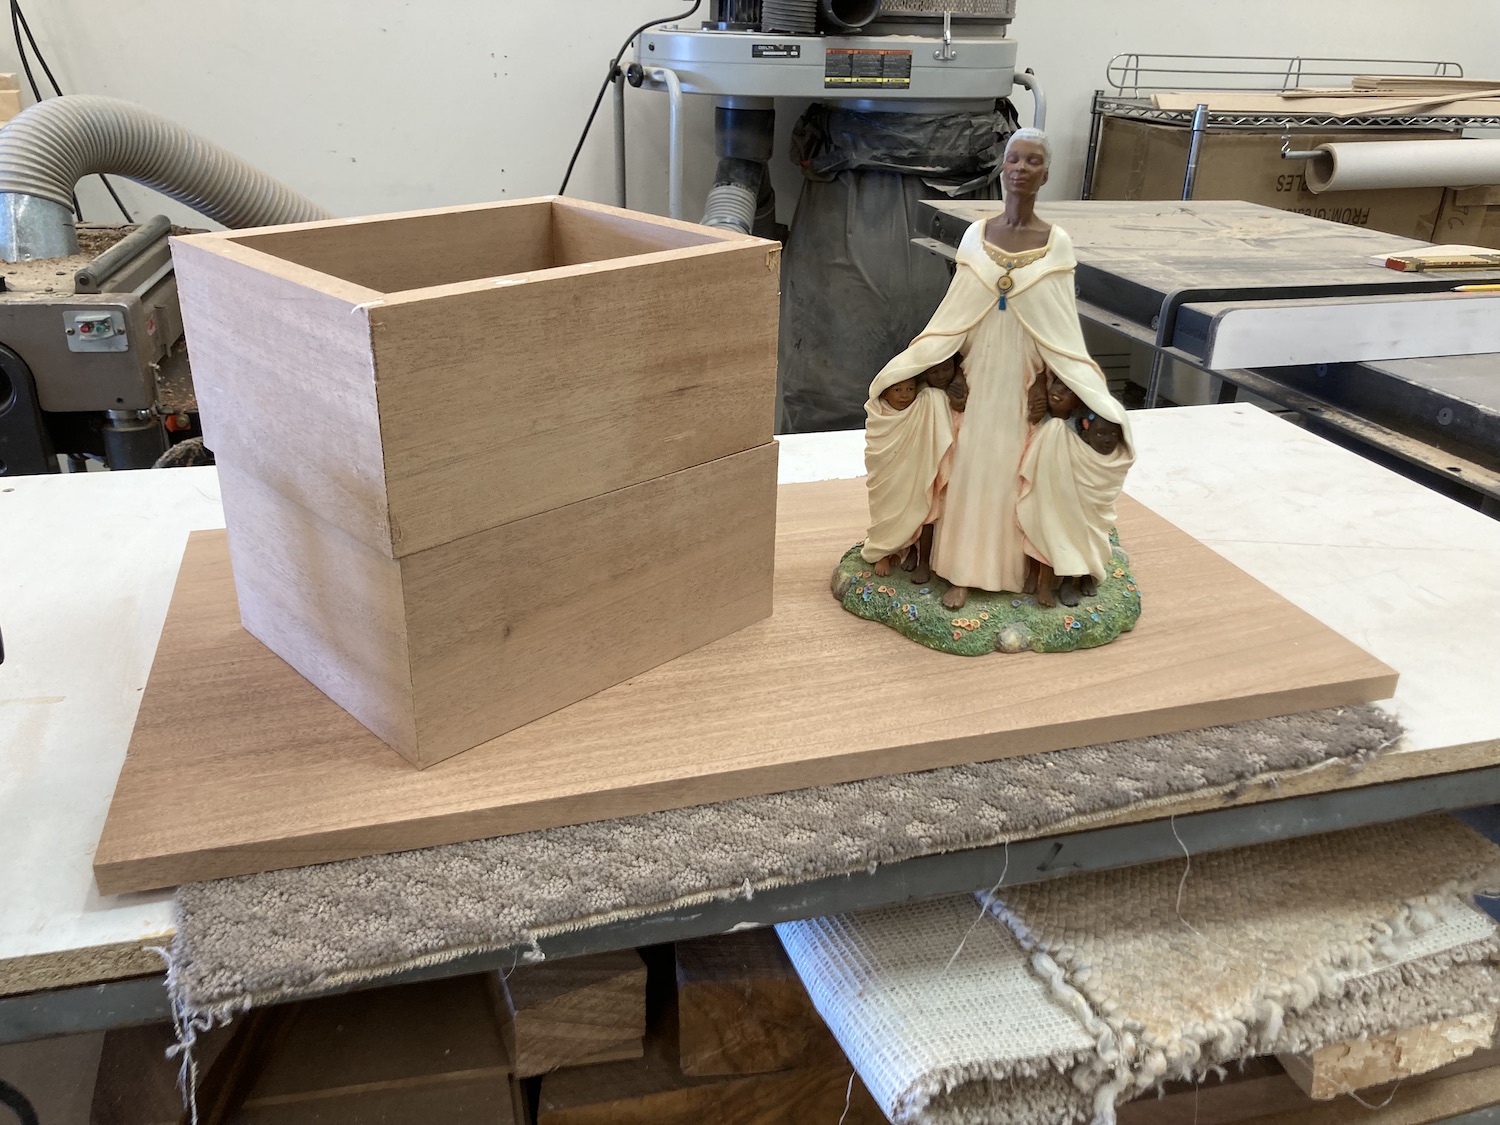
Lately - some of the materials and supplies that I need are unavailable. It took me three trips to the lumberyard to get a few boards of walnut for an upcoming project.  I'm OK with that - the world isn't going to fall apart if there is a delay.  

All this means I get to build on a slower pace, a more deliberate one. I've quit counting my hours on any given piece, and just enjoy the process. It's really a lovely slamming of the brakes, and I highly recommend it to anyone feeling overly stressed right now. 

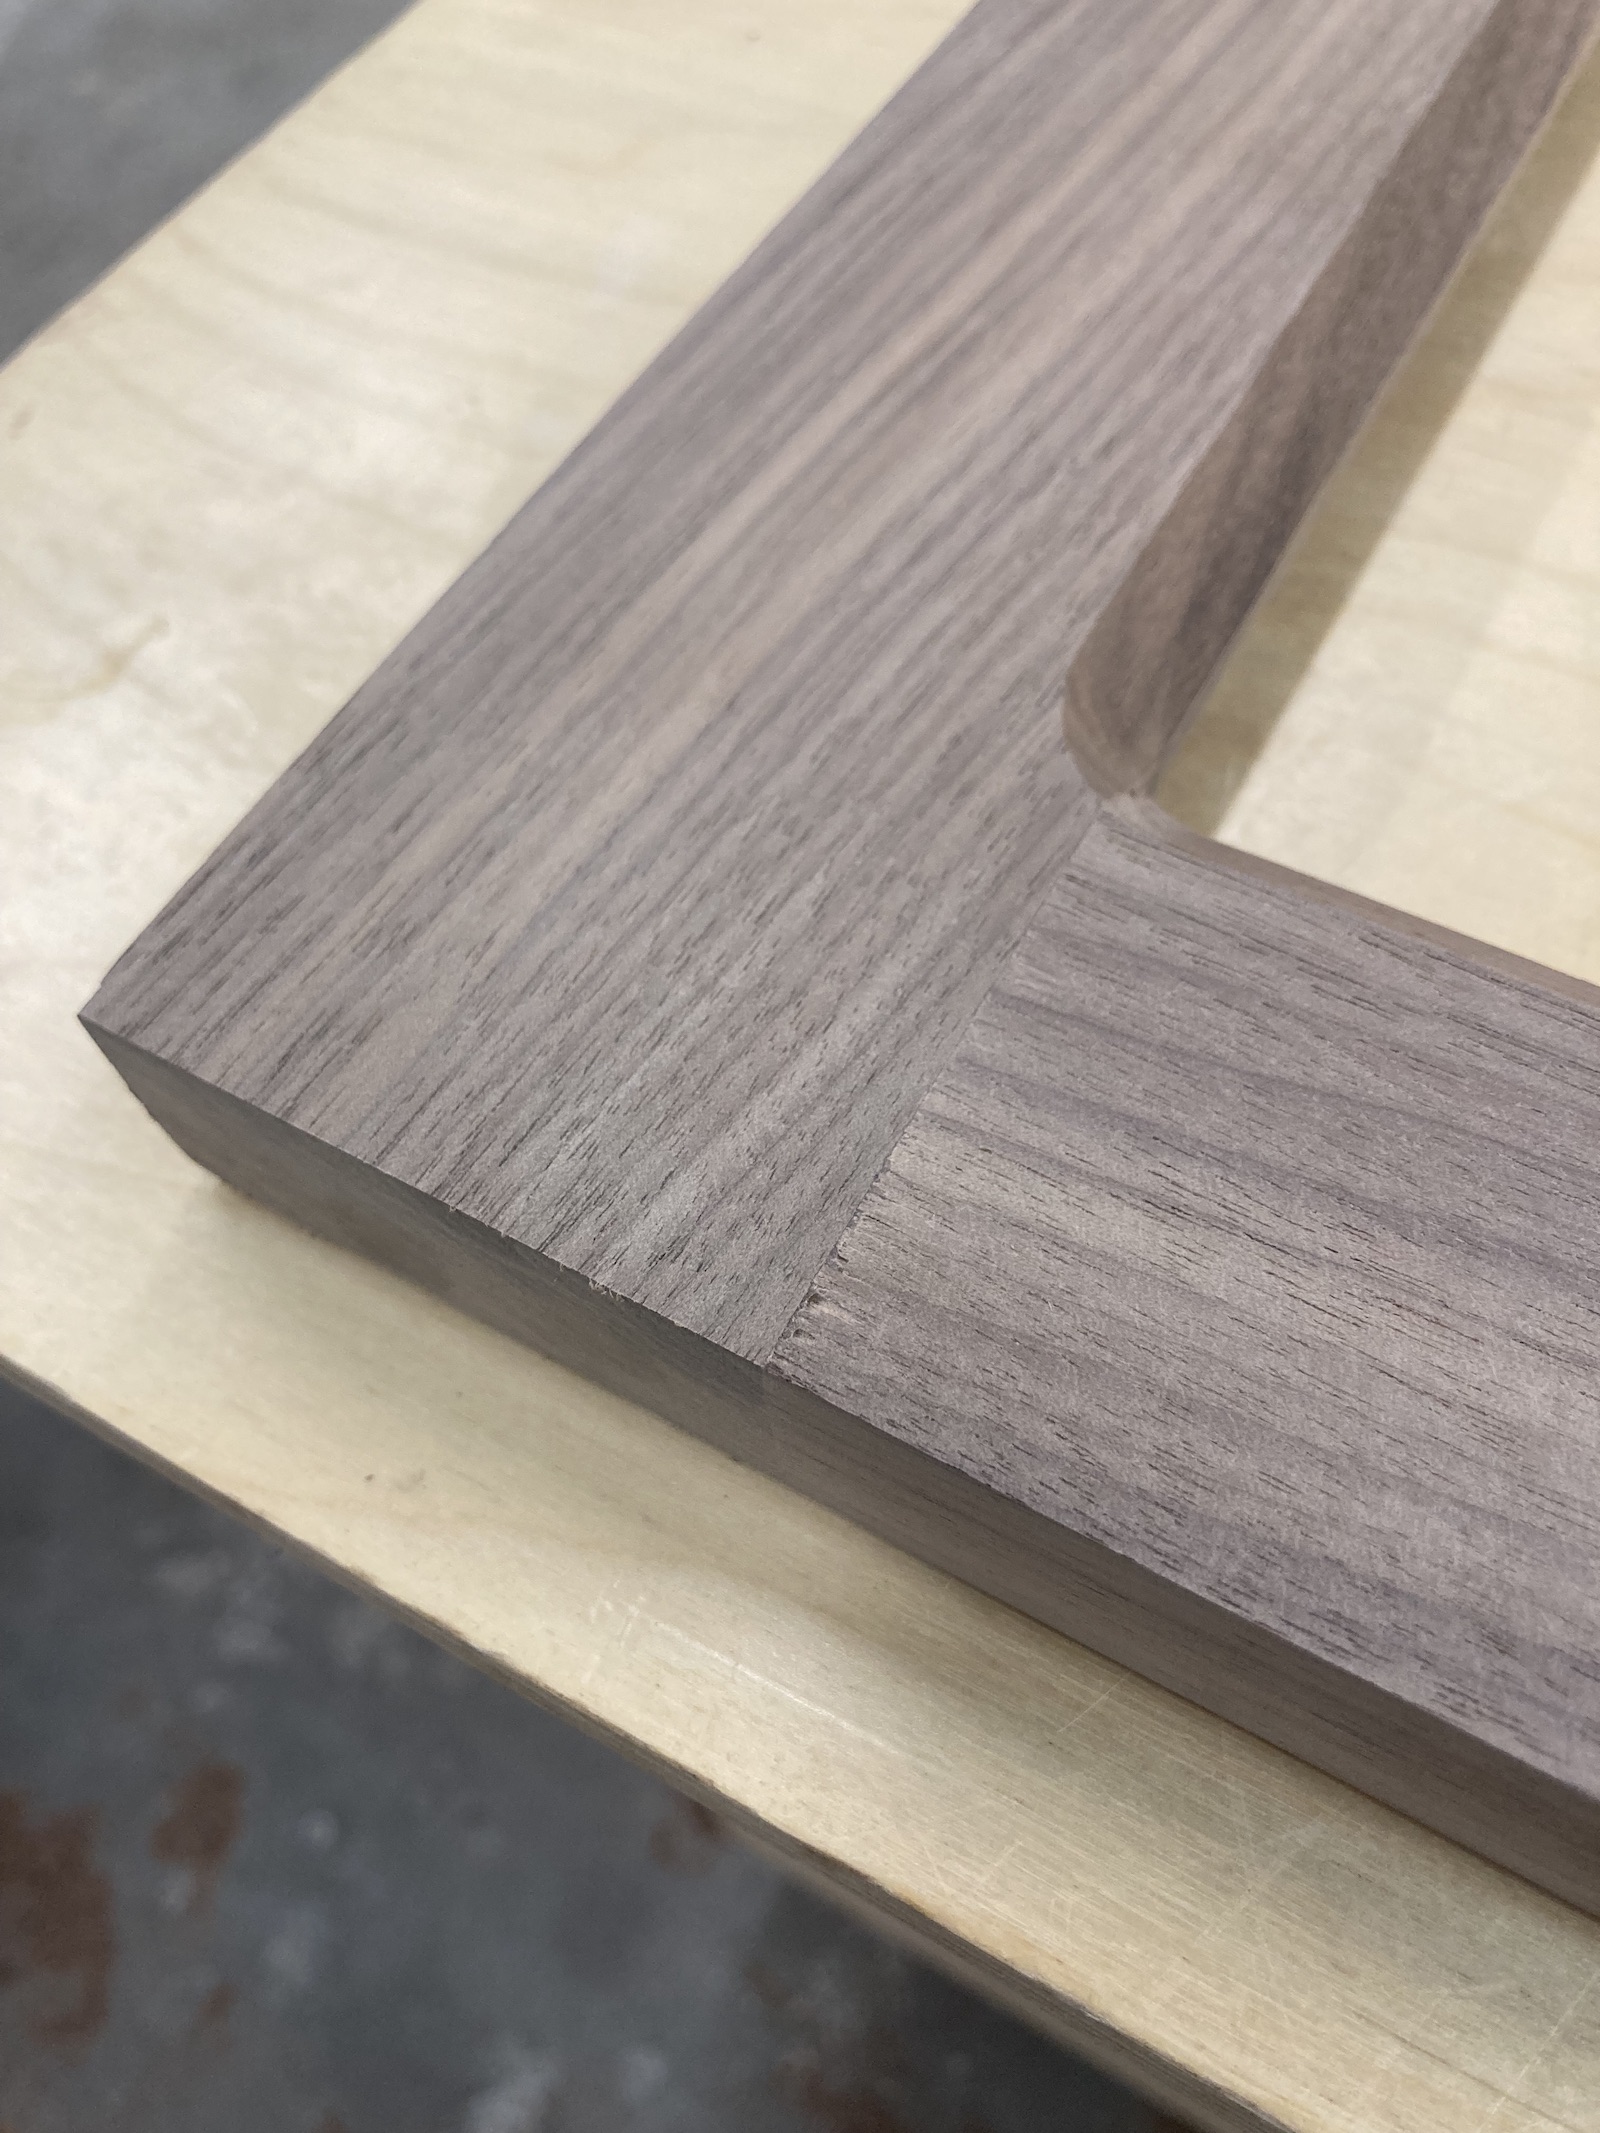
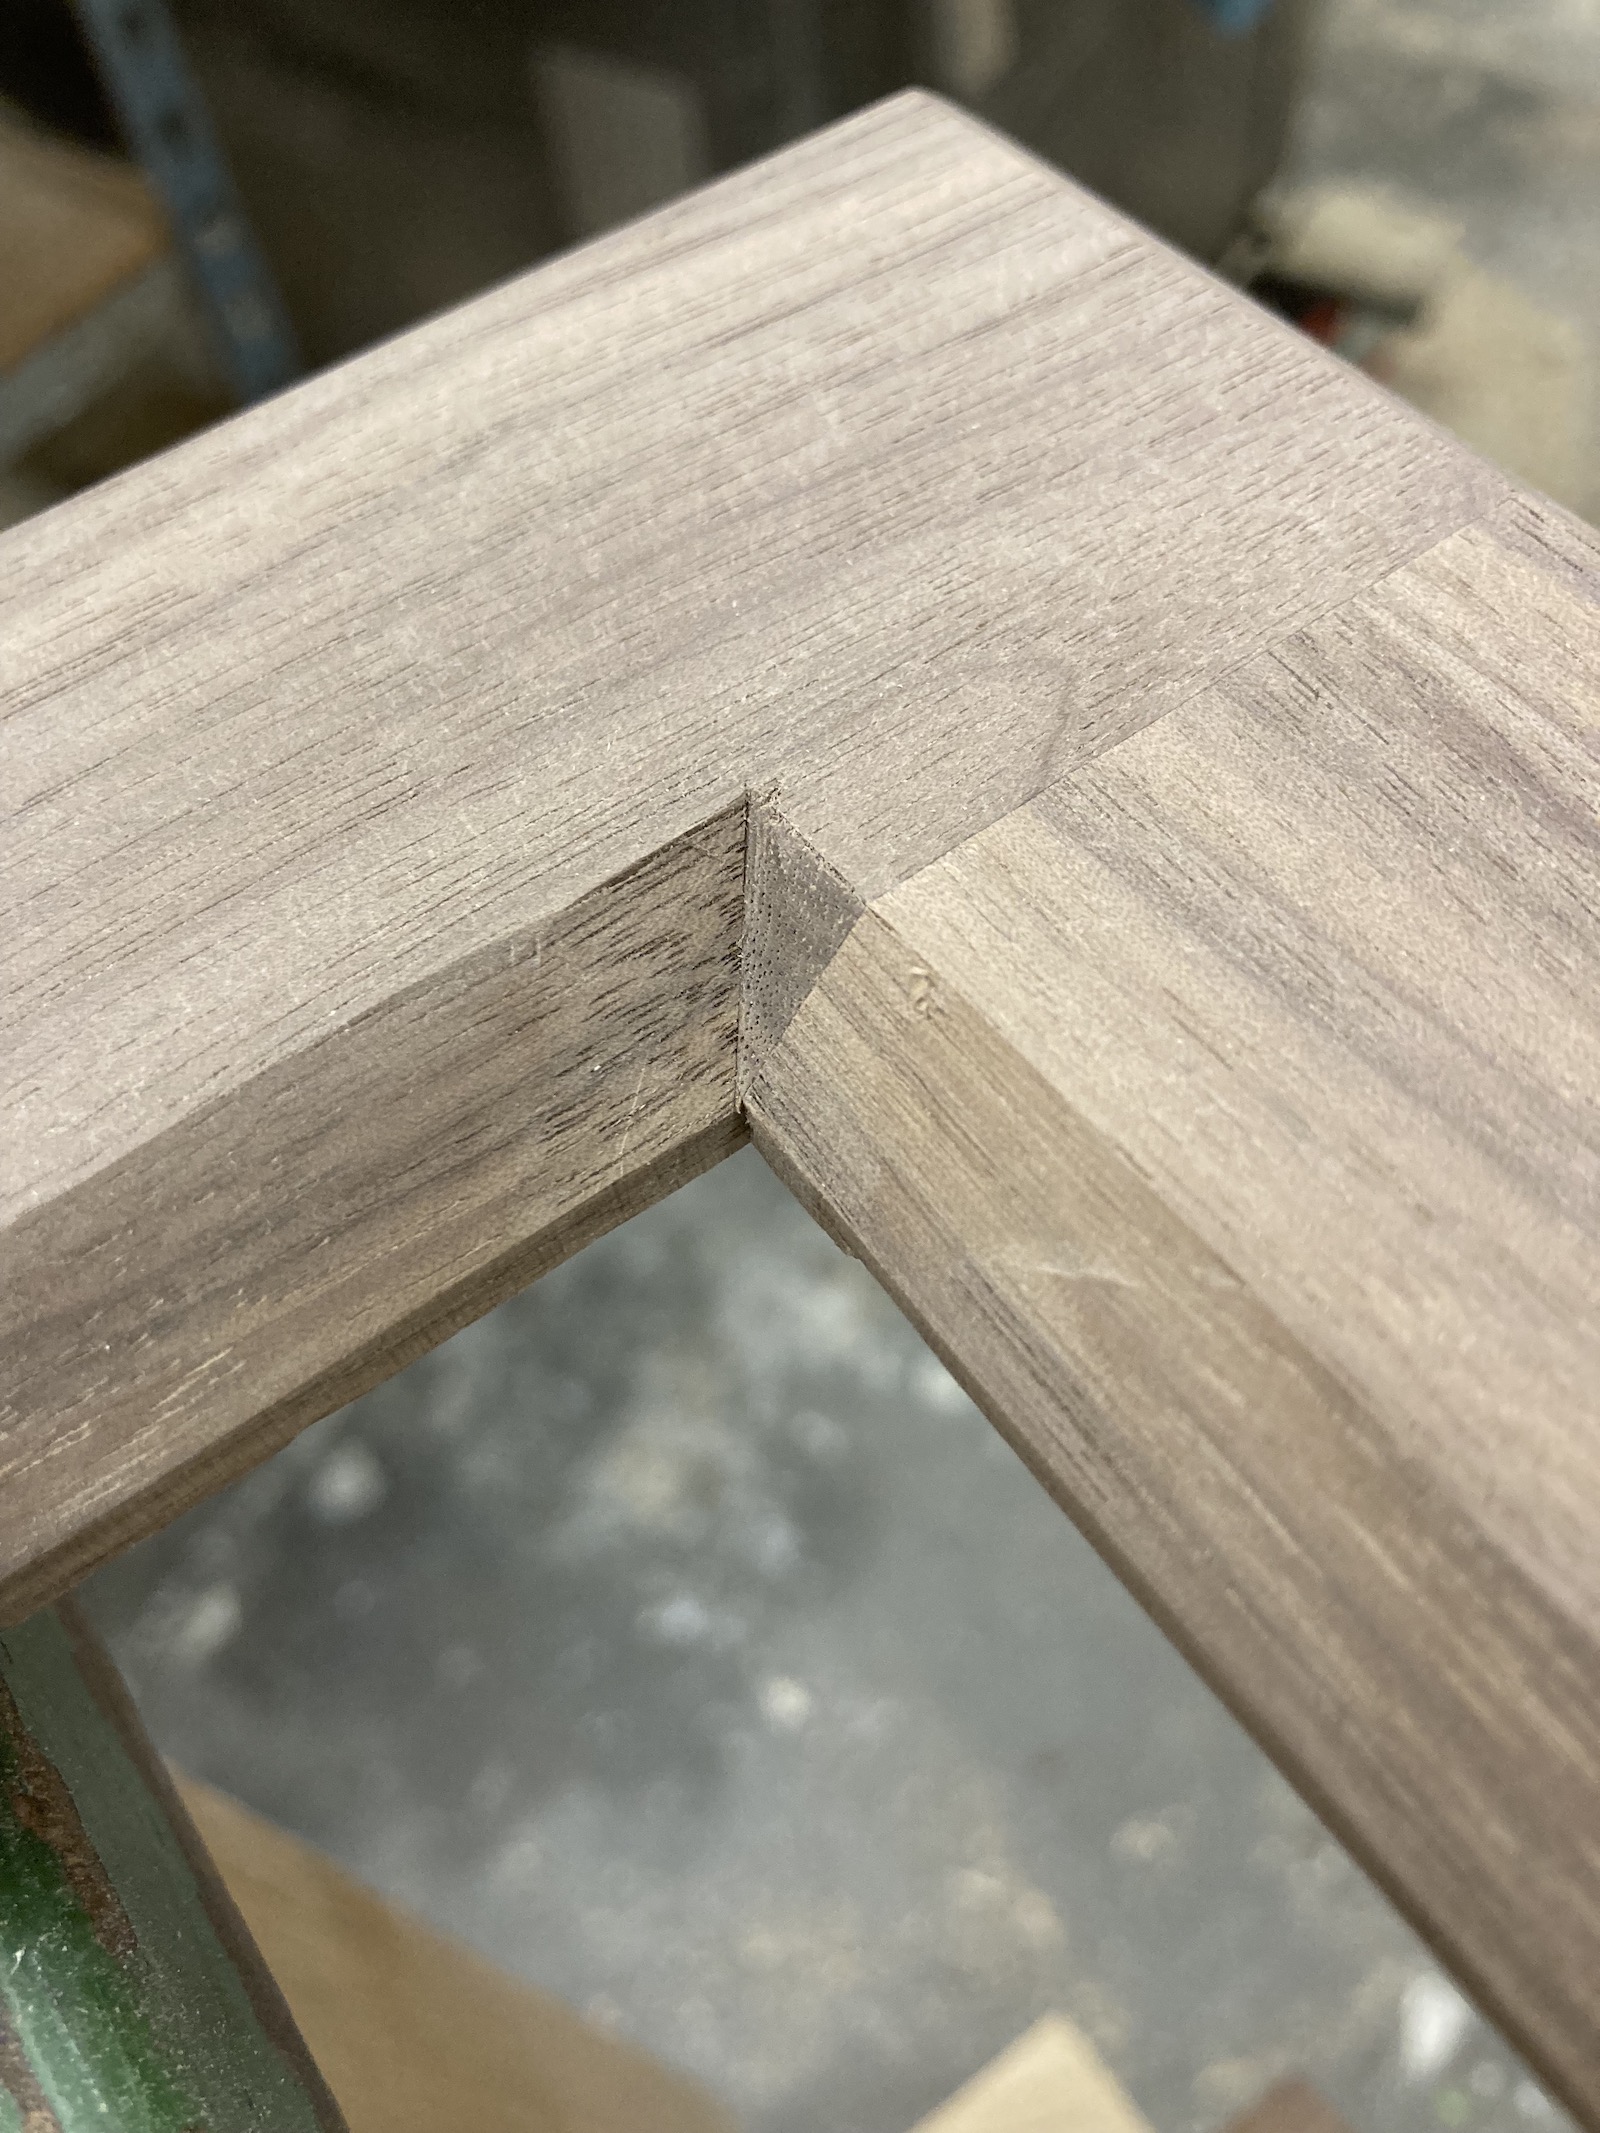
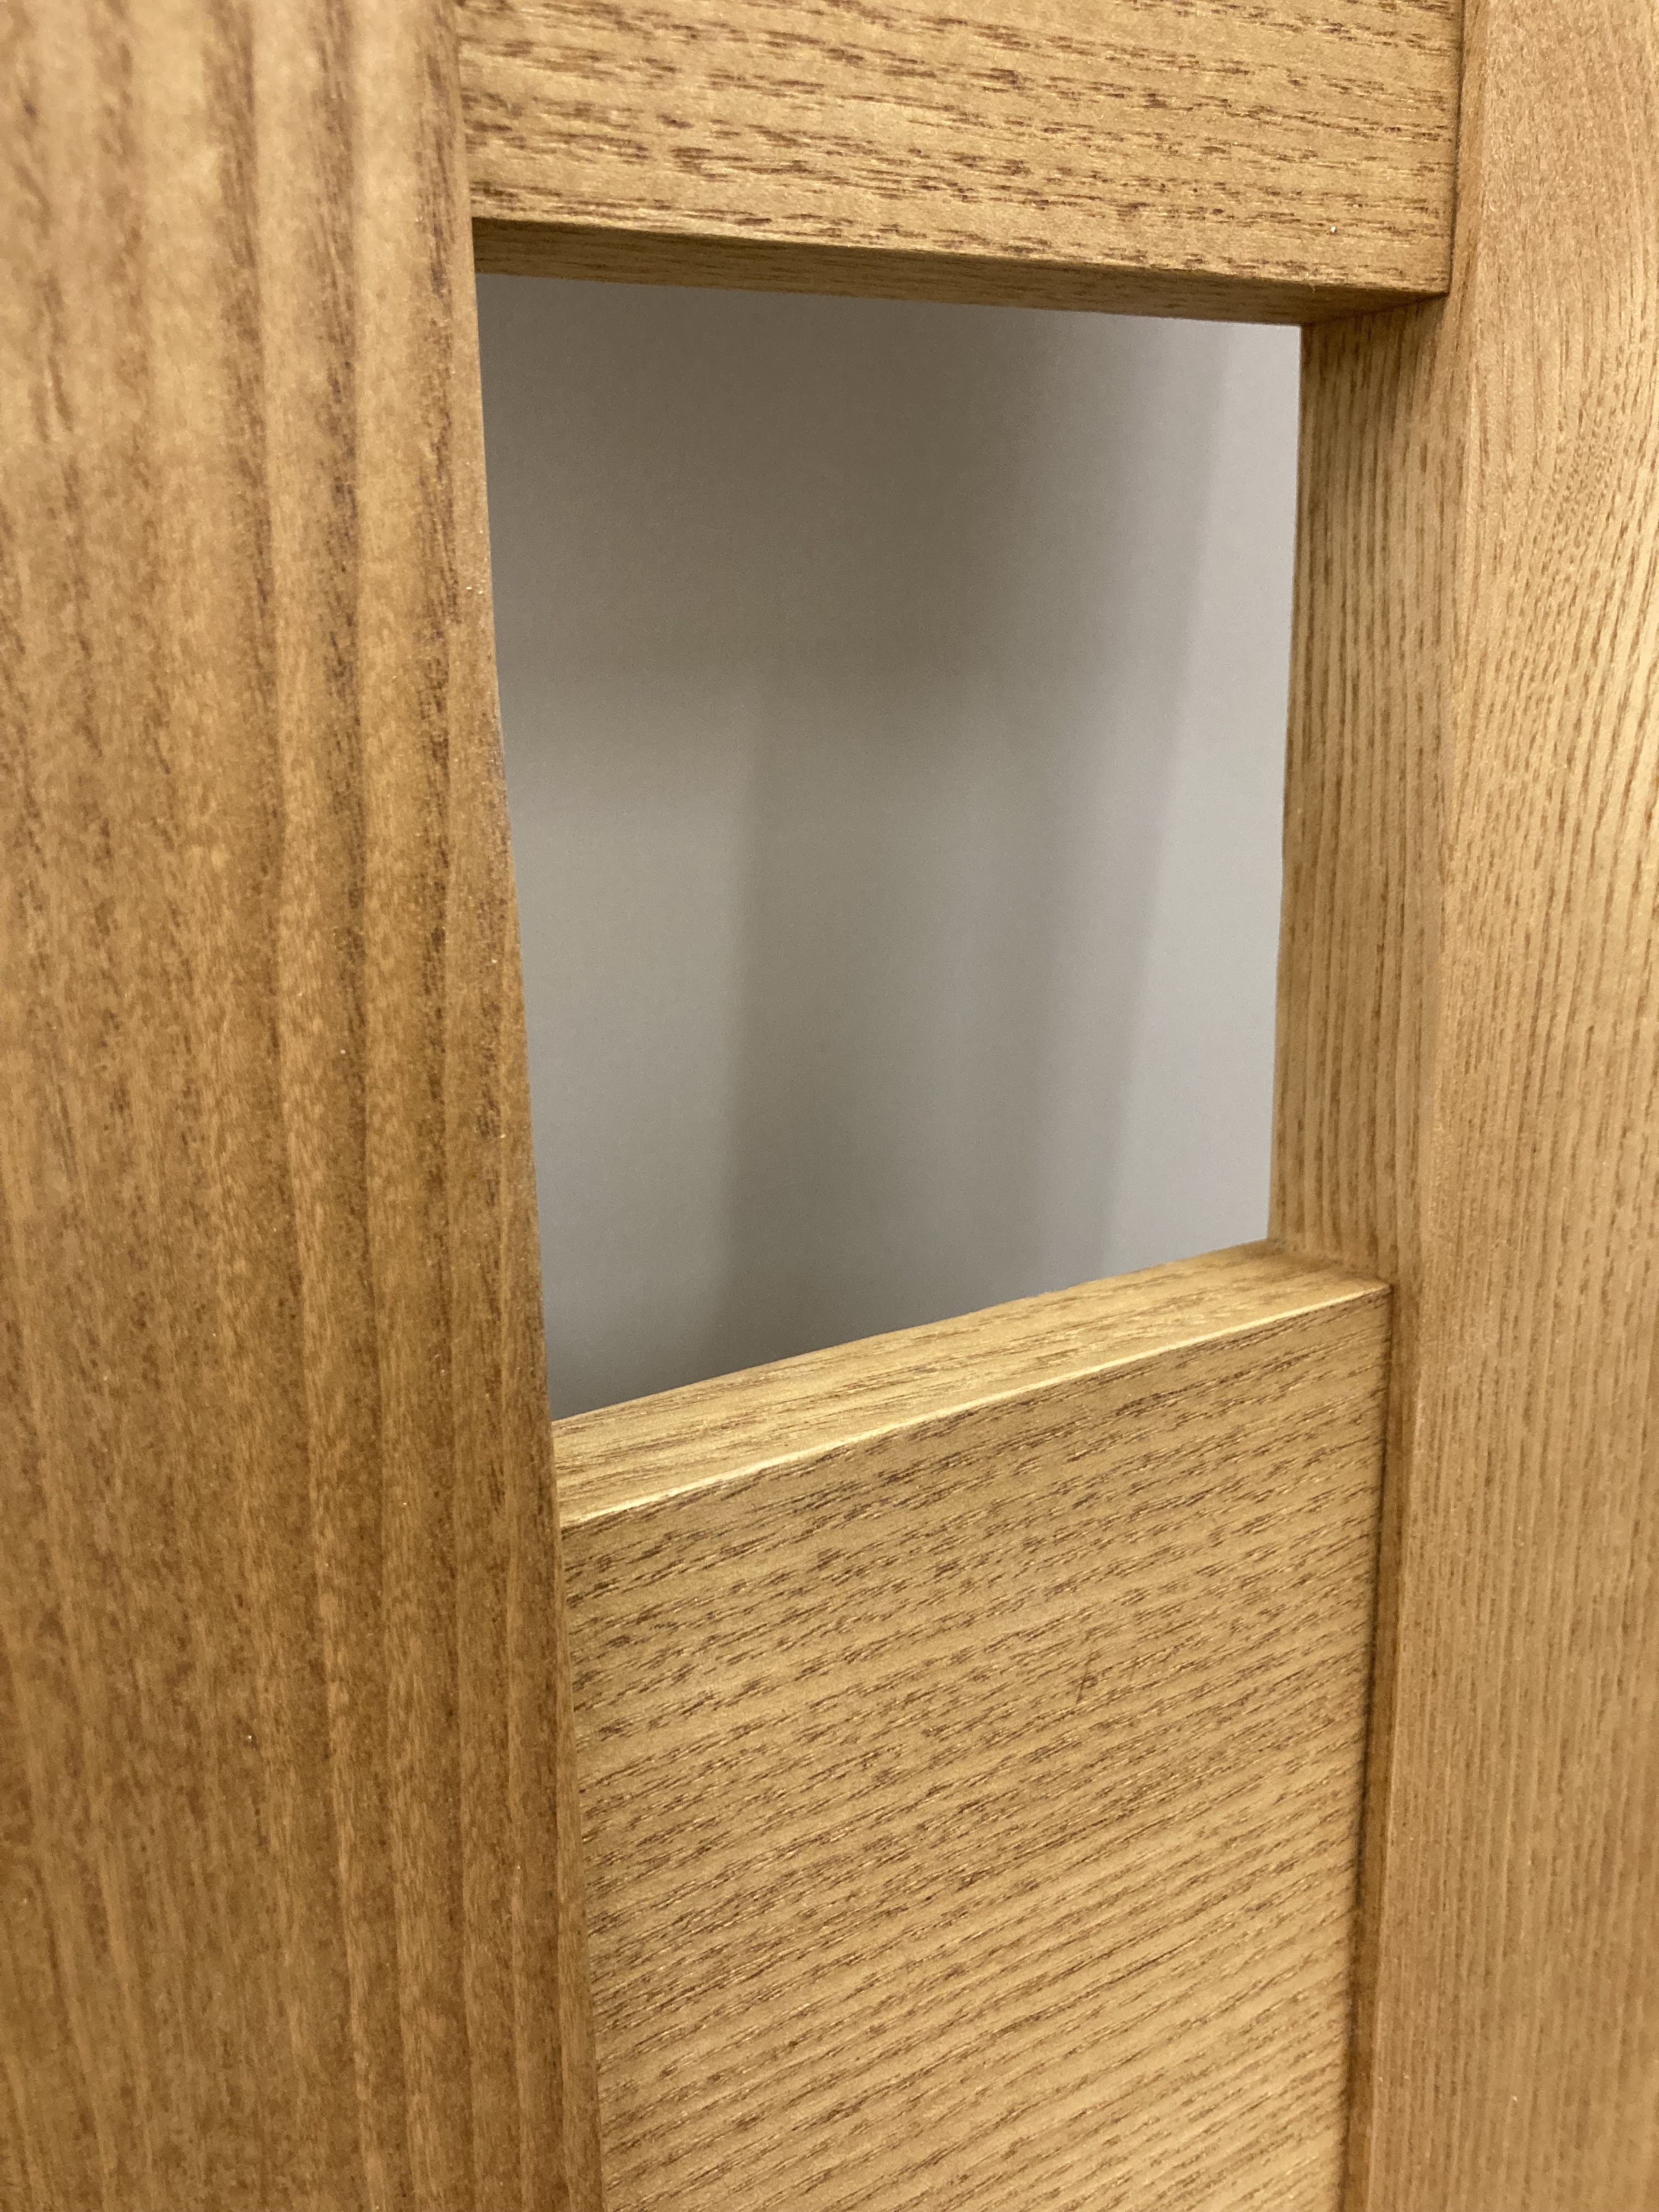
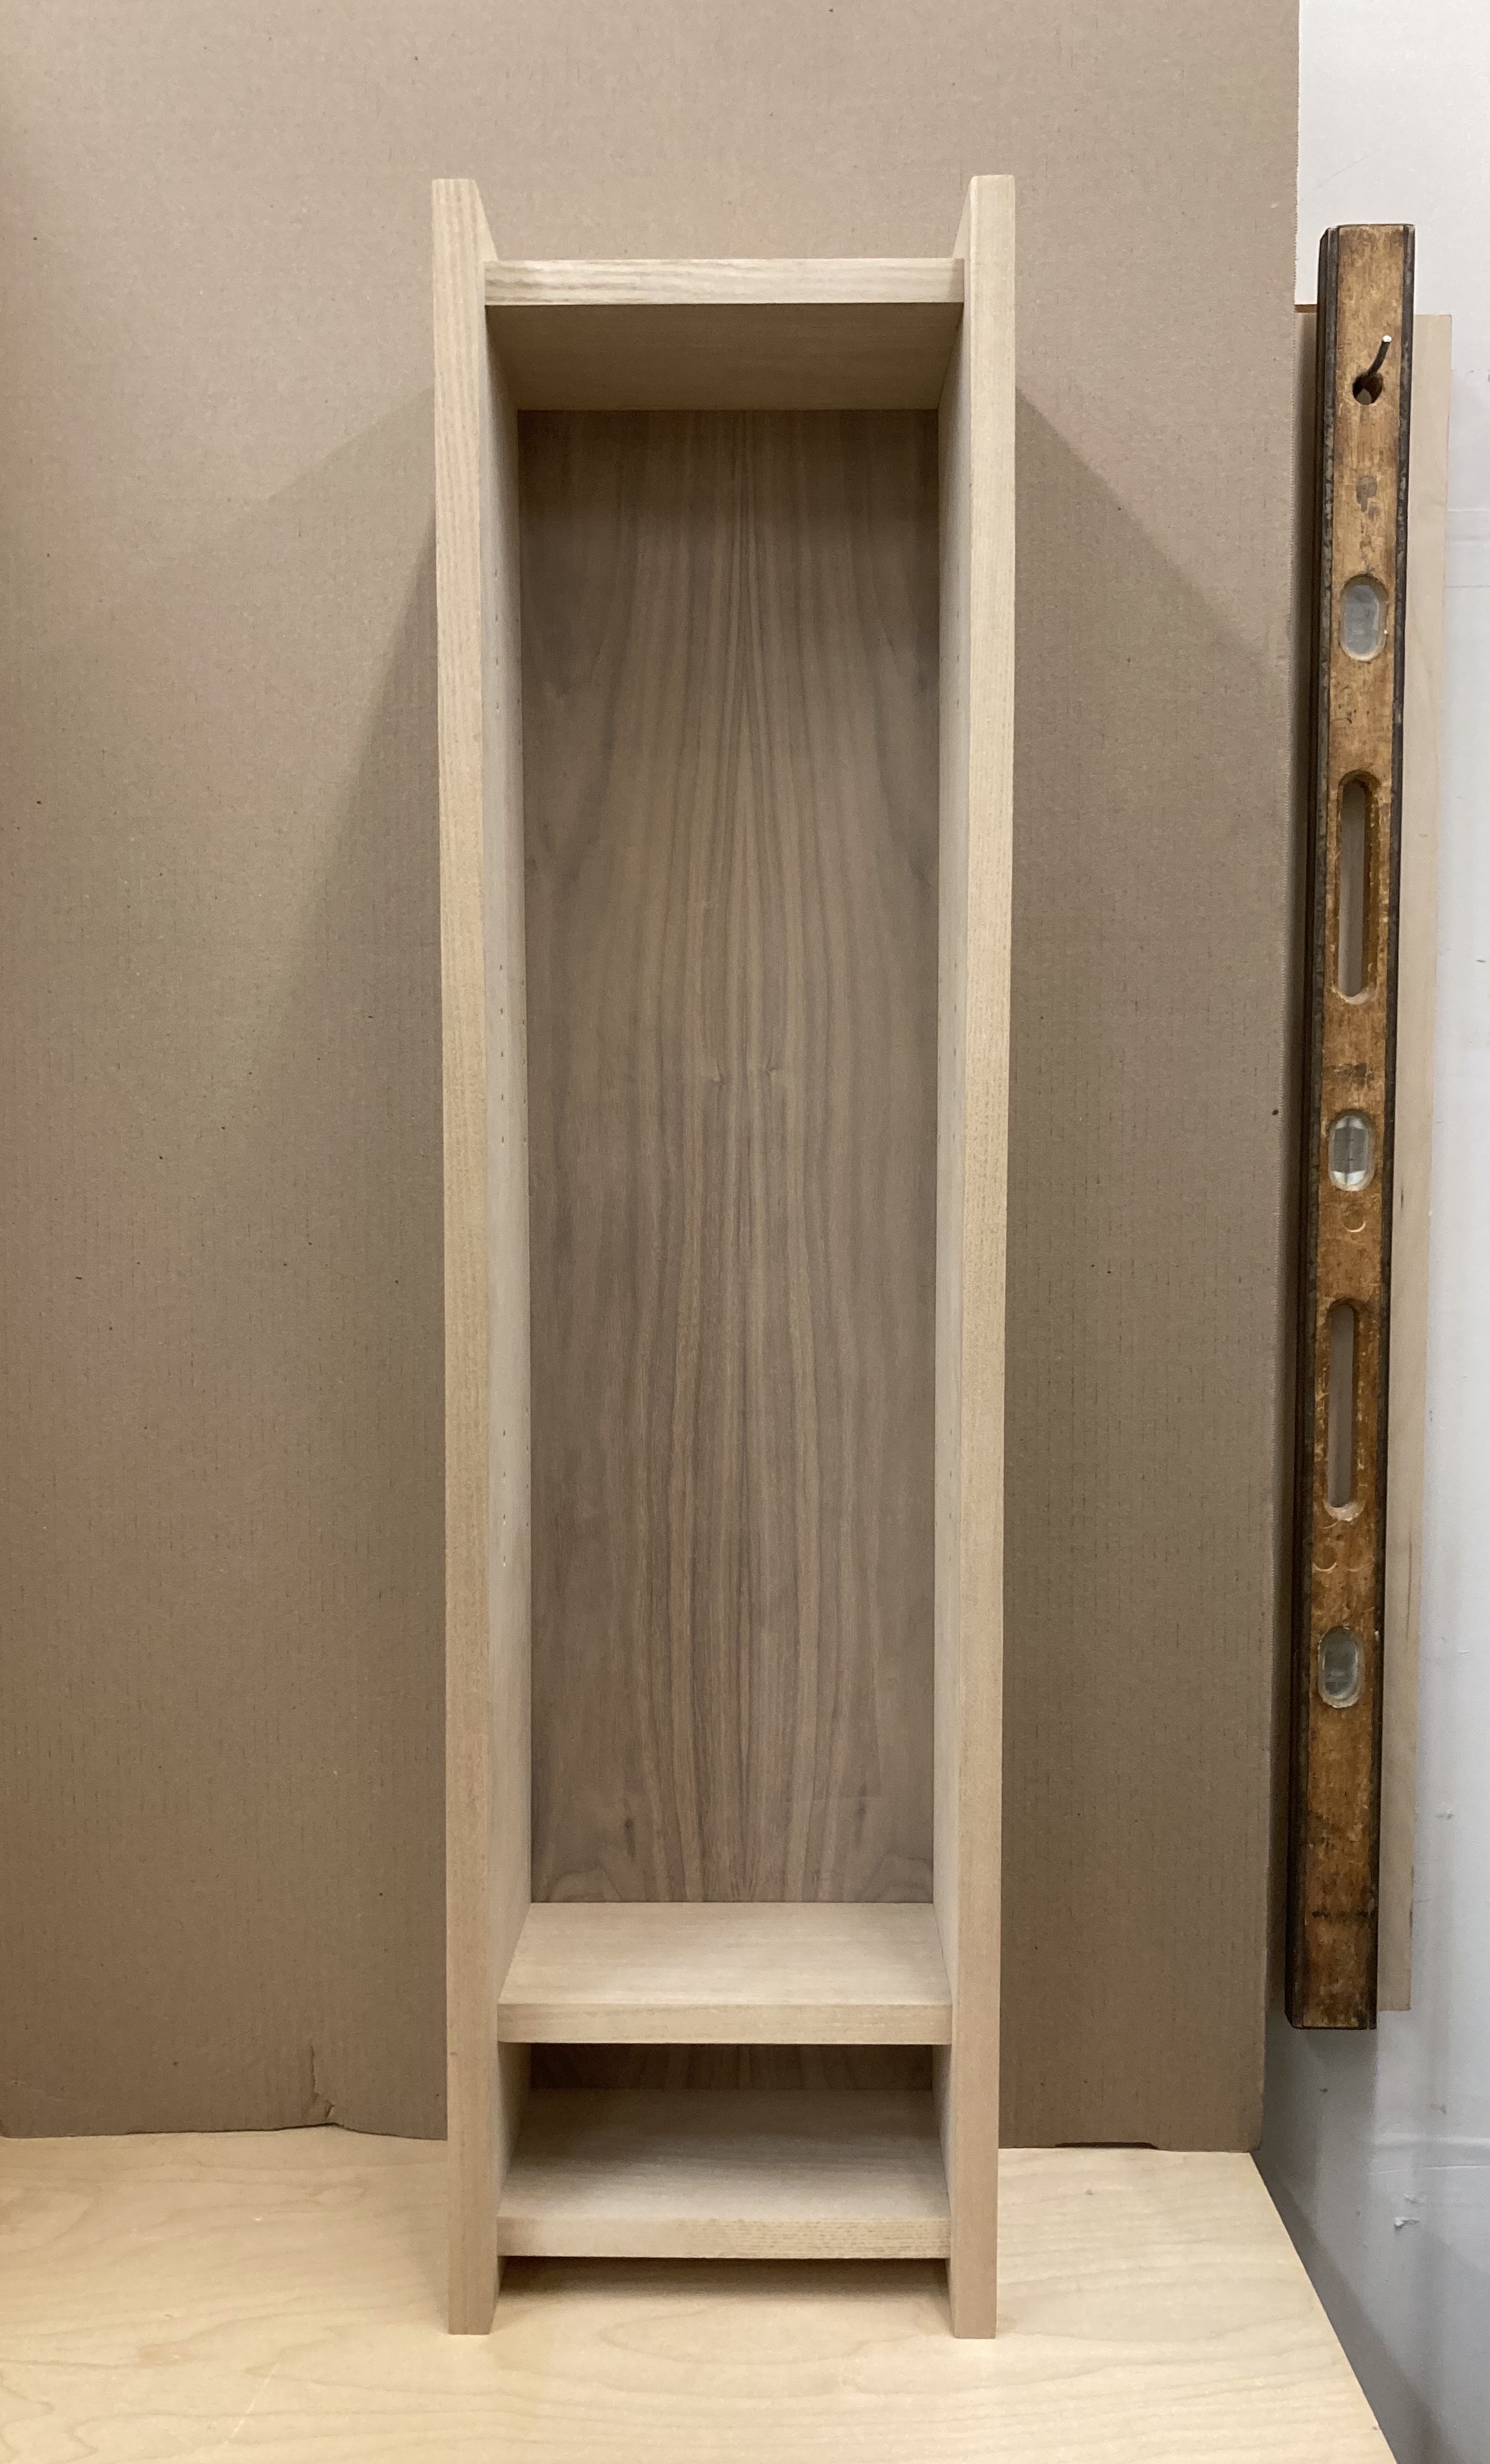
I'm nearly done with a mirror that I'm making to match a table that I built a few years ago. 


The table featured one of my ceramic tiles in the top of it, it has a lovely Waterfall Green glaze on the tile, and the combination is really nice. 


There's just a bit of carving on the table aprons, and I hope to add some similar carving on the mirror. 

When you rout a profile into an interior corner, the shape on the cut mirrors the shape and travel of the router bearing. That means that inside corners are rounded, like the photo below. 


It's not very attractive, in my opinion. 


That's where chisel skills are necessary. I start by scoring the area that needs to be removed. 


And then very carefully slicing the wood away in that corner. 


The last one I do is always slightly better than the first one, because... well... practice really helps. 


It's a small detail, and just takes a few minutes, but really makes a difference on the piece. 

I'll start carving the small details next - and hopefully won't have too much trouble finding a piece of 1/4" mirror to complete this piece.  I've made a few calls, and with a little luck, I'll find a piece and button up this commission.

Hope your holiday is slower and more enjoyable this year!


Sunday, November 27, 2022

 This is a little embarrassing, but I've been working on this cabinet for (maybe?) five years.  I remember what inspired it - I'd purchased a small stained glass panel from my friend Gayle, and thought it would look great in a cabinet door.

So I built the door. 


It had some tricky things going on - mostly that the grain of the wood wasn't oriented in a traditional direction. 

Assembling wood grains perpendicular to each another is often a recipe for disaster, so I built the door and let it rest. 

And rest.

And rest even longer.

Five years of resting... 

 It wasn't like I was sitting around, waiting for it to crack. Life got in the way, and it was put on a shelf. I'd look at it every so often. One thing I've learned - wood does what it wants to do, regardless of what we want it to do!

And finally - three things happened. 

One - I decided it had rested long enough, and it was stable. It was ready to have a cabinet built around it.  

Two -  I was tired of having it dangle around in my brain - and worrying that it would be damaged. 

And three -  I decided that this tall narrow cabinet was perfect for holding the Martin backpacker guitar that I'd purchased. So I built a cabinet for it. 


I'd long since used Gayle's glass panel in something else, so that wasn't an option. But I love little spy holes in doors, and the small "window" in the door was perfect for spying on the cabinet's contents. 


I struggled with the hanger - I'd purchased one, and didn't really like it. So I looked at different hangers when the light went off in my brain. 

Duh! 

Make one. 


It is perfect. 


A simple French cleat on the back simplifies hanging it. And...

BOOM! 

A new cabinet for the house!


Saturday, November 19, 2022

Made with love, with tools that I love

Woodworking is a curious hobby - it starts out with passion and excitement, and as you learn more about it, it morphs into something different. 


I’m in that “something different” stage, where the process is slower and more deliberate, with fewer tools, but much better skills.


With the sale of the school a few months ago, all of my equipment and a lifetime collection of accumulations were gone. Do you even realize how much you've amassed until it is gone? Probably not.  


But if you take a look around your shop, you’ll find all sorts of tools and jigs and “must haves” that clutter up your drawers, along with some invaluable things thrown in there, too. 


I’ve pared down my arsenal, and let me say - it’s liberating! After working in my shop for the last few months, I realized that there were a few MUST HAVE tools that I needed to re-acquire - including this scraper, made by Kunz. 


I've used one of these for 30+ years, and it's indispensable for cleaning up your boards. 


When properly set up, it will save you hours of sanding... scrape your boards to eliminate chatter or planer marks, and hop right into sanding with 180 or 220 paper. Sweet. 


This time around - I’m building pieces I really want to build, as opposed to ones I HAVE to build. It’s liberating to have those choices, rather than let finances dictate what I have to build.  


These two boxes hold cremains, and my client and I designed a double urn to hold them. That's always a little emotional, and I'll be honest - a few tears were shed.  But it's an honor to build urns, and I take that very seriously.  


My client brought in a beautiful statue that she wanted to add to the piece. I couldn't find the origin of the statue, but it was lovely - with four children peeking out from her shawl.  


I was completely paranoid about breaking this statue while building this, BTW. 

After long conversations, we decided upon two separate boxes to hold the ashes, with the statue pointed toward the boxes, but mounted off to the side of them.  


Assembling this was a little tricky - it had to be stained and lacquered, and then put together in order, so that no screws were visible.  We also decided that the statue needed to be raised up a bit, so I made a platform for her to sit upon. 


Mohawk stains and lacquers are my secret weapon on pieces like these. Eventually, there will be two engraved brass plates on the front of each box, with the pertinent info about who is inside.  


I forgot to ask my client if it was OK to use her photo, so to be safe....

Suffice it to say - this piece will outlive all of us.  


My next couple of builds have me excited... stay tuned!


Monday, October 17, 2022

 OK, so my blog feels a little stagnant... I get it. I haven't posted in over a month! 

But - I'm busier than ever.  I don't know where I managed to find the time to teach woodworking classes before my semi-retirement.

I recently wrapped up this small commission in record time - I had just two weeks to make a walnut breakfast tray, with folding legs. The fellow who ordered it for his wife's BD (hence the deadline!) wanted it modeled after a tray used in Downton Abbey, a show I've never watched. 

That particular tray seemed a little fragile to me, so we beefed things up a bit in our design. There wasn't much time to make the top


 and turn the legs, but it was completed just 48 hours before it was due. 


And then I found out it had to be shipped out of state! 


We even inlayed a 2022 penny in it, to commemorate her birthday year.


Let's just say overnight shipping is ridiculously expensive, but at least this arrived in time! The cool thing is that these legs fold up under the top, and are held in place via rare earth magnets. So the piece stores flat.. a really nice solution for the 364 other days of the year that you don't have breakfast in bed. 


I've also been trying to get back into my ceramic studio, to start making custom tile again. I'm building a bookcase right now, and I think some tile added to the top would be perfect.

This bookcase was made years ago, and featured inlaid tile in its top, which is really nice when you want to put your cup of coffee down, or have a potted plant or two that need a resting spot. 


So I've been finishing up this bookcase and trying to come up with some tile designs. 


BTW, I love this design - I built this similar one many years ago, and always love its design. 


 I don't remember where it ended up - probably left it in Ohio when I moved west. Anyway, retirement is anything but boring!


Friday, September 02, 2022

Carving it up with Dennis Patchett

Since I was on a carving roll last post, I thought I'd add a little more to the mix. There's a carving class coming up with Dennis Patchett, and if you've never heard of him, or taken a class with him, then you're missing out.

Dennis has taught quite a few classes at the woodworking school here in town, including Router Techniques, Advanced Router Techniques, Building a Mini Workbench, and one of my favorites – CARVING!

In his beginning carving class, he starts everyone off with one of the coolest projects - a wooden apple with a bite taken out of it. Students actually inlay the area of the bite with a different color of wood. 


It's amazingly cool. 

The great thing about Dennis is that he is so talented, and humble.


 His approach to carving is completely special, sometimes using a mix of power and hand tools. He specializes in reproductions of period furniture,  


and his work could be displayed in museums around the world.  His linen fold panels are out of this world!


In the carving class, Dennis will start everyone with a simple apple carving, perfect for bribing your favorite teacher. (Or your child's teacher!)

And then he'll move on to spoon carving, which is pretty much the rage right now. Here are some spoons that we carved in a past class.


But - leave it up to Dennis, who is going to up his game, and talk about carving "love spoons." They're pretty fascinating - you can read about them here. 


Finally, Dennis will finish the class letting students carve something of their own design. Need a sign for your cabin? A trophy plaque for commemorating a special date? It's up to you!

We've had some very cool designs in the past, and I can't wait to see what everybody comes up with this time. Here's a link to read more, or to enroll. There's no prerequisite for this course, and if you're into "slow" woodworking with few tools, this is the class for you!

Happy carving!


Wednesday, August 10, 2022

Visiting a local carver's shop - what a treat!

Since I haven't been completely cleared to start working again, I've been catching up on some older projects that I have in my shop. Every woodworker I know has a few of these sitting on a shelf, awaiting completion. There are a few pieces that have been piling up around my shop for a while, and it's time to finish them. First stop - my guitar cabinet. (More about that in a future blog post.)

I spent a little time this week with Rip, a local woodcarver. He's about as pleasant a fellow as you'll ever meet - a retired teacher, and a hell of a carver. 


You might remember that I made a base for one of his sculptures a while ago. 


These two sumo wrestlers were a little tricky to mount, and when we finally got it right, a high-five was warranted. 


I love visiting other woodworker's woodshops - fascinated by their layouts, their choices for tools, and the ingenuity of their work. I always thought it would be great to travel the country and assemble an amazing coffee-table book featuring different workspaces.

Although a lot of people look down on it, pegboard is a great solution when you need visual access to your tools. I'm a huge fan of pegboard! 


Rip began the visit by showing me his current project - this gorilla, which he first sculpted in clay. 


When asked why he sculpts in clay first, he explained that it helps him get the correct proportions for the wooden pieces he carves. So this is where it starts. 


Once he's satisfied with it, he dives into wood. 


 His method for holding the wood is slick - this carving stand mounts on the bottom of his wood blank, and rotates and pivots to any angle. 


Speaking of great systems, here's a little-known method for sharpening - a cardboard wheel for your grinder. Add a little polishing compound to the wheel and your chisels will be razor sharp in no time. Notice the wheel on the right? You can apply a little compound on the side of the wheel, and use that area for honing, too. This is such a smart way to sharpen odd shapes. 

Here's a link to read more about cardboard wheels.


Here's another base I made for one of his pieces. 


And here's the piece in his home. 


Sports are a theme for much of his work, 


and he's even dabbled in bronze casting. I'm in awe of Rip's work, and just spending an hour with him made me antsy to get back in the shop again! 


So here's how my Wednesday morning is going...


How is yours going?