Wednesday, January 29, 2014

Lupe's Shaker Cabinet


It amazes me to think about the work that people are producing at my school. I've written about Lupe before; she's been studying at my shop for about three years. Take a look at these pieces of furniture that she's built.  

This magnificent Walnut  bookcase,  


this Cherry rocking chair,


 and this Mahogany table. She actually made a limited edition of 12 of these tables, and has sold all but a couple. 


So when she said she wanted to make a tall dresser, with a lot of drawers and maybe a couple of doors, I had no doubt she would do a terrific job. 

If you Google shaker style dressers, or armoires, you'll find a lot of wonderful examples like these. 


To add a little complexity to this project, Lupe chose to make this piece out of Cherry plywood. Building with plywood brings a few challenges to the mix, especially when camouflaging the plywood edges. Making the plywood cabinet didn't take too long, but it took a while to get the face frame attached to the cabinet. 


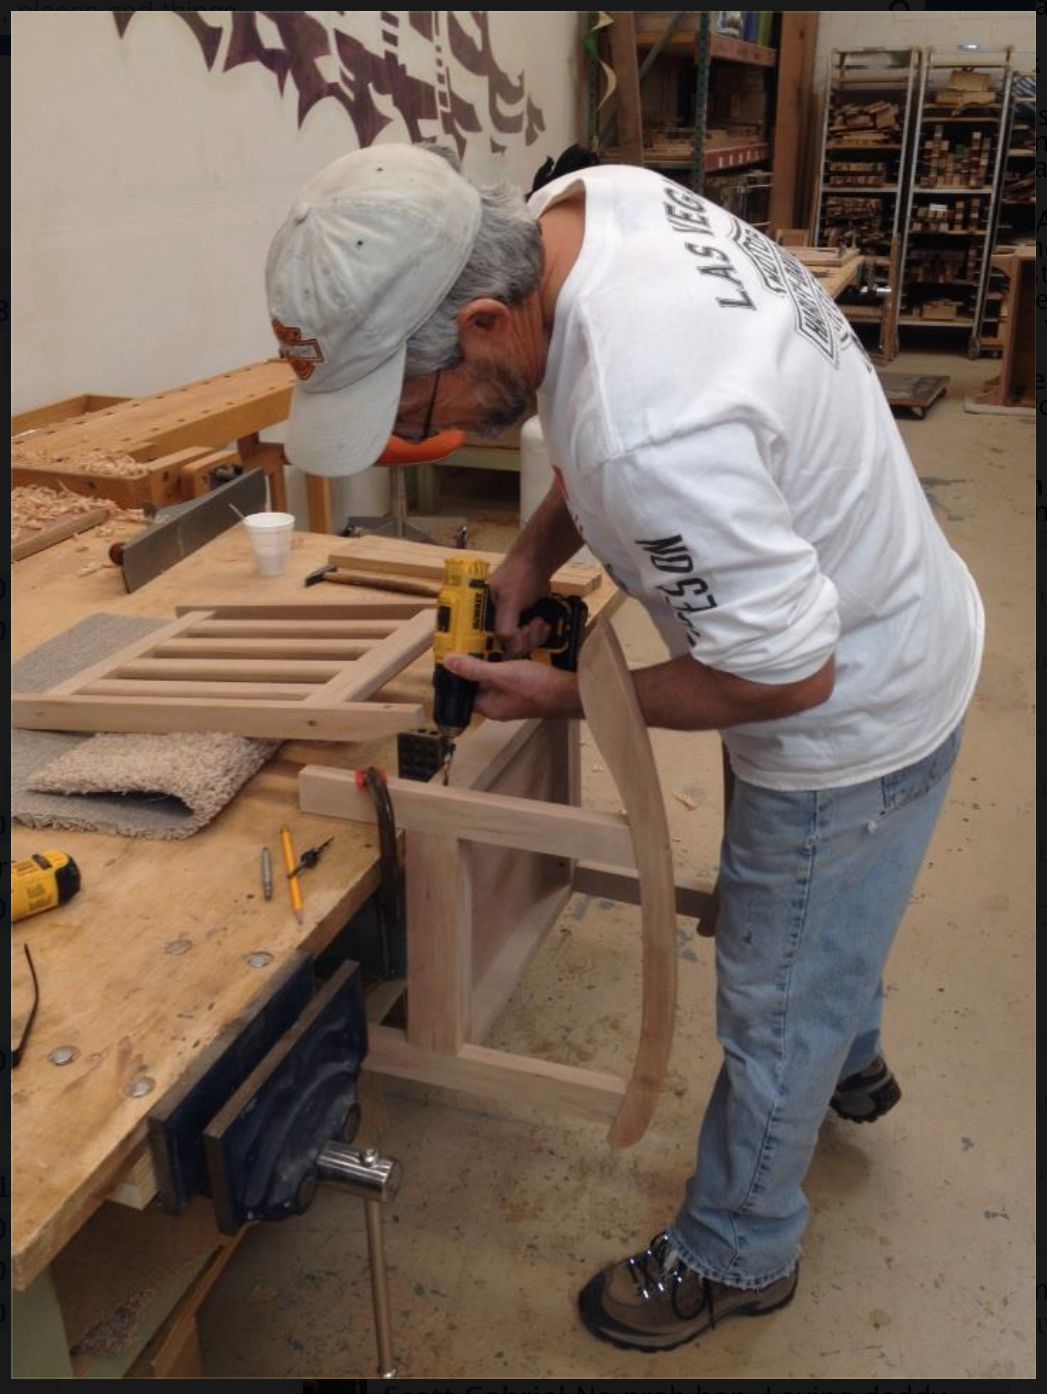
After the face frame was attached,  Lupe decided to oil the lower part and hang all the drawers. If you know anything about furniture making - then you know that hanging drawers can be very time-consuming. 


Hanging seven drawers can take hours!  These are inset drawers, so all of the margins around them have to be perfect. That means that your carcass has to be perfectly square. And let's face it - that's not always the way things turn out. So each drawer has to be fitted with hand plane, and carefully hung.  

Next, she had to make doors - and once again - she upped her game 


and made raised panel doors. 


She's a stickler for great finishing, so she applied six coats of Watco danish oil, and then finished it off with a coat of wax. 


I just wish you could feel how smooth this cabinet is! 


The work that some of these people are producing is simply amazing, and even though they credit me with helping them along - what I do is about 5% of the work that it takes to build a piece like this. 

I couldn't be more proud!

Sunday, January 26, 2014

Stairway to Heaven...

Sometimes you can label things quite simply in terms of "before" and "after." Things were one way "before" and and then later.... changed.... "after." This day is like that for me. 

My dad died 11 years ago today. 

You'll often hear me say that I never felt like an adult until my dad died. It's true. It was like someone turned off the switch - before-and-after.

And since it's been so long, I don't really feel sad about it anymore. He was a fun guy - smart, driven, handsome - and everyone's memories of him are kind. 


Isn't that what you'd want someone to say about you, 11 years after you're gone? 

I grew up listening to this music, and it struck me when I saw this video tonight how fitting it was. So I'm sending out best wishes to my pops tonight, wherever he is.... hopefully - on that stairway to heaven.


Thursday, January 23, 2014

I know Christmas season is over, but...

My friend Ellen sent me this video, and it's terrific. I can't even write anything more about it - you just have to watch this!


Thanks Ellie!

Sunday, January 19, 2014

Making an heirloom (part two)


This is what it's all about. 

For those of us who work with wood - there is usually a reason behind it. The need for creativity. Artistic expression. The desire to share something personal. Recreational pursuits. Mental escapism. Or even something as simple as - being too cheap to buy a gift.  

Whatever the reason - I meet people every single day of the week who love to work with their hands. It is similar to cooking a meal for someone - you're sharing a part of yourself. That's called love.

Here's a follow-up to a post I recently wrote, in which one of my students built his daughter rocking chair. Well, not just any rocking chair... an heirloom quality piece, destined to be handed down a few generations. 

I really don't need to say much here, this picture is worth 1000 hugs.


Friday, January 17, 2014

A post of a post of a post....


I found this over at viralnova.com and thought it was amazing! It was taken from SawmillCreek.org, an online woodworking discussion board. 

It Looks Like An Awesome Box Of Money. When You Take A Closer Look, It’ll Seriously Blow Your Mind.


A skill like woodworking takes years and thousands of hours to become more than just a proficient at, but this man invested that time to be a certifiable master. His name is Randall Rosenthal and he has talent that can result in mind-bending illusions. The project in the gallery below all started with three pieces of white pine he glued together. What he turned that block of wood into is so cool.
The finished product, a real wood carving and a fake cardboard box, is an awesome illusion. No matter how long I stare at Old Money, it just looks like a cardboard box.

Tuesday, January 14, 2014

Making an heirloom...


A few weeks ago, one of my students asked if it would be possible to make a child's rocking chair for his daughter, for Christmas. Since Christmas was only a week away, I had to be honest with him - it's probably not possible!

Instead, we agreed to get the chair built in time for his daughters birthday, which is in mid-January.  

This plan came from a very old issue of Fine Woodworking magazine. I adapted it to make to seat more durable, and the design a little simpler. Here's one I made 20 years ago! 


In fact, here's a class that I taught 20 years ago!


We started with building the seat, using tambour slats for comfort.


 Once the seat was built, 


John started on the back. He chose four slats for his back design.


 The nice thing about this plan is that all of the dimensions can be modified while you're building it. Everything is based on the seat. If you want to make it slightly wider,  you can. A taller back? Sculpted crest rail? Spindles in the back, instead of slats?  

You get the idea... no problema, chica! You're making an heirloom, make it your own!


Here, most of the parts are built and ready for assembly. 


Even though this Cherry looks very pale, once its oiled - it will darken and develop a lovely patina.


John's drilling the holes necessary for mounting the back to the base of the chair. He spent a total of about 16 hours on this, and I have to say - this is an incredible piece. 


  It's pretty amazing to think that a few weeks ago, this was just a pile of cherry, and now it's a family treasure. We drilled a hole in a hidden spot on this chair, and someday, John and his daughter will epoxy a 2014 penny there, to commemorate the year it was built. (We couldn't find any 2014 pennies minted yet!)


Here's the chair with one coat of oil... the color is already deepening.


Nice work, John!