Thursday, August 29, 2019

What's your oldest tool?

My lathe is 40 years old. That officially makes it older than most of the people I teach. 

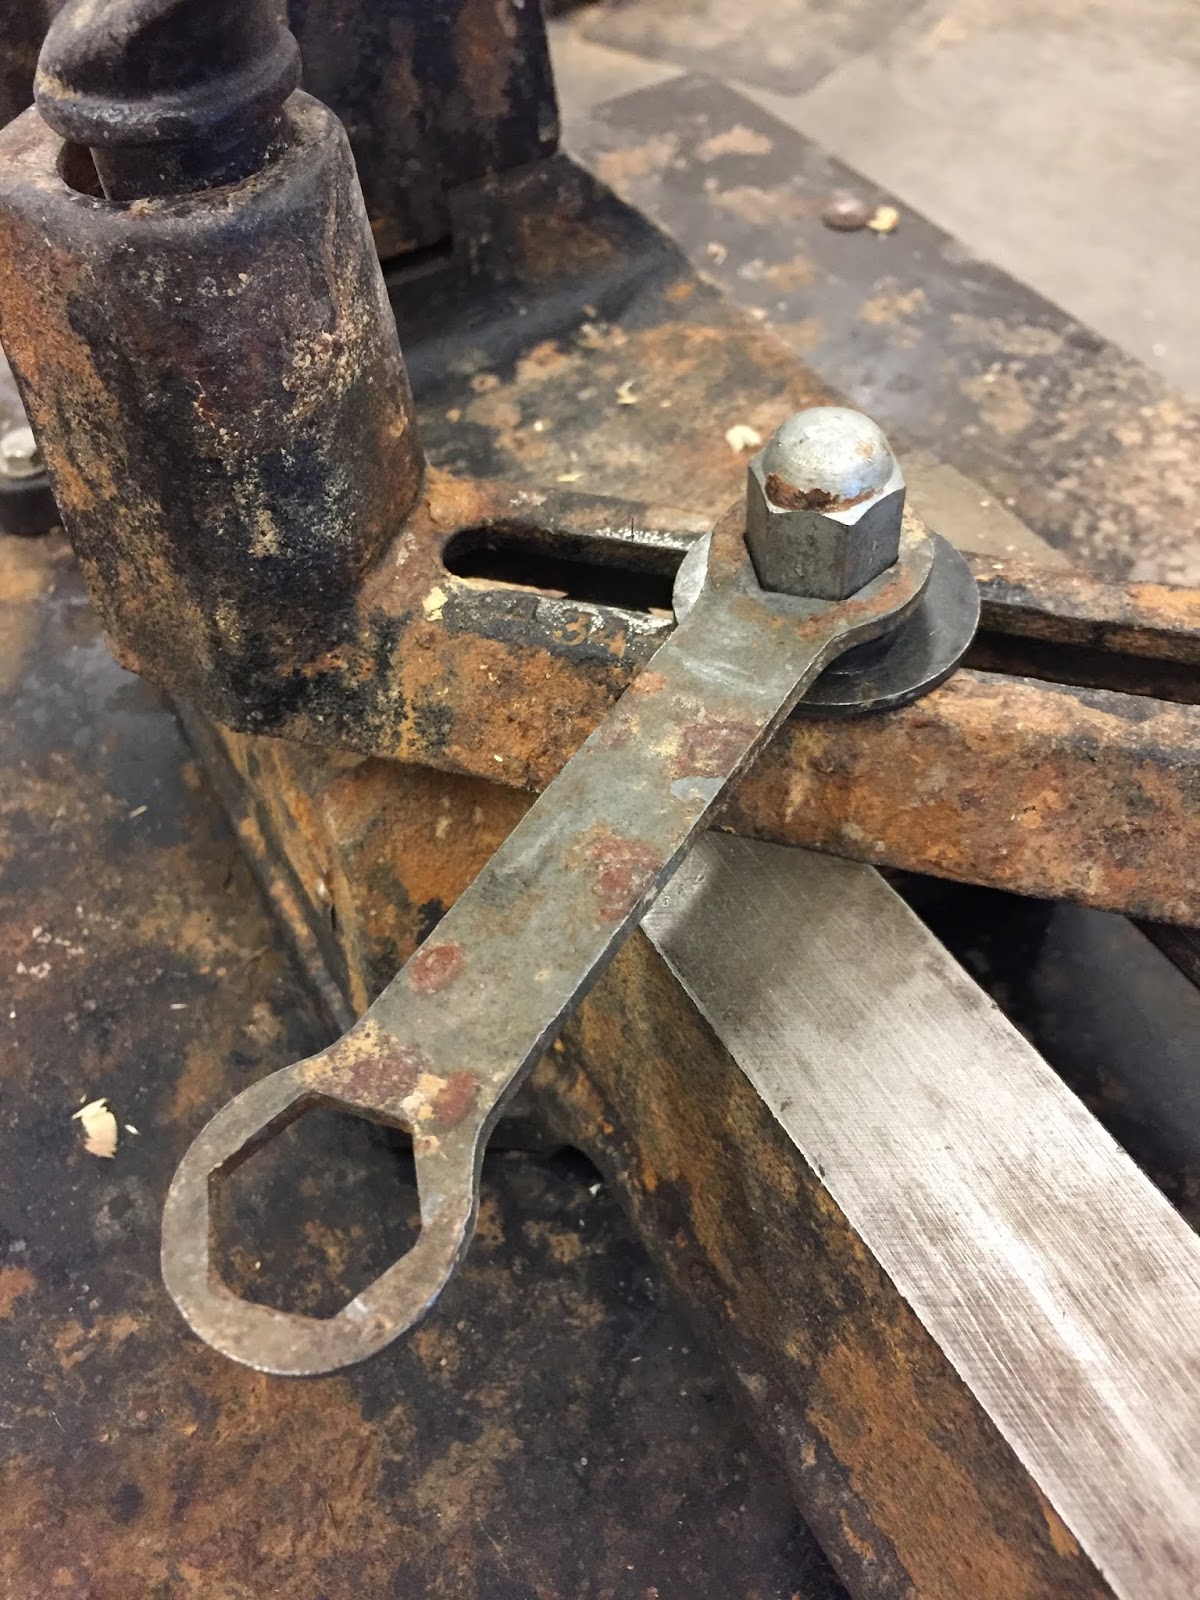
It's rusty and worn, and so many of the parts are broken (and unavailable) that it's a little embarrassing when I pull it out to turn something. Still... there's something about that old Rockwell that makes me proud. 

At the time, it was one of the most expensive tools I'd ever purchased, and over the past 40 years, it has more than paid for itself. I've made hundreds of rolling pins and bowls, and salt shakers and handles for broken tools. Not to mention table legs, stool stretchers... you name it, I've probably made it. 

The patina is gnarly, and I've had to substitute parts from other machines, just to make it work. Still... I'm not sure I'll ever get rid of it. It's kind of like an old pair of shoes or a belt that are so comfortable, you just can't bear to toss them, even though you never wear them anymore. Yes, that's my lathe. 


Someone sent me this picture, asking if I could make a paddle similar to this. But - they wanted a turned handle, not a flat one, like the picture. 


Turned like a baseball bat handle, they requested. 


 Well, I can cut and paste with the best of them, so I put together this picture, to ensure that we were on the same page.


 My plan was to make it out to two pieces - the handle and the flat part -  and join them. But they were dead against that, worried that the joint would break over time.  The tricky part in my mind was turning the handle while it was attached to the flat part. The vibration could be epic, especially on my tired lathe. But I worked out a few dimensions, and asked my buddy Denny to cut this sample on his CNC. He came up with this sample  - perfect for what I was trying to accomplish.  


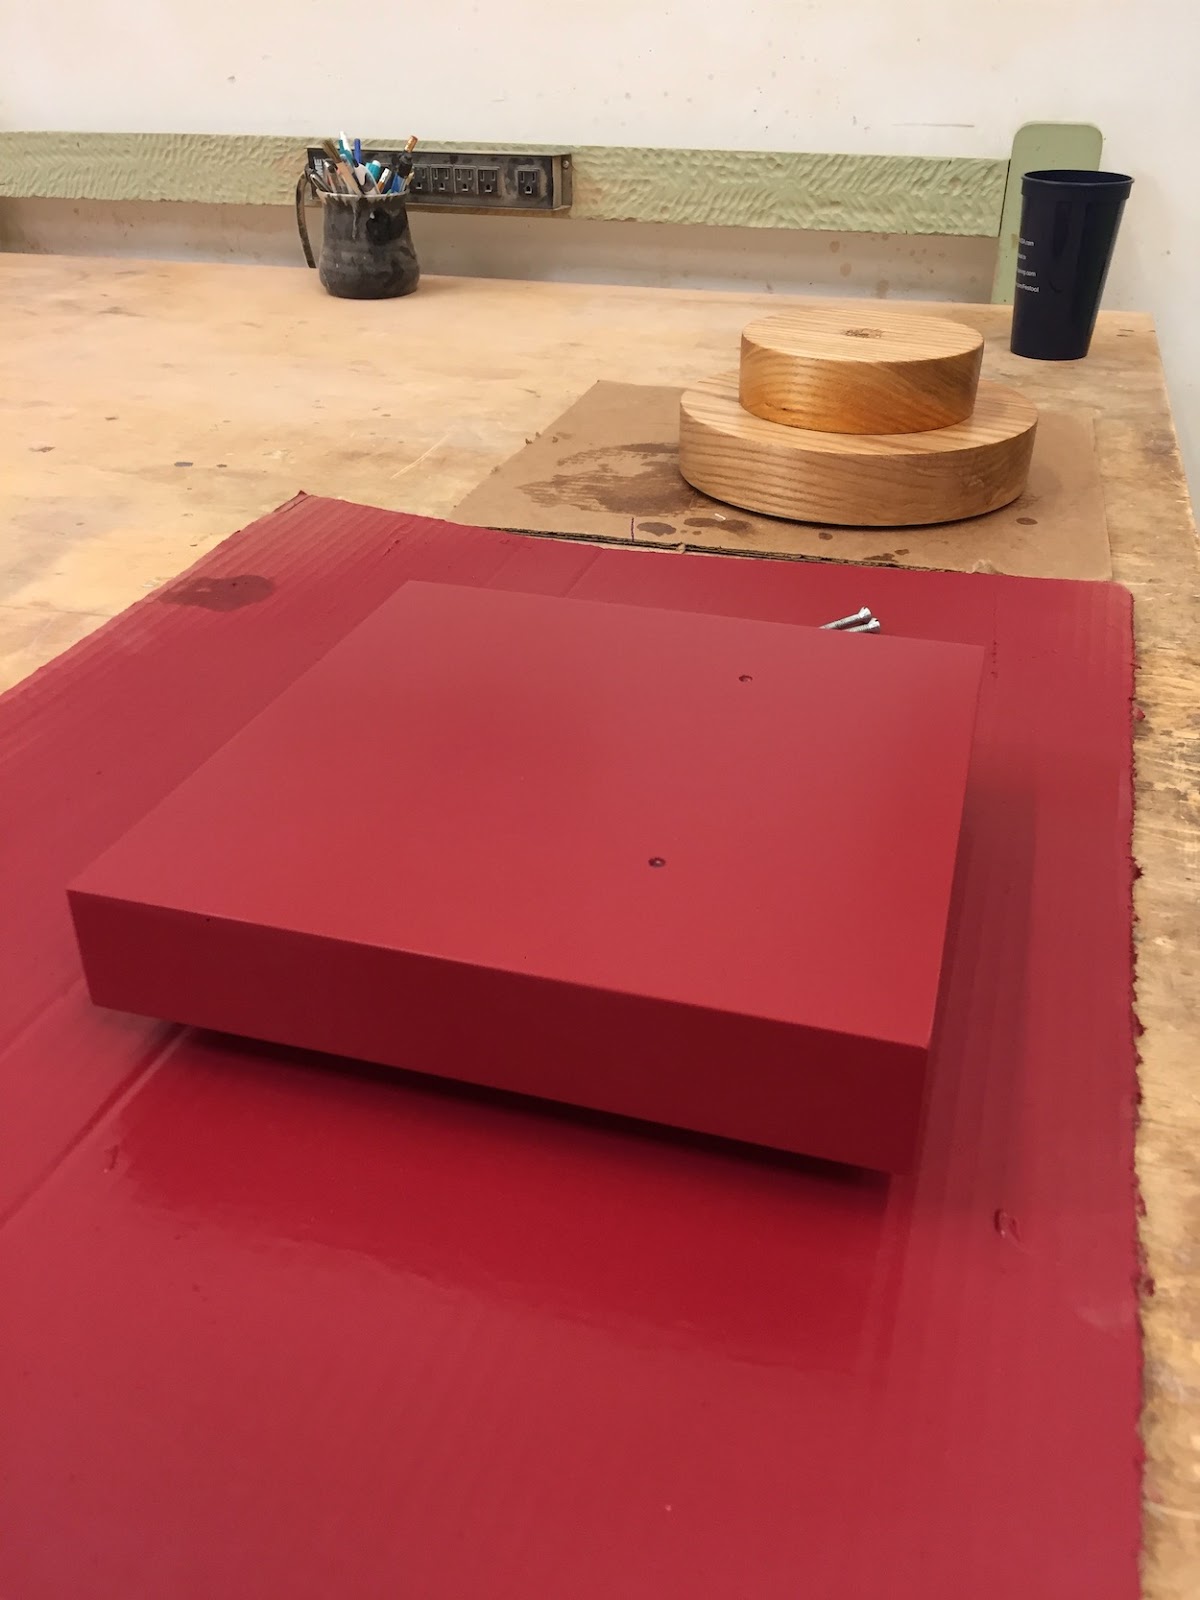
I found a suitable piece of wood,


 and he cut the shape perfectly. 


To lessen the chance of the edges chipping off, I rounded over everything with a router, 


and then pulled out the trusty old Rockwell to get this party started.  


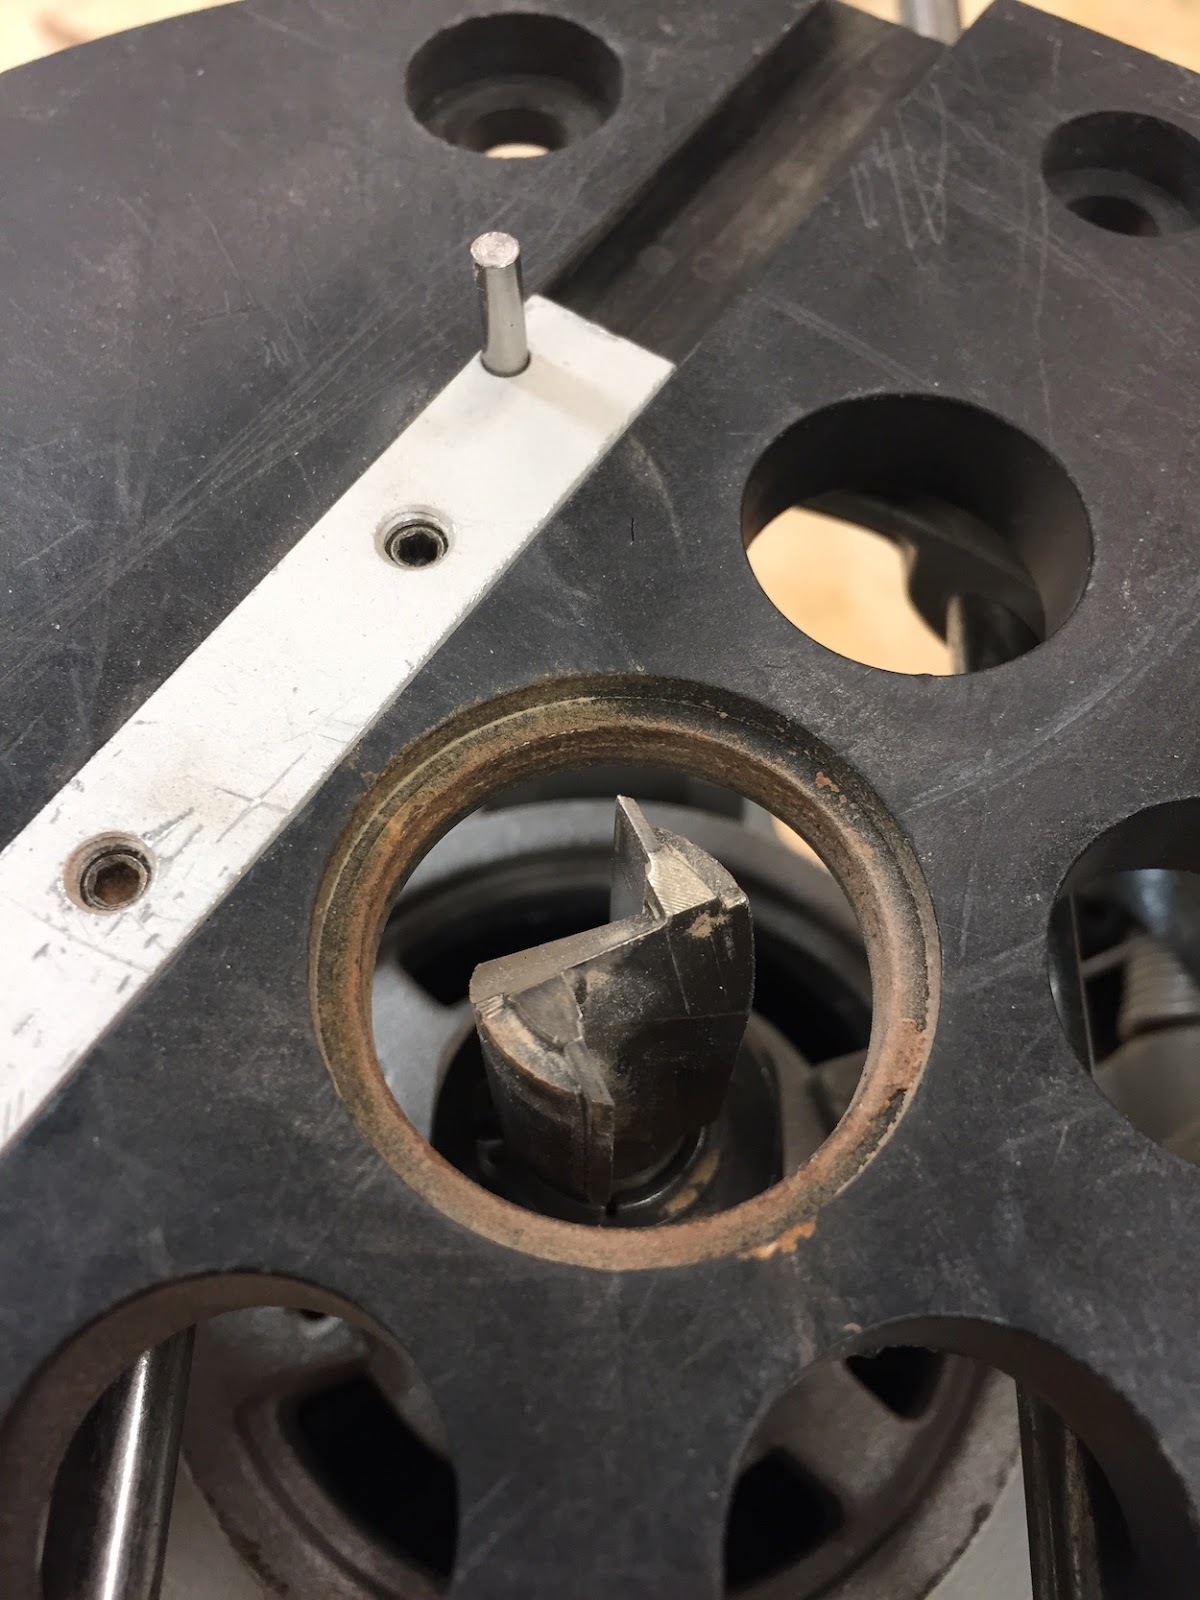
This front plate reminds me of pictures I've seen of the Titanic, where rusty parts abound. 


Since my customer requested the baseball bat handle, I pulled out a bat I had hanging around the shop. 


And started cutting. I'm sure there's a name for this knob on the end of a bat. 


Oh wait -  


it's called a ... KNOB.  

Who knew? 

The part that I worried about most was the transition between the handle and the flat part. One little slip of a tool and the tool could make this piece go flying out of the lathe, and well, that's dangerous AF. I had a rolling pin fly out of this very lathe many years ago, and I had a black eye for a month. 

Luckily, the transition went perfectly, 


and once it was sanded and blended together, it was perfect. 


It's sort of corny, but I like pulling this old relic out once in a while. 


The battle scars could tell a few stories, 


but in the end, it can still produce some nice work.


 Batter up!


Sunday, August 25, 2019

Very creative stop motion animation

By buddy Eric always keeps an eye out for fun woodworking videos - he just sent this one to me. Enjoy!


Tuesday, August 20, 2019

Feeling Lazy (Susan)?


It feels like I've been working on Lazy Susan installs all summer. Or spring and summer...  or even longer. In other words, I've been working with Susans a lot lately!

Although I almost never paint anything I make, 


this red base fit perfectly with this metal piece.


 I don't even remember what this double decker base was used for, but I ended up making a second one, after someone saw it and wanted a duplicate. 


This natural live edge base, complete with worm trails on the front edge,


was a terrific way to display this fish sculpture.  


And this one was first base that I made after I set up my Glowforge laser. We tested a few stains on the mahogany, to bring out the color a bit. 


The grain and chatoyancy was breathtaking, 


and the lasered artwork fit perfectly on this base. The sculpture that was mounted on this had a nautical theme, and this base with that piece is one of my favorites


But almost every one of these sculpture pedestals has a lazy susan swivel inlaid into the bottom, so that the piece can be rotated.  

You can't just mount the swivel directly on the bottom, as it is a little too tall (or thick), thus creating too wide of a gap under the base. 

Sure, I've seen some made this way, but when it is inlaid about halfway into the wood - the smaller reveal looks much better. 

So - it takes a little bit of work, but it's worth the trouble.

This week, I've been inlaying these like mad! Here's how I inlaid this small-ish swivel (say that five-times-fast!). 


 If you draw lines from corner to corner on your wood, the dead center is where the lines intersect. I have a very slick compass set-up in my router, called the Router Buddy, which needs an 1/8" hole drilled in the center of the area that I want to rout. 


This pin on the bottom of the router base slips into that center hole, and allows the router to pivot around, cutting a perfect circle. 


Because that pin is adjustable, I can cut just about any size of a hole that I need.


But first - I need to set the depth of my cut - in this case, an 1/8". 


This setup block allows me to set that depth in no time.  A single plunge cut with a flat bottomed bit cuts this donut in no time... maybe 20 seconds, at most.


I could have adjusted the compass jig to make one more cut, making the center just a bit smaller, so the swivel would have fit perfectly over it, but instead - decided to take out the entire center area. Since that center was about 2" in diameter, I simply drilled it out with a 2" forstner bit. 

And - BAM! ... an inlaid swivel. It's not difficult to do this, but when you have a few dozen  of these to inlay, you want to complete this in as few steps as possible. 


Once this walnut base is oiled and the swivel attached, it'll be time to mount the sculpture.  I'll leave that task up to the sculptor ... I have another few dozen swivels to inlay!


Wednesday, August 07, 2019

Oh man! If you like woodworking, put your feet up and watch this video

This video features some of my favorite woodworkers - from Wendy to Tom Loeser, and everyone in between. This is a fascinating glimpse into some really amazing wood minds! 

Put your feet up and grab a cup of coffee, and enjoy this.  


This year, in Austria, the Wood Design team has presented the pieces that was inspired and influenced by both the Austrian vernacular painted furniture and the beautiful forests of the Stübing Open-Air Museum. The style of the artwork are varied but all centered towards the theme, Change, from different perspectives. The diversity of the presented pieces may change the audience’s perception of furniture and art, providing them a chance to understand the value of Wood Design. While preserving the traditional woodworking techniques, the Wood Design team takes the contemporary route with the material, seeking the “changes” for moving forward by expressing and addressing a variety of concerns in world matters and the need to protect nature.