Tuesday, March 27, 2018

My secret weapon... for staining wood, that is....

Remember the last post, where I wrote about working on this old RCA cabinet?  


I had to line this old shelf with a new skin of walnut plywood, and (hopefully) match the stain to the existing cabinet. 


I'm not sure how you feel about it, but matching stains give me a headache. It's difficult, and sometimes impossible. And customers don't care how hard it it, they just want it done. 

Enter Mohawk finishing products... 


my secret weapon. 

They make a variety of spray stains/toners that are PERFECT for matching stains. In fact, I bought a full spectrum of their colors - so that I could layer them onto existing pieces, matching the stain PERFECTLY.


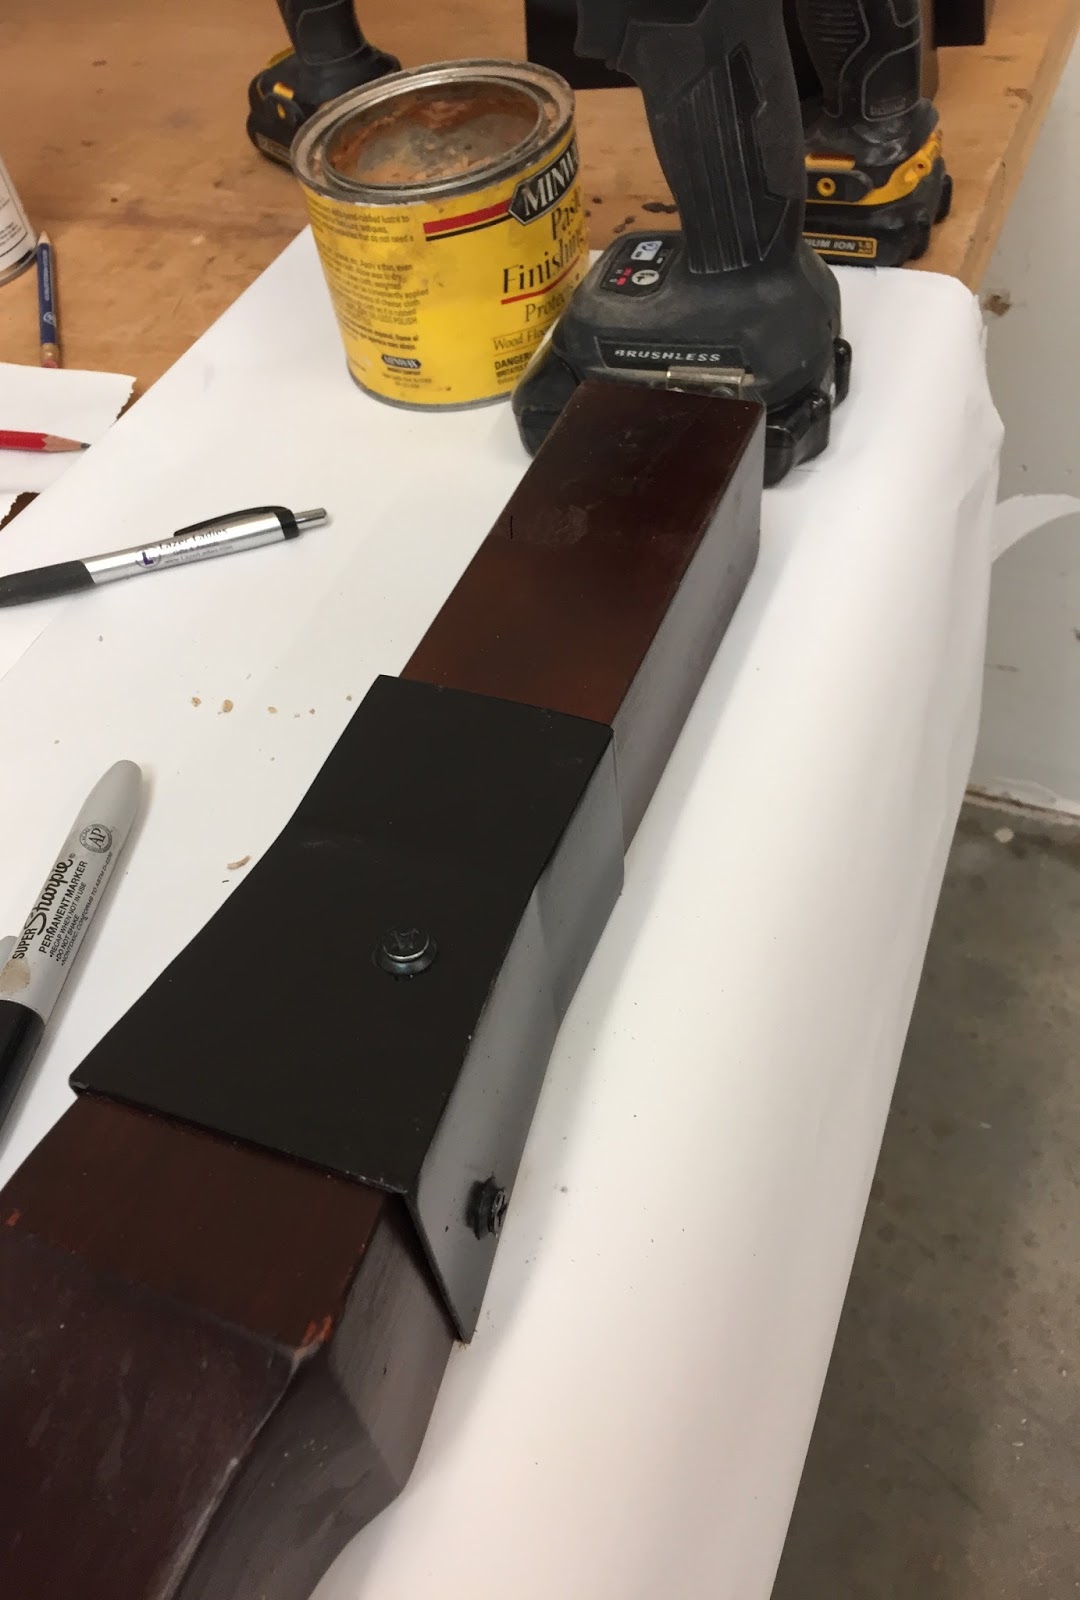
I recently had someone stop by the shop and drop off a set of 36" table legs. He re-did his dining area, and fell in love with some different chairs. chairs. So he wanted these legs lengthened by eight inches. 


My metal magician, Hugo, fabricated some collars that slip over the existing leg, and allowed me to bolt on the extension. He's a master! 


I laminated some hardwood that I had on hand, and planed and squared it to the right size to just fit into the collar. 


(Well, one of them took little coaxing with a hammer.)


(Well, one of them took little coaxing with a hammer.)

They look fabulous, and all that's left is staining them to match, Which is where the Mohawk toners come in. I sprayed them with a red walnut toner, but then touched them up with the brown walnut toner, to blend and match. 


Honestly, these lower extensions look like they've always been there!


Some decorative screws to attach everything finished off this project, just it time for my client to re-assemble his kitchen table and get ready to host his Easter dinner. 


If you've never experimented with Mohawk toners, I suggest you buy a spectrum of colors, and keep them in your shop for jobs like these. They allow you to layer colors and blend just about any hue that you need to match.


At around $7 a can, you can stock your shop pretty nicely. 

And that is my secret weapon for matching finishes... you can thank me later!


Sunday, March 18, 2018

A quick follow -up on the old RCA console TV cabinet

This was a fun little project to work on, and I was sorry to see it leave me shop yesterday.   It's always interesting to have a glimpse into how pieces were manufactured years ago. 

The sides of this cabinet were only 1/4" thick, and were basically just a skin around  a wooden carcase.  It was not very durable, but the care with which they applied the veneer was remarkable. 


Adding these shelves for electronic components was a vast improvement to its functionality. 


I applaud the owner of this piece, who wanted to resurrect its place in his home.  I'm fortunate enough to have the opportunity to build another piece that goes with this...  stay tuned!


Tuesday, March 13, 2018

World's largest push stick... and an old RCA cabinet - the old and the new!


The best way to describe having a Glowforge laser engraver is that it's a complete distraction (in a good way) from my normal woodworking. Even though I go to the shop every day with tasks at hand, I'm completely distracted and thinking up ways to make cool things for the shop.

On a whim, I cut and engraved this push stick. It was a little small, so I re-designed it.


 I forgot to resize it, so I ended up with a 18" push stick - WAAAAYYYY too big, but very fun to have in the shop.  (It may not look like it, but this is a beast!) 


Meanwhile, some classes have started, and more classes are starting back up next week. 
That means a lot of prep at the shop - glue bottles to be filled, 


and boards to be planed. 


But I wanted to share a cool project I just completed - working on a mid century modern TV cabinet. The TV has long since quit working, but the owner wanted to resurrect the cabinet and turn it into something more useful. 

It's beautiful - walnut veneered and book matched doors, and gorgeous details.


 Like decals 


and name plates. 


 The inside was unfinished, and once the electrical components were removed, the exposed surfaces needed some TLC. 


This is where the TV once sat, with power and speaker wires running through this opening. This opening was just the start of the process.


 I measured and cut some panels, fitting them into the cavity - with holes drilled for adjustable shelves. A little stain and lacquer, and this cabinet was ready for resurrection. 


This bottom panel looks like it was always there; the stain and sheen match perfectly. 


I'm finishing up the cabinet tomorrow morning, and the owner is over the moon with its process. In fact, he could barely contain himself when I called to say it was finished. I'll post a few pics in the next blogpost... stay tuned!

Meanwhile, I'm going to fool around with the laser for a few more hours before this day is over. Hope your woodworking is as fun as mine is!