Saturday, June 24, 2023

My latest WIP....

 If you scroll down a bit, you'll see a really cool project that I worked on a few months ago. It was for a miniature mailbox, to display some brass mail slots.


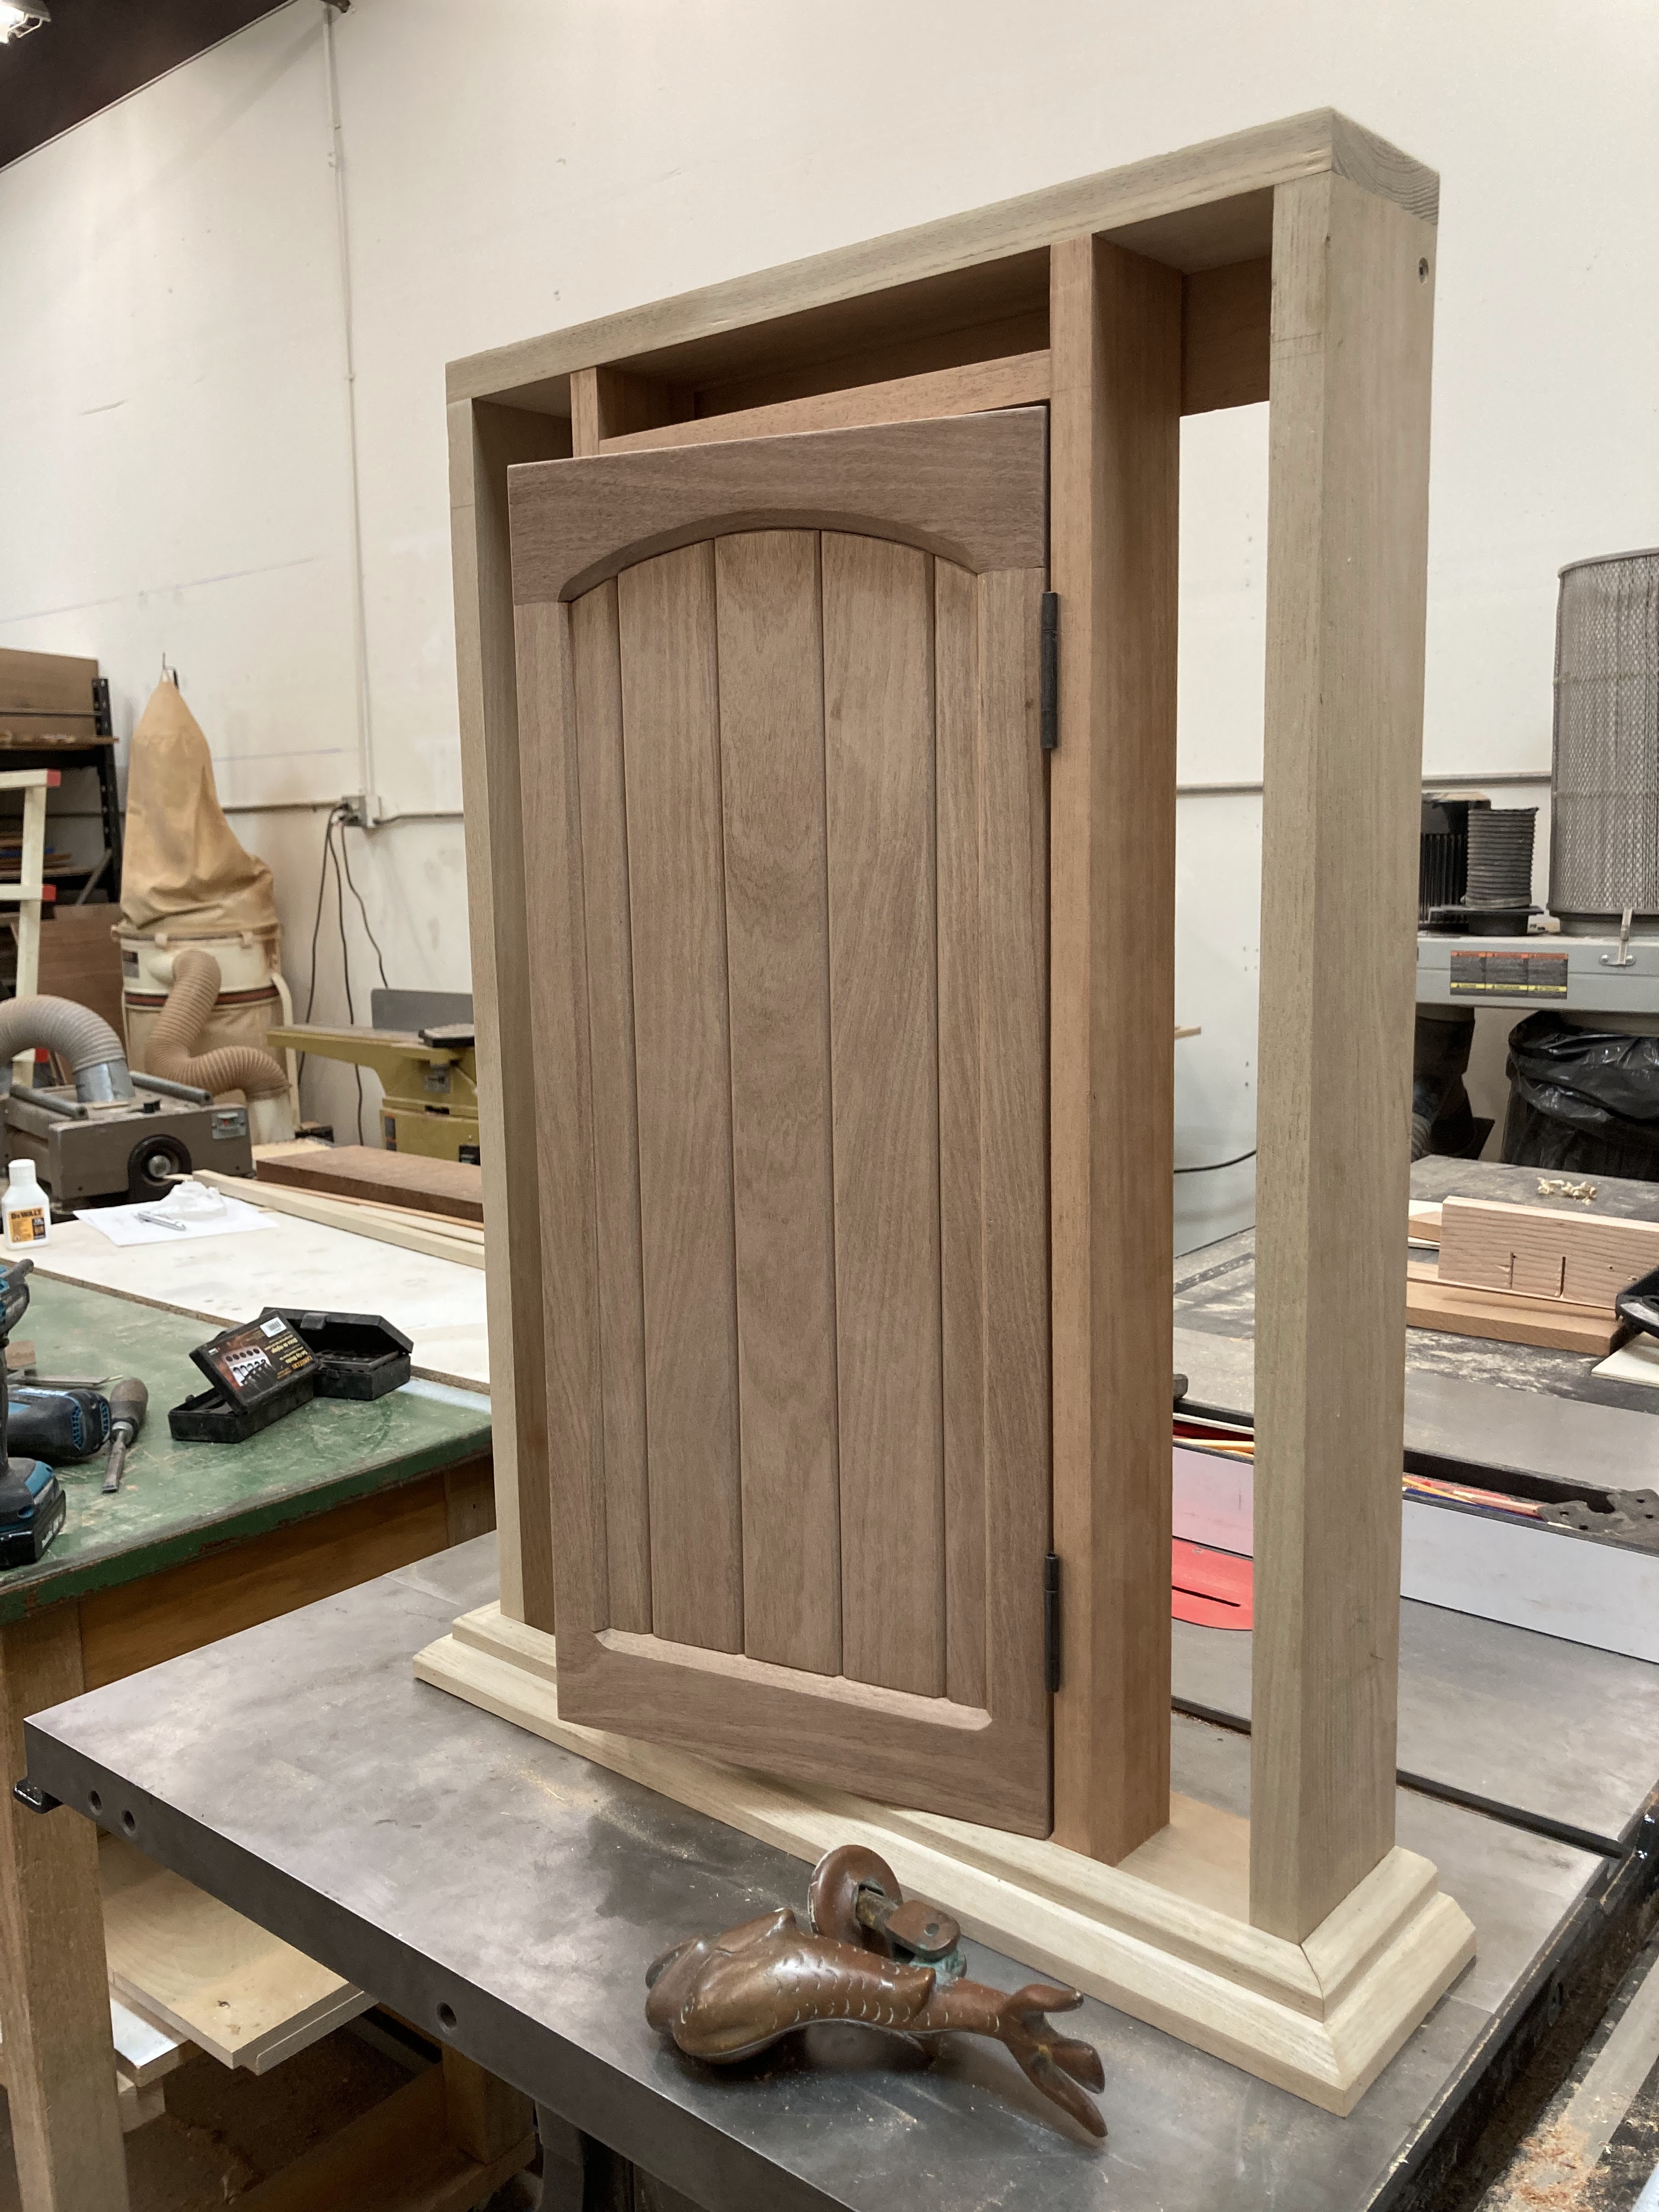
That same wonderful customer of mine has challenged me to display her door knocker collection, and the first thing I thought of was making miniature pre-hung doors, to display each door knocker. I searched online for some interesting doors, and printed off a few of them, letting my client decide which ones she liked.


I started with a fairly simple one, it was going to be a rectangular shaped, arched panel door. A couple of details we added to it with some storage, and possibly a shadowbox within.


Making the frame and the jam was easy,


 but it just needed something. 


So I added some crown molding to give it a little pizzazz.


My buddy Rick had a laser large enough to add some brick detail to the sides, so we lasered some brick artwork (to scale!)


and I milk painted them red, to match traditional brick colors.


I ended up not really liking the red color with the mahogany tones of the wood. 


so I ended up enlisting another friend to help me "age" the facade of the door. 


Pieces like this are always a work in progress, better known as WIP. It feels like my shop is full of those!


Kris B is amazing; she used a variety of materials to get the aged, stucco-like effect on the piece. 


The addition of some dentil molding made all the difference. 


This piece gets hung on the wall via a French cleat.


Wait'll you see the next door I'm working on, I have clearly jumped down a rabbit hole....


Monday, June 19, 2023

The value of stepping away from something for a while

 It's probably been 8 years since I worked with clay. I've missed it.

I'll be honest - I wouldn't call myself a good potter, but from time to time, I do come up with some decent pieces. 

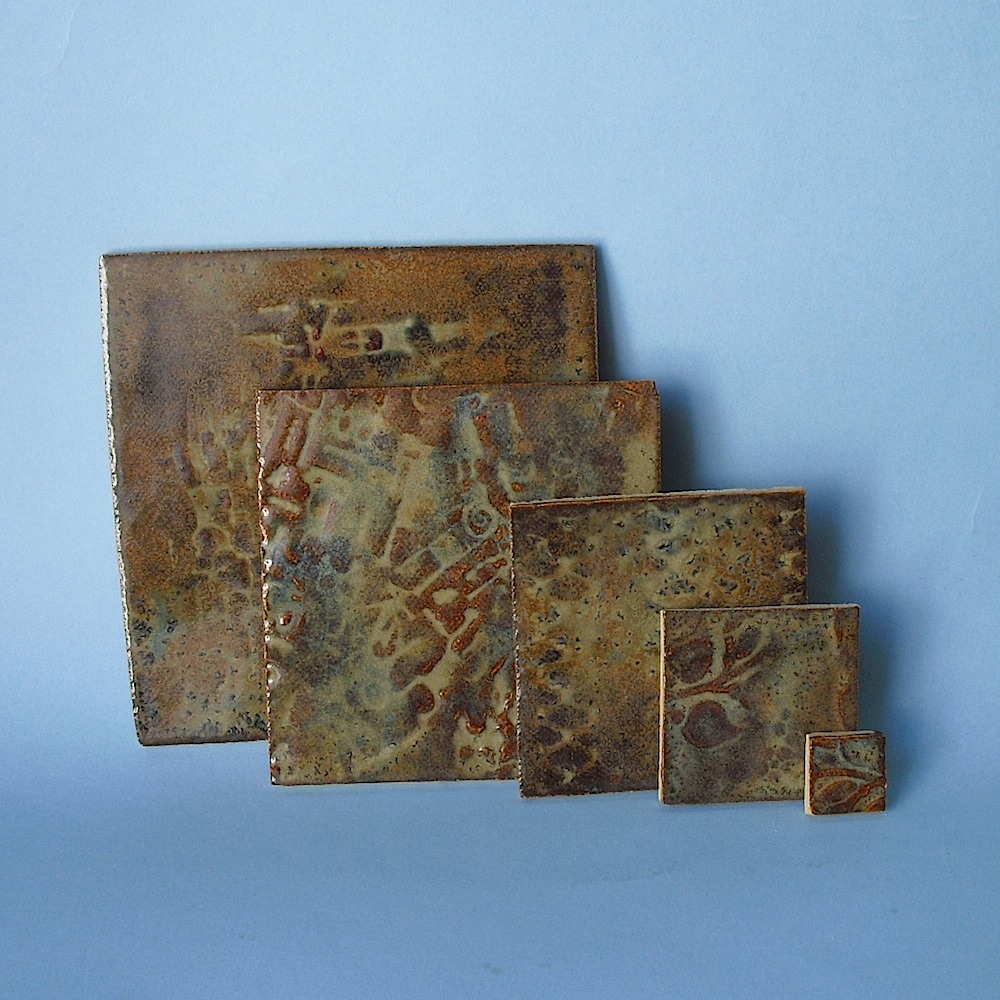
I can't decide if I like tile making better, 


or using the wheel to throw pots.  I learned to throw in the early '90s, and even though I had a great instructor, I couldn't manage vessels much taller than 3 or 4 inches.  These little sake cups hold 2 or 3 ounces.


Fast forward - I've started throwing again, and this time around - it's like my muscle memory has kicked in. The pieces I'm throwing right now are so much better than I'd expected... bigger, better form, better wall thickness... you name it, it's all improved.  

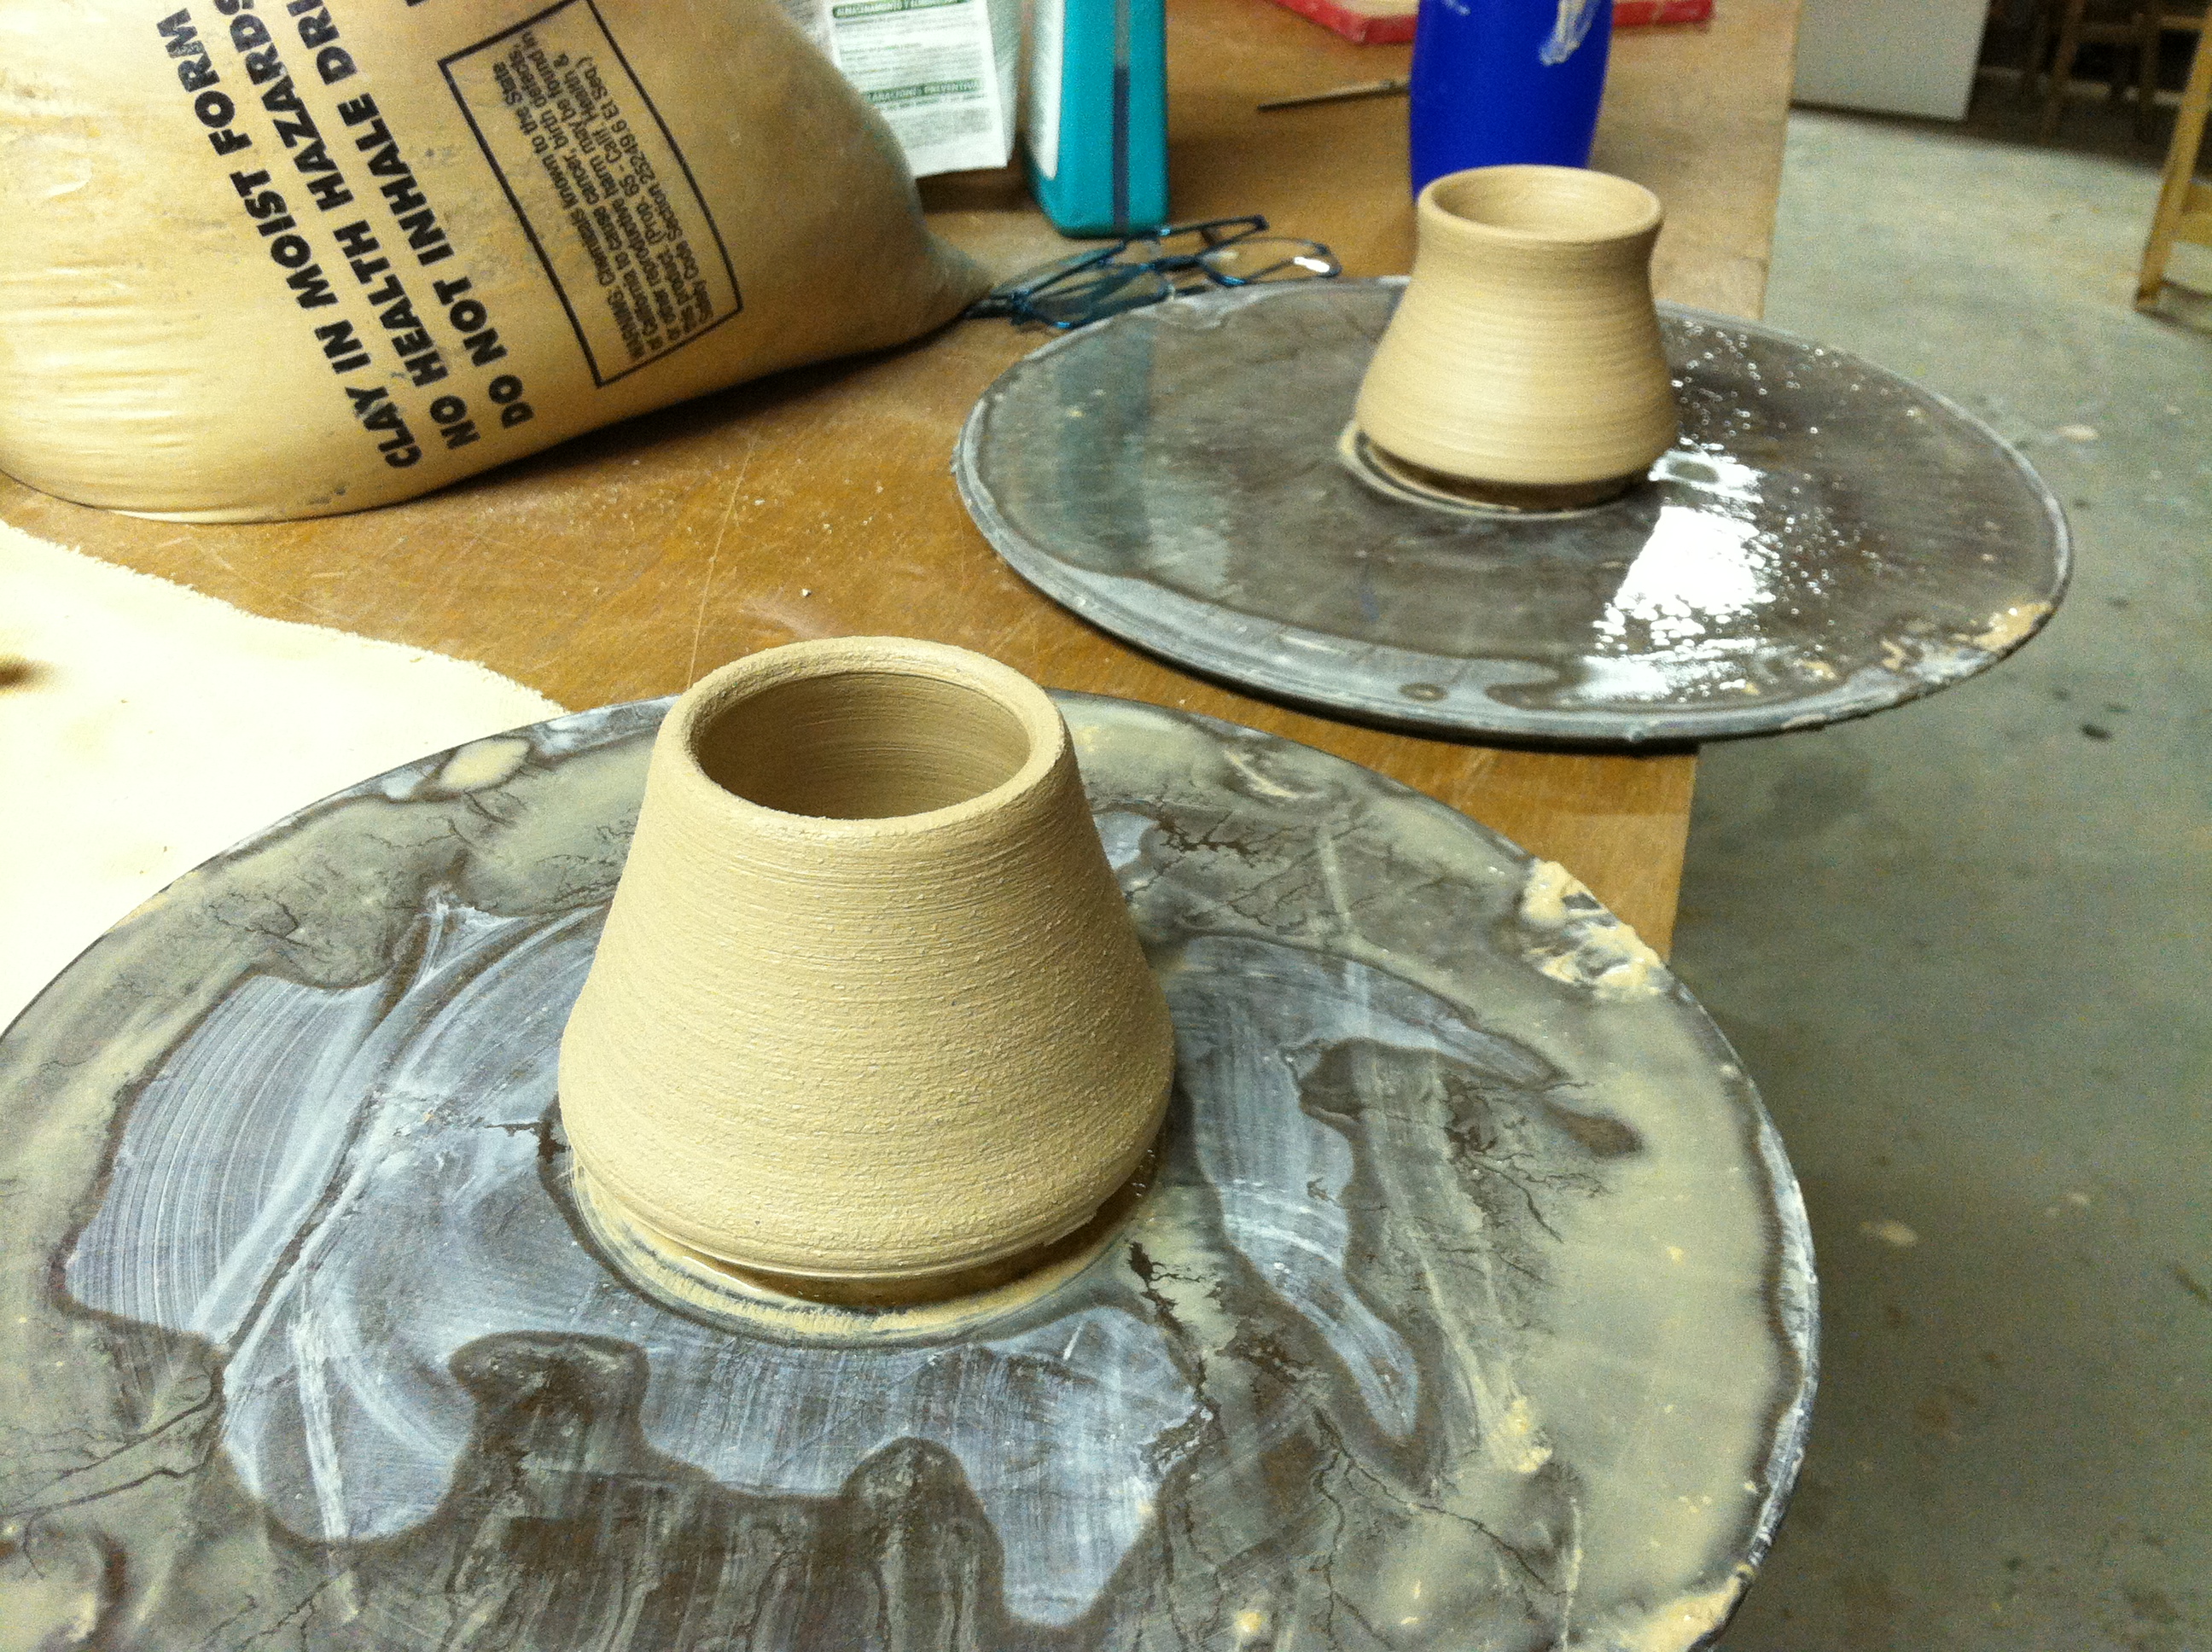
Here's a new pot, next to two older, much smaller, cups. 


My newer bowls are spot on! 


And I even managed to throw a lidded vessel - something I don't think I've ever done! 


The lid developed an S-crack, probably due to my rusty throwing technique, but I'll still finish it, hoping that it won't blow up in the kiln. I figure a small crack in a lid won't matter too much. 


I even attempted a few plates - those have been really tough for me. For some reason - making plates were so much easier this time. I think there's a huge value to stepping away from something for a bit, and the going back to it. 


So here I go, jumping down the rabbit hole of clay again. It's going to be so much better this time around!


Monday, June 05, 2023

Who knew eucalyptus was so beautiful !?!


Back in 2016, I was approached about building this three-tiered shelving unit. 


I don't know where the photo came from - the customer emailed it to me, and asked if I could build it. 

My answer?

I really liked the minimalist design, and the legs could be easily fabricated from flat steel stock.

So - against my usual policy, I ordered the legs for it. I usually wait until I have a deposit to start purchasing materials, but for some reason, I ordered them before getting a confirmed commission. 

I drew up what I wanted, and Hugo, my awesome metal guy, made them.

Turns out - the customer never ended up ordering the shelf, and I was stuck with some gorgeous legs for a future project. Turns out - it was meant to be.

Fast forward - seven years... there's a corner in my house that needed a shelving unit.

Let me jump back in time for a minute...

When I first opened the woodworking school in 2009, I purchase a HUGE lot of wood from an auction house. There were all sorts of random boards, literally a couple of thousand board feet of miscellaneous woods. It filled a UPS truck and took three of us to empty it, and another week to sort it.

Two different batches of boards caught my eye. 

Both were abnormally heavy for their size, and I was stumped! Since I couldn't identify them, I sent pieces of them to the US Department of Agriculture, whose Forestry division offers a free wood identification service.  Here's a link, if you ever want to get some wood identified. 

Turns out the lighter colored boards were from a Breadfruit tree, and I made this desk out of it. 


Who knows how these boards made it from the South Pacific region to Las Vegas! Check out this tidbit of info, taken from the National Tropical Botanical Garden website:

"Europeans discovered breadfruit in the late 1500s. They were amazed and delighted by a tree that produced prolific, starchy fruits that, when roasted in a fire, resembled freshly baked bread in texture and aroma."

The other batch of boards was smaller - just a three slabs of ridiculously heavy wood - and again, the USDA Forest Service identified these boards too - Eucalyptus! These boards had the deepest, most rich and vibrant maroon color of anything I've ever seen. So one afternoon, I laminated them, planed and sanded them, and finally used those metal legs from 2016.  


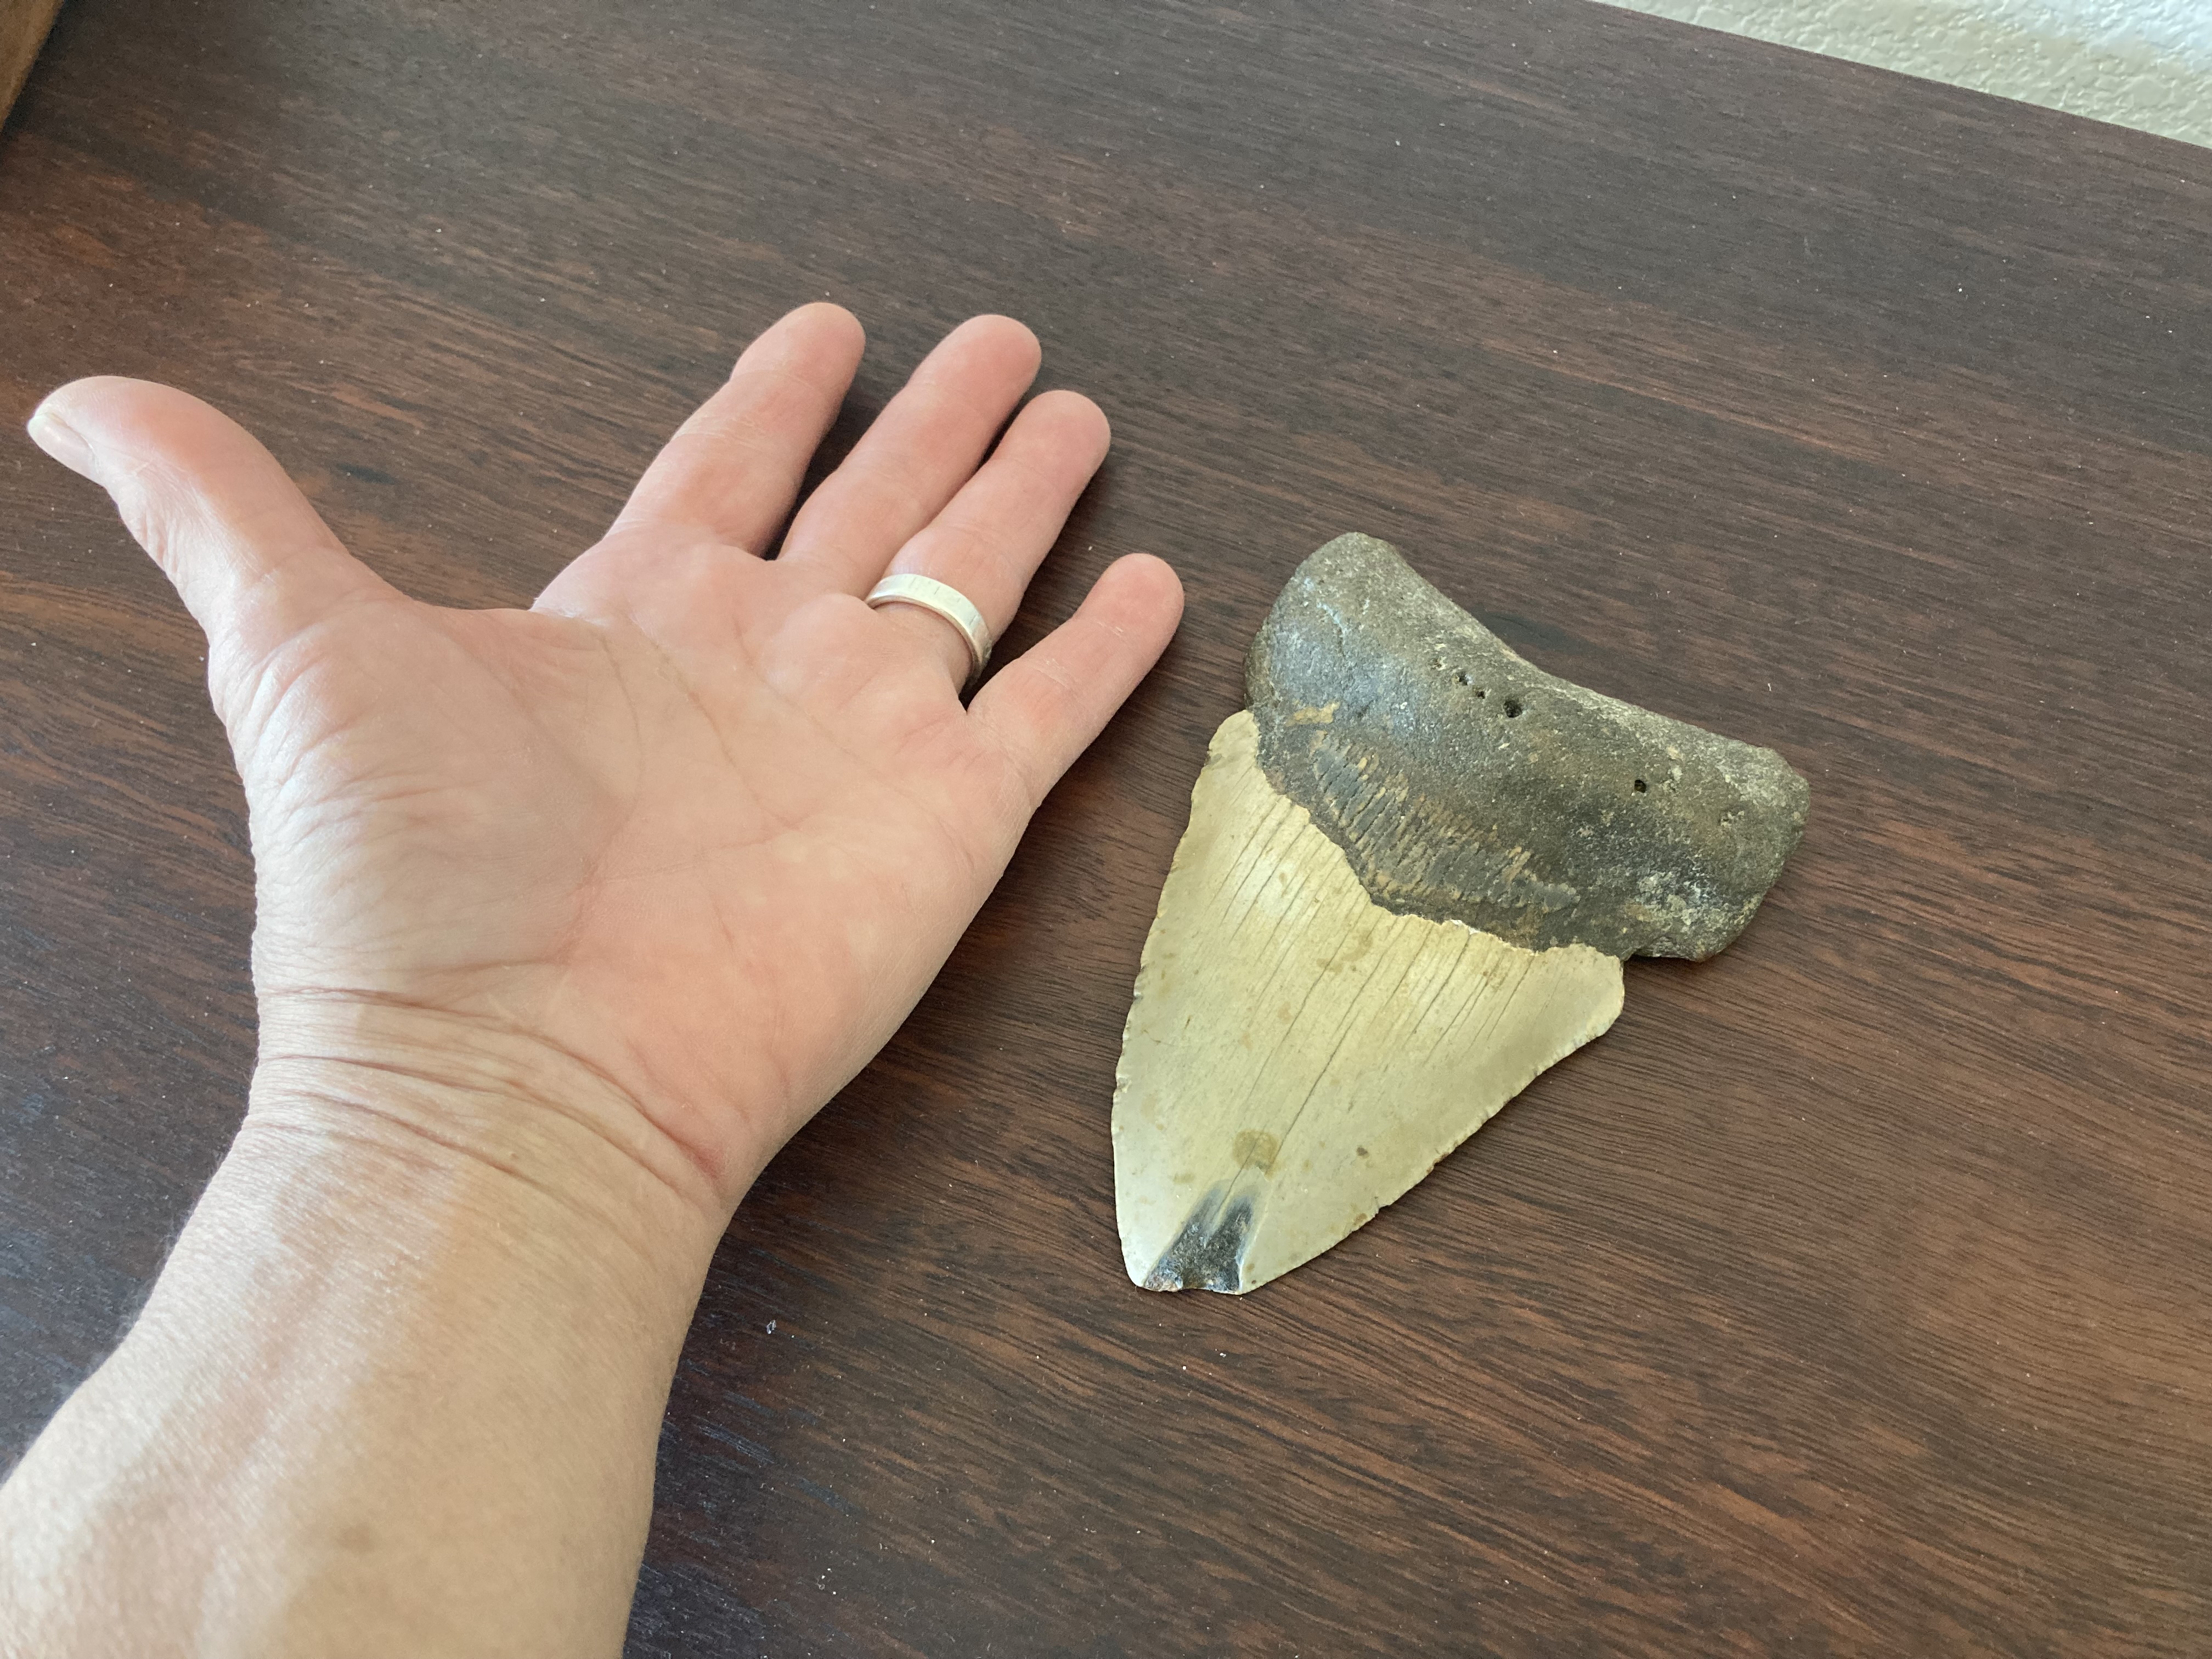
BTW, yes - that's a megalodon tooth on the top shelf.  


Because - why not?

This unit is one of my all-time favorite pieces that I've built - and yes, it's pretty simple and nothing special, design wise. 


But the wood makes this piece pretty special. 


And here's the good news - I had one piece left.. about 8" wide and six-feet long. There's not much you can do, furniture wise, with a single board, but I'd kept in the shop - and it in the back of mind, until the right inspiration hit me. 

And it finally hit me last week. I sketched out a simple design for the legs, and gave the drawing to Hugo. 


Within a few days, I had the legs in my shop - and viola! 


And just like that - I've used the very last of this wood that I purchased 14 years ago. 


I'd say it was a pretty successful purchase!

Tuesday, May 23, 2023

An incredible (local) basketball shot


This doesn't have a thing to do with woodworking, but it's pretty incredible. And happened right here in Vegas!

Saturday, May 13, 2023

Another small challenge

Here's an awesome project I just finished - simple, yet pretty rewarding. 

The head of a local non-profit came to me with a task - design a base for this metal sculpture. The piece is fairly small - a bronze book about 5"x10" open to an Anne Frank quote. 


Believe it or not - there are a lot of sculptors here in town, and I make a fair number of sculpture bases every year. Most times, they're pretty simple - a round or rectangular block of wood with a lazy susan underneath, for spinning the piece. I'd never designed a base for a "book" before, and felt a few prototypes would be a good way to figure everything out. 

My first thought was a flat base, slightly angled to tilt the book up a bit, for better viewing. A simple solution. 


Then I tried scaling the wooden base down, to emphasize the book. As the creator said - less wood! But we didn't love that design, either. 


Finally - a vertical mount seemed like a better option, 


and we felt this one was the winner. 


Here's the base, with the bronze piece removed.


The first step was to build the bases.


Now I've made enough bases to be a little concerned about the way this piece was to be mounted. There were some holes that were drilled and threaded in the back of each one. 


But unfortunately - none of the holes were in the exact same spot! 

So it wasn't like I could drill two holes and be done. Each piece has to be marked, drilled and mounted individually. Then things got really interesting! Some of the holes weren't even tapped straight, so mounting got even more dicey. 

I made a couple of patterns, locating the holes. This one in MDF first,


 and then a cardboard one... both sucked. 


 Even with a pattern, no two hole locations were the same. 

So I need to figure out a better method for marking each one individually. 

All woodworkers have heard of dowel centers - They allow you to precisely transfer the location of one set of dowel holes to the corresponding holes in the other half of a doweled joint. 


So I came up with my own version in metal. The threads were 1/4" x 20, a pretty common size, so I cut down a couple of bolts,  put them into my drill press and spun them, grinding a perfect center point in to each one. When threaded into the back of each bronze piece - they perfectly marked the hole location for each one. 


Some of the holes were really crooked. 


Another thing to figure out! But in the end, all of them were marked, drilled, and individually fit. 


Now here's my secret weapon - Mohawk spray stains. This can of stain has become my go-to for staining wood evenly, with a minimal amount of work. 


Because each base was custom drilled for each sculpture, I had to keep them in order. So I numbered them and started spraying. Bottoms first! 


Then the tops. 


And finally - each one was mounted, and checked for accuracy. 


I'm one of the "smallest" builders in town, and take on a good number of small projects like this. 


In fact, making prototypes is one of the best, most creative part of my work.  


And frankly - I'll leave building kitchen and bath cabinets to the other shops who want to tackle jobs like that. 

What's that line?.... been there, done that!

My next two jobs aren't very glamorous - I work with a lot of property managers who are constantly replacing cabinet components that their tenants either damage or throw away. So I'll be starting a cabinet door and a couple of drawers that went missing. 

As Roseanne Roseannadanna said - it's always something!


Monday, May 01, 2023

Coil springs - a humble beginning!

This piece of metal may not look all that glamorous.


 After all, it started out as a hunk of steel from a coil spring. 


But put it in the hands of a craftsman like my buddy Len, and you know you're going to end up with something pretty special.  Len started making knives as a hobby, but I suspect that given the beauty of his workmanship - it's going to turn from a side hustle to a booming business. 

Here's his new forge, 


but here's the old one, with a knife inside, getting its temper on. 


Len came by my shop a few months ago, in search of wood for handles. We went through a few boxes of wood, and he chose some lovely pieces. In return, he made this amazing piece for me.

It is CRAZY sharp! 


This particular handle is made of MonkeyPod - "a wood named for the spiral-shaped fruit pods which the tree bears. 

Outside of Hawaii, one of the most common names for the species is Raintree, which is due to the leaves’ tendency to fold up at night or during periods of rainfall, allowing rain to pass through its broad canopy to the vegetation below."

(Thanks Wood DataBase!)


He's even started making the custom fitting sheathes for his knives, and together - they are stunning. 


His sheathes are works of art by themselves, but combined with his knives - WOW!


If you're interested in acquiring one of his knives, drop me a message and I'll connect you with him - he's s hell of a nice guy, and an amazing knife maker. You won't be sorry.