Friday, August 15, 2014

The most amazing garden in years!

Sometimes it takes a few years to figure things out, to get it right. This year - I finally figured out how to manage a good garden here in the desert. Wait – I take it back.... A great garden! 

But don't get me wrong,  my past gardens have been pretty good. But this year - it seems like everything came together perfectly. 

I reserve my Sundays for gardening - it's the only day of the week I manage to get out into the yard and play in the dirt. Add a cup of coffee to the mix, or a beer if it's later in the day, and I'm pretty content. 

These tulips bloomed in February; we had a very mild winter and things started sprouting in January. Right around then, some friends and I got together and decided to start our gardens from seeds, rather than buying starter plants. We each chose the plants that we wanted to start - and agreed to meet in a couple of months, so that we could trade plants. 


It was a terrific idea - for just a few dollars, I started zucchini and cucumbers and beets.I saw a post somewhere online that mentioned using the cardboard cores from toilet paper rolls or paper towels for starting your seeds. It's a perfect way of getting your seedlings growing - put a little dirt in the tube, drop in a seed, and water it. 
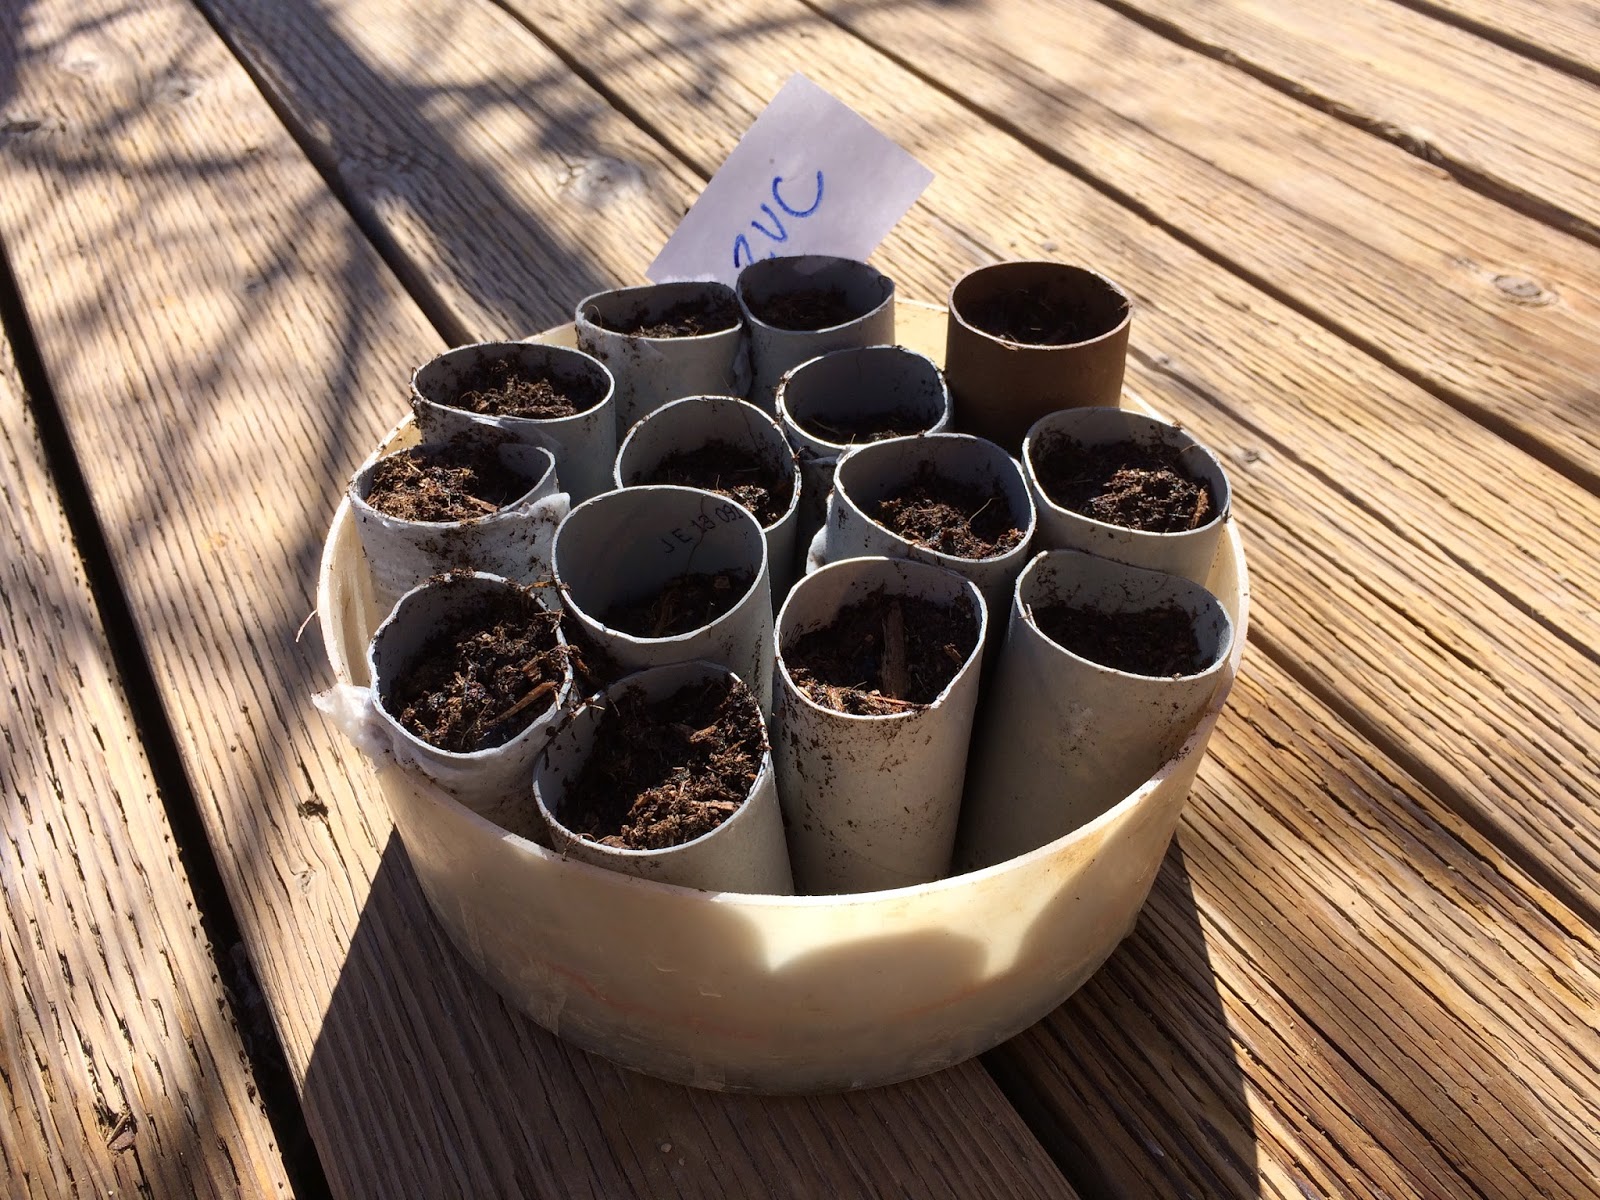

 A few weeks later- you'll have these. They were reaching for the sunlight, and for just the cost of a pack of seeds, you can have about thirty or forty plants. That cardboard is biodegradable, so you can just dig a hole and drop it it. 

 We traded them in March - Mel and Nancy brought in a HUGE variety of tomatoes, Lupe brought in peppers and eggplant - as a matter of fact, we had so many plants were just giving them away to people in the shop.


 Mine were in the ground in no time.


Here's the humble beginning of the garden, in just a few plants in place.


 See that tall plant toward the back? Someone told me about cutting the ends off scallions - and throwing the roots in the soil. Those are the scallions growing - they're about 3 feet tall! 


They got a little tough, so I didn't eat them - but they sure do look cool in the garden.

This is the first time I actually mulched my soil - it makes everything look so clean and pretty. 


The artichokes are one of the first plants to take off,


 and I had a decent crop of them before the aphids took over. 


I had so many, but a few got past me -  like this Don King artichoke. In the end– the aphids won that battle and I had to cut back all of the artichoke plants to the ground. Luckily - they are perennials; they'll be back next year. And I learned a trick or two about dealing with bugs. More on that later...


Here are some beets just starting to sprout up.


 I had no idea beets were this easy to grow - here they are a few weeks later later.  


At first, the beets were tiny


 and then POW! 


... Mega beets! 


The greens are almost better than the beets themselves!


As the warmer weather kicked in, the tomatoes started wreaking havoc. 


The garden went from this 


to this 


and then to this.... in no time! 


Every other day, I was pulling out yields like this...


Homemade chipotle salsa, anyone?


This might be the most perfect tomato I've ever grown.


When one of the zucchini gets past me and grows a little too big,


 it's time to make this. 


And these "donuts."


We had a lovely storm, and BooM! 


Everything just exploded!

I wish I'd have dated these photos, to see how long it took to go from this to this - 


but if felt like it was almost overnight!


The eggplant are just maturing - I can't wait! I'm not sure there's anything better than grilled eggplant on pizza. 


Once in a while, I'll be cleaning out some dead leaves or harvesting some tomatoes and I'll find something like this. I didn't even know the cucumbers were still growing! 


Here is today's harvest - not bad. I'm going to try Scott Conant's fresh tomato sauce recipe with these, even though these aren't technically "cooking" tomatoes.  


Finally - one of the keys to the success this year has to be the "pesticide" tip that my friend Joann shared with me. Joann is a Master Gardener, here's an article about her in our local paper! 

For years, I've suffered the insult of growing a great garden, only to have it destroyed by mid summer by insects. 


hornworms (true bitches)


 squash bugs, which are pretty much zucchini terminators.


Bastards!

 You name it, they have "visited" me. But this year, Joann suggested sprinkling my plants with diatomaceous earth. I'd heard of it, but never knew anything about it. Turns out - it's a garden saver! 

I use the food grade version, which some people actually eat. (WTF?)  I sprinkle it on my plants, using a huge restaurant salt shaker. It bothers the hell out of them, effectively dehydrating and killing them. And it is perfectly safe. 

After a good sprinkling - it almost looks like it has snowed in my garden. But - I'd rather have white "snow" on the leaves, than bugs. Everything gets a good rinse before I bring it inside.


And there you have it - the best garden so far. 


Many thanks to my gardening buds - Mel, Nancy, Lupe and Joanne - hope that we can share plants again next spring!


Tuesday, August 12, 2014

Following up on another project....

Remember the kitchen island I finished about a month ago?  Wow - check out these pictures of the completed project!


If Metropolitan Home was still in publication, 


 this kitchen could be featured in it! 


I just love the splash of color.


Saturday, August 09, 2014

Back in bid'ness...

It's crazy how a one-dollar part can put you out of business! 

When you see a sign like this on one of my tools, you know I'm stressing about it! I hate it when things break in the shop, but let's face it - when you have 40 or 50 people playing with your tools - that is bound to happen.  


I was telling my mom about the planer breaking the other night - and how I opened up the side of it and saw it just needed a master link.  (It was pretty easy to figure out, when I saw this.) 


She said she was amazed at how I could figure out what it needed and fix it. But - half the battle of running a shop is knowing how to fix the stuff that breaks. Something will always be broken in the shop, or need some maintenance. 

Let's just say - I know my way around a grease gun. 


It took longer to track down the parts than it did to repair this tool. I had to go to three different hardware stores to find this part.


 Out with the old; in with the new.


As my buddy Philip says - Bing Bang Boom - you're done! 


And back in business! 

Not every repair goes this easily! But my best advice would be - Learn how to fix your tools by yourself. I'm sure the service company would've charged a few hundred dollars to come out to fix the simple issue.


Wednesday, August 06, 2014

Look what you can become in three years and four months!


Damn, she's tenacious!


te·na·cious

 adjective \tə-ˈnā-shəs\
: not easily stopped or pulled apart : firm or strong
: continuing for a long time
: very determined to do something


When Lupe puts her mind to something, it's probably best to step out of the way. Remember this series of twelve lectern tables she made (and sold!)?


Or this Cherry rocker? 


Or the Walnut bookcase? 


She even built this chair scooping jig ...


so she could make this stool - verrrrry cool!


And then there were these two Adirondack chairs she finished just a month ago, only to sell them (practically) before they were unloaded from her van!


Yes, she's determined to conquer woodworking, and I suspect that this last project she completed puts her in a new class designation - journeyman woodworker. I do believe she's no longer a rookie!

Check out this amazing sewing cabinet that she just completed, with a lift mechanism for the sewing machine. 


Here's what she wrote about the cabinet: 


This is my latest woodworking project, which I just finished this afternoon. This is a sewing machine table, and frankly, it took much longer than anticipated: Approximately 85 hours of work went into it. This is probably the most difficult piece of furniture I have ever made. Thank you to my woodworking sensei, Jamie Yocono, and the gang at Wood It Is for their support, laughter and beers!


For you geeks who like details, here are the specs:
Table measures: 36” long x 23” wide x 30 high.
When extended you have a working surface measuring 72” long x 23” wide.


Material: Solid cherry legs on cherry plywood carcass. Solid cherry tabletop, drawers and doors.

Main details: Continuity of the grain between the tabletops; half-blind dovetails on drawers; slat joints on doors to allow for expansion and contraction of the wood; minimal use of hardware on cabinet, except for an elevator system for the sewing machine; modified hinges to allow for a 180 degree opening.


Finish: Five coats of Watco Danish Oil with one coat of Watco Satin Wax. 


I'm exhausted just reading about it! I really have to congratulate Lupe and honor her for the fine work she's been producing from the shop. In the three short years she's been taking classes, she's moved from novice to big-time!

Just out of curiosity - I looked up in my school records when Lupe started taking classes -  it was in March, 2011. 

That just shows you how long it might take for you to transform your skills - three years, four months!


Tuesday, August 05, 2014

Where the hell is Matt?


Wanna feel good? 

Watch this!


Thursday, July 31, 2014

Another 50 minute masterpiece!

One of my most favorite tools in the shop is the 

Veritas Journeyman's Brass Mallet, from Lee Valley. Damn, I love their tools.  

So when the handle broke (for the third time!) - I had to take an hour out of the day to make a new one. It didn't take much prodding - playing on the lathe is always a nice diversion.

 I found a piece of very straight grained oak - perfect for a handle.


 I prepped it for mounting it on the lathe, 


and then turned it down to a comfortable size. 


I used a small scrap of baltic birch plywood so that I wouldn't hit the chuck with my lathe tools. 


Every now and then, I'd test the size by gripping it - I didn't want it too big for my (small) hands.

Eventually, the size and shape was perfect - I made it a bit longer than the original handle.

That one alway seemed a little short to me!


A little shellac and wax, and then it was ready to mount to the mallet head. 


The small tenon on the end came off with a chisel and a bit of sanding.


 And here it is - another 50 minute masterpiece! There are times when these little projects are just what I need - quick and easy diversions to the bigger pieces I build. Plus - they're much easier on my back!