Wednesday, January 10, 2024

Not-so-much Fun with Angles

Did you wonder how my four-foot picture frame turned out? 

Well, not as expected... at first glance, this looks fine, right? 


 Sure, it's a little narrower than I planned - I was hoping for a 2" wide ring, but a little chipping necessitated trimming it a little narrower than I wanted. 

See, that's the thing about trying to use up scrap wood... it's SCRAP for a reason. Maybe it had a hairline crack in it, or it was the end of a board, straight from the mill, with some checking on it. Either way, these scrap pieces were trimmed off for a reason... mostly unusable. 

And as mush as I inspected them for defects, I still encountered some problems once I started cutting the ring. 

Here - the whole side of this segment blew off. 


Same here.


And then - when trimming the ring a little narrower - the Dominos revealed themselves.


 Oy vey.


 So for now, it's leaning up against the wall, until I decide if it needs to go in the dumpster.  Yes, I could probably patch it, and paint it - but it's hardly what I envisioned when I was making it. 

The good news? I have virtually no cost invested in this, and just 2-3 hours of my time, so... what would I do differently? Probably use better lumber, for one thing.  Use wider pieces, too.... which would result in a wider ring. And finally - I would place the Dominos a little more carefully, so that they wouldn't be revealed when the finally shape was cut. 


Live and learn!


Friday, January 05, 2024

Fun with angles

 It's that time of the year - time for cleaning, finishing up some projects, and planning for what needs to be built going forward. 

After finishing that huge Sapele linen cabinet that frankly, was a little overwhelming, 

I wound up with a stack of cut-offs from the lumber I was using. (Thanks for the major help with that, Ken!)  They weren't long - maybe ten inches or so, and it was either - use them, give them away, or burn them. 

I love this calculator for building with segments. It lets me design a frame like this, tweaking it until I have the specifications that I want. 

I started with 16 pieces, about 10" long and 3" wide. Of course I Domino'ed them! 

It starts with gluing together two pieces. 

And then gluing that set into a 4-piece set. And so on...

When you start getting larger segments, the clamping can be a little tricky. In this case - a clamp is needed end-to-end, but the force of that makes the miter want to come apart, so a perpendicular clamp is needed. Also - an extra set of hands is nice to have.

 These two "quarter segments" now get glued into a half. And so on... until I had two halves. 


Here's the best part - once you have two halves, you can check the joints on the two halves, to see if they mate correctly. If not - you can correct the angles slightly, to make you look like a woodworking rockstar. That sketch below shows that the two haves are slightly off, but easily corrected. 


Which is what I had to do, slicing a hair from each segment until they matched perfectly.  

Clamping that was a little tricky - the strap clamp needed to put this together has to be HOW LONG??

Well - if that circle has a four-foot diameter, what's the circumference? Well, I guess it's a good thing math is my friend. So here's how you calculate it:


Circumference of a circle who’s diameter is 4 ft

C = 

Let  = 3.1`416

C = 3.1416  4 ft

C = 12 and 354/625 or = 12.5664 ft

Answer is: 12.5664 ft


So the bigger question is - who has a strap clamp that is 13 feet long?

NO ONE! But in a pinch, a towing strap will work, along with a couple of long bar clamps. Of course, I forgot to shoot a picture, but trust me - it worked.

And here's the final piece, assembled and ready to be cut into a circle.

 I added a temporary center piece, to attach my router/compass.

 It was fairly easy to find the dead center, measuring from a few different sides, to find the center point.


 My router set-up for cutting circles isn't fancy - but I'm not spending hundreds of dollars on a compass jig that I use 5 times a year. Oh, and I need a new knob on my router base, but this wooden replacement works too. I'll replace it the next time I order tool parts, so this is a temporary fix.


Wonder how my round frame turned out? Stay tuned...


Sunday, December 10, 2023

My December so far


How is it two weeks from Christmas already?

December has always been the busiest month for me - everyone wants something completed by the holiday.  

And I don't blame them. 

So here's what I've just finished - a sweet Cherry cabinet with storage above for books and computer supplies, and a lateral file drawer below. 


On a completely unrelated note, a friend and I went to dinner the other night at a new restaurant in town, and it has quite a story behind it. You can read about it here - it's a GREAT story!  


Winnie and Ethel's opened in the Huntridge Center in downtown. I'll say - that corridor on Charleston has some of my favorite places to eat! 


It helps that one of my old woodworking students is an owner, and I couldn't be happier for Mal and her hubby, Aaron.


 My dinner visit was terrific - and even though I'm a bit of a grinch about the holidays, I thought the holiday decorations inside were completely awesome.


Better yet - I'm a sucker for old-timey diners, and this place fit the bill. Meatloaf? Hell yeah! Malts and shakes - bring 'em on!

I'd highly recommend that you check out Winnie and Ethel's if you're a fan of 40's inspired diners.  I'm still thinking about their banana split!


Friday, November 17, 2023

Hardware dilemmas!

 Every year, this time change messes with me. I just can't get used to it getting dark before 5:00, and it messes up my internal clock, making me want to hit the sack WAY too early. 

So I've actually been starting my days early...well, early for me! Lately, I've been getting to my shop at 8 or 9 AM, and my favorite thing to do it put on some headphones and get to work. 

The nature of woodworking is often slow and it's easy to overthink things. So when I built this bookcase, 


I spent many an afternoon thinking about the drawer pulls. I'm not a fan of hardware at all, in fact, I try to avoid hardware on most of the pieces that I build. But these four drawers definitely needed a way to open them. 

On a slightly related note - something dawned on me recently. I'm a big fan of Mid-Century Modern furniture, which often has very specific hardware, or a lack thereof.   My folks had an AMAZING Mid-Century walnut bedroom set, and I think that set influenced my love of this style. Their bedroom set had inset pulls, and was sleek and contemporary. That style is such a huge influence in my work; why did it take so long for me to realize that!?!

Back when I used to build kitchen and bathroom cabinetry, I incorporated inset pulls, a slick little method for opening a drawer or door without using any hardware. 


But these designs are dated - thankfully! 

Still - I needed to come up with something simple and contemporary. 


I've always been a big fan of simple scooped pulls, so I cut out a few pieces of cardboard and experimented on these drawers, to decide where to scoop the drawer face. I settled on an upper right location, and made a simple jig to rout the scoop in each drawer face.  I didn't even have to remove the face to rout it.

And BAM! - another finished piece.


 I particularly love the curved sides in the upper part of this bookcase - which perfectly compliments the curves of the drawer scoop. 


I'm finishing up a terrific Cherry office cabinet (You can see the start of it if you scroll up and look at that those first two photos.) I just need to figure out the hardware situation on that cabinet and it will be complete. 

Again - the hardware dilemma hits me in the face!


Monday, October 23, 2023

A quick repair on my Northstar Slab Roller

 How can it be that a month has passed since I posted anything here? 


It's not like I've been sitting on the couch, watching football... ok, maybe on Sundays... but I've been pretty busy! 

In addition to a couple of current commissions, I've been making a ton of tile lately. Here are some of my favorite (older) tile that I am re-creating. 


Hopefully - I'll come up with some nice pieces to put in a table I'm building. 


I love using texture mats to stamp designs into the wet clay! 


It makes the glaze behave so much better. 


And these autumn leaves remind me of how much I love this time of the year. 

But the other morning, I was working on some slabs, when my slab roller started acting jiggy. As the rollers would turn, I noticed something odd happening.


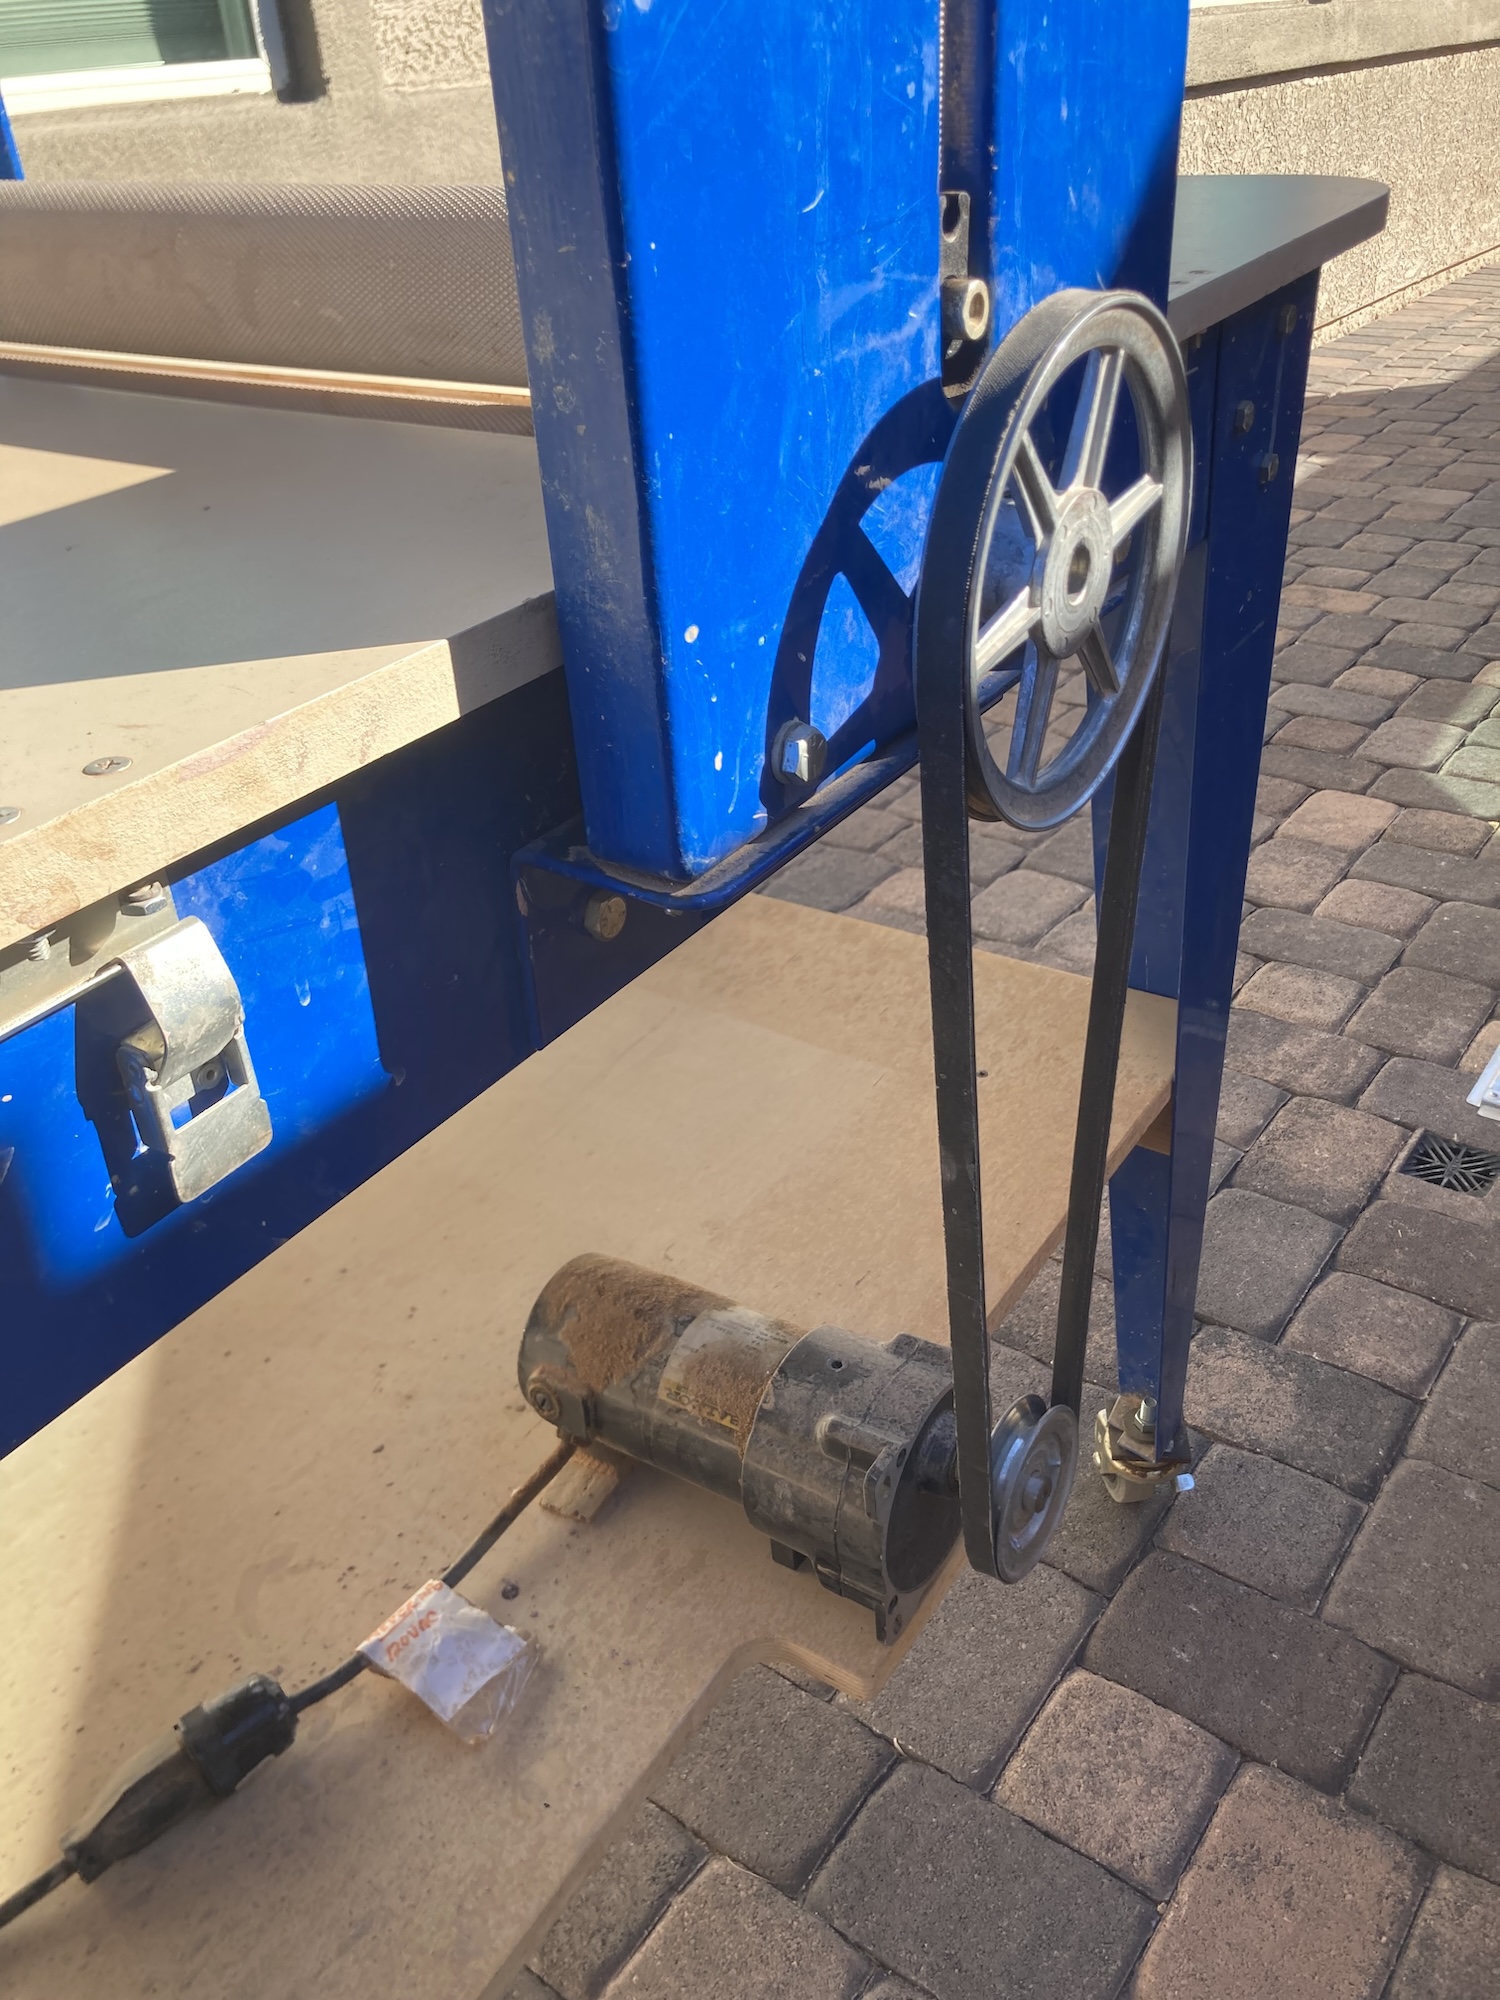
Years ago, my friend Dave put a motor on my slab roller, which saves me from hand-cranking a giant wheel to make slabs. 


 This motor revolutionized my tile making - it is reversible and saves me SO much energy and time. 


So when the roller started behaving weirdly, it was time to figure out the issue. I pulled off the cover that protects the gears, 


and sure enough! I found a broken tooth! 

 No, not like this! 


Like this! 


That top right one has a broken tooth. I have no idea why I had a spare gear in my shop,   


but the slab gods must have been looking down on me!  


Within ten minutes or so, the broken gear was slipped off, and replaced with the new one.


 I'm so curious if a new one can be 3D printed or not - I guess I'll hit up my buddy Rick to see what he thinks. He's my go-to guy with 3D printing questions.  


But for now, I'm back in business - rolling out slabs and making more tile.  


Wednesday, October 04, 2023

Awash in Walnut

 My shop is still swamped with Walnut, and I've been fooling around with coopered designs.  This storage stool  is about 18" tall, and can double as a seat, if needed. 


This one is much taller, and I'm still working on the lid for it.


What's a coopered design, you asked? Here's a pretty good explanation, click here.

But like I said - I'm awash in walnut, and a shop visitor asked me to turn some stool legs for him. As always - challenge accepted. 


Those legs were easy enough to make, but it's been a while since I cut a wedge slot. So I did a little research, and found this: 


Cutting the slot in the leg spindle can be a little tricky - I made a jig that the leg sits in perfectly.


Then I ran the jig through the saw, thus cutting a perfect 1/8" slot in each leg. I still need to drill a relief hole at the bottom of each slot. 


But each slot is perfect!


 I cut a few wedges, and glued the legs in place. After drying overnight, the extra tenon needed a trim.


My wedged leg was proud of the seat by a quarter-inch, and required trimming. I've always felt this step is pretty tricky - in the past,  I've trimmed them with a router, but that's tricky.


And when you see people just sawing away on a tenon, I cringe.  Let's say the chance for chipout is high. So I applied some duct tape around the tenon, which not only protects the seat top, but allows me to trim the tenon just a hair above the seat. 


Here's the important part - as I was sawing, I rotated the saw around the outside of the tenon, so I was always cutting toward the center. This way, you eliminate tear-out or chipping around the tenon edge. 


Viola~ no chip out! 


A little sanding makes this looks amazing. 


I turned a few more legs while listening to a podcast - and I'm getting pretty damn quick about it. 

When this seat gets oiled, it's going to be ridiculous!


Sooner or later, I'll be running out of walnut, but for now - you can find me at the lathe, making more legs. I have a few thoughts about some future stools I'd like to make, and I might as well use up those Walnut thin rips.