Saturday, June 19, 2021

This was a fun little repair!

There's nothing more invigorating than a woodworking challenge - and this one was an interesting one!
A very sweet couple brought this stand into my shop. 


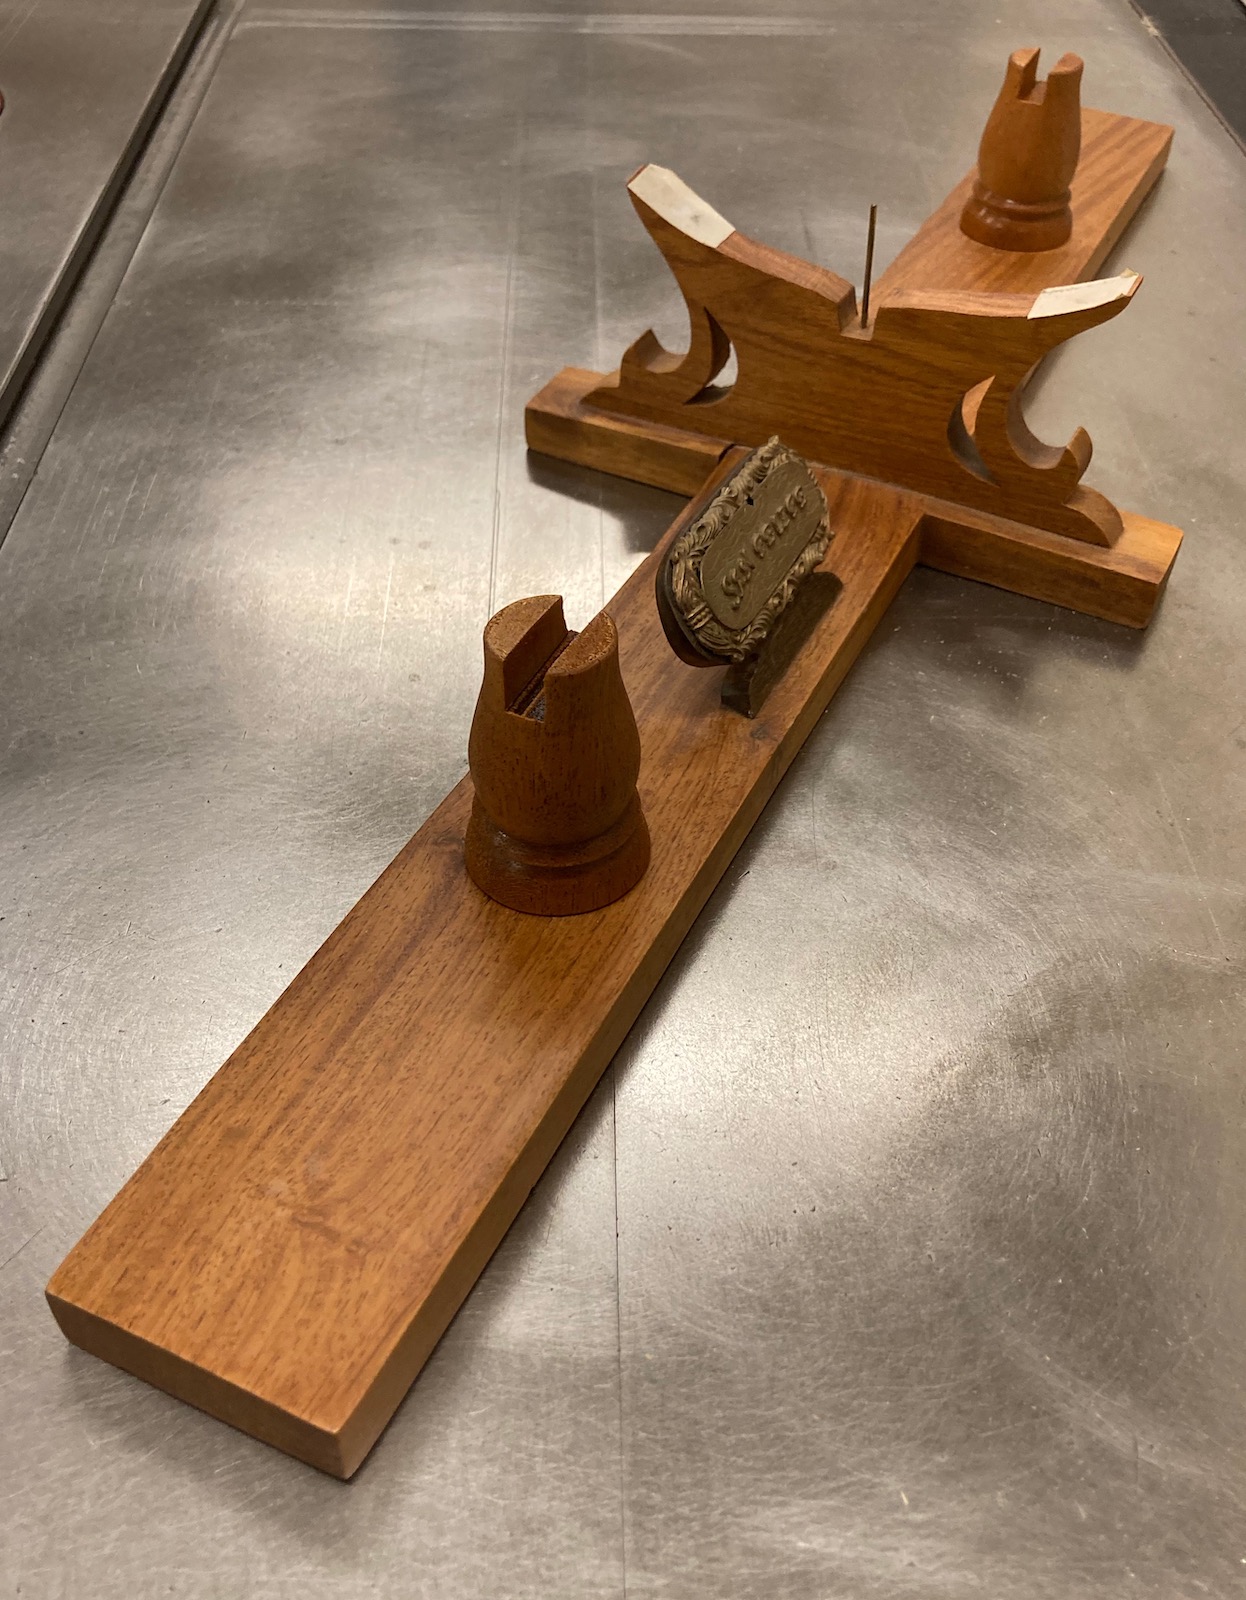
It holds a wooden boat - the San Filipe 


and it needed repair.  These two small turned pieces hold the keel,


 and one was broken. 


Simple enough... one would think!

This was a collaboration - since my buddy Jeff has been teaching some pen turning classes at the shop, his lathe was handy and he volunteered to turn some new supports, with beefier tops, so they wouldn't snap like the old one did.


 But the big question was... how do we cut a slot into it, to hold the keel?


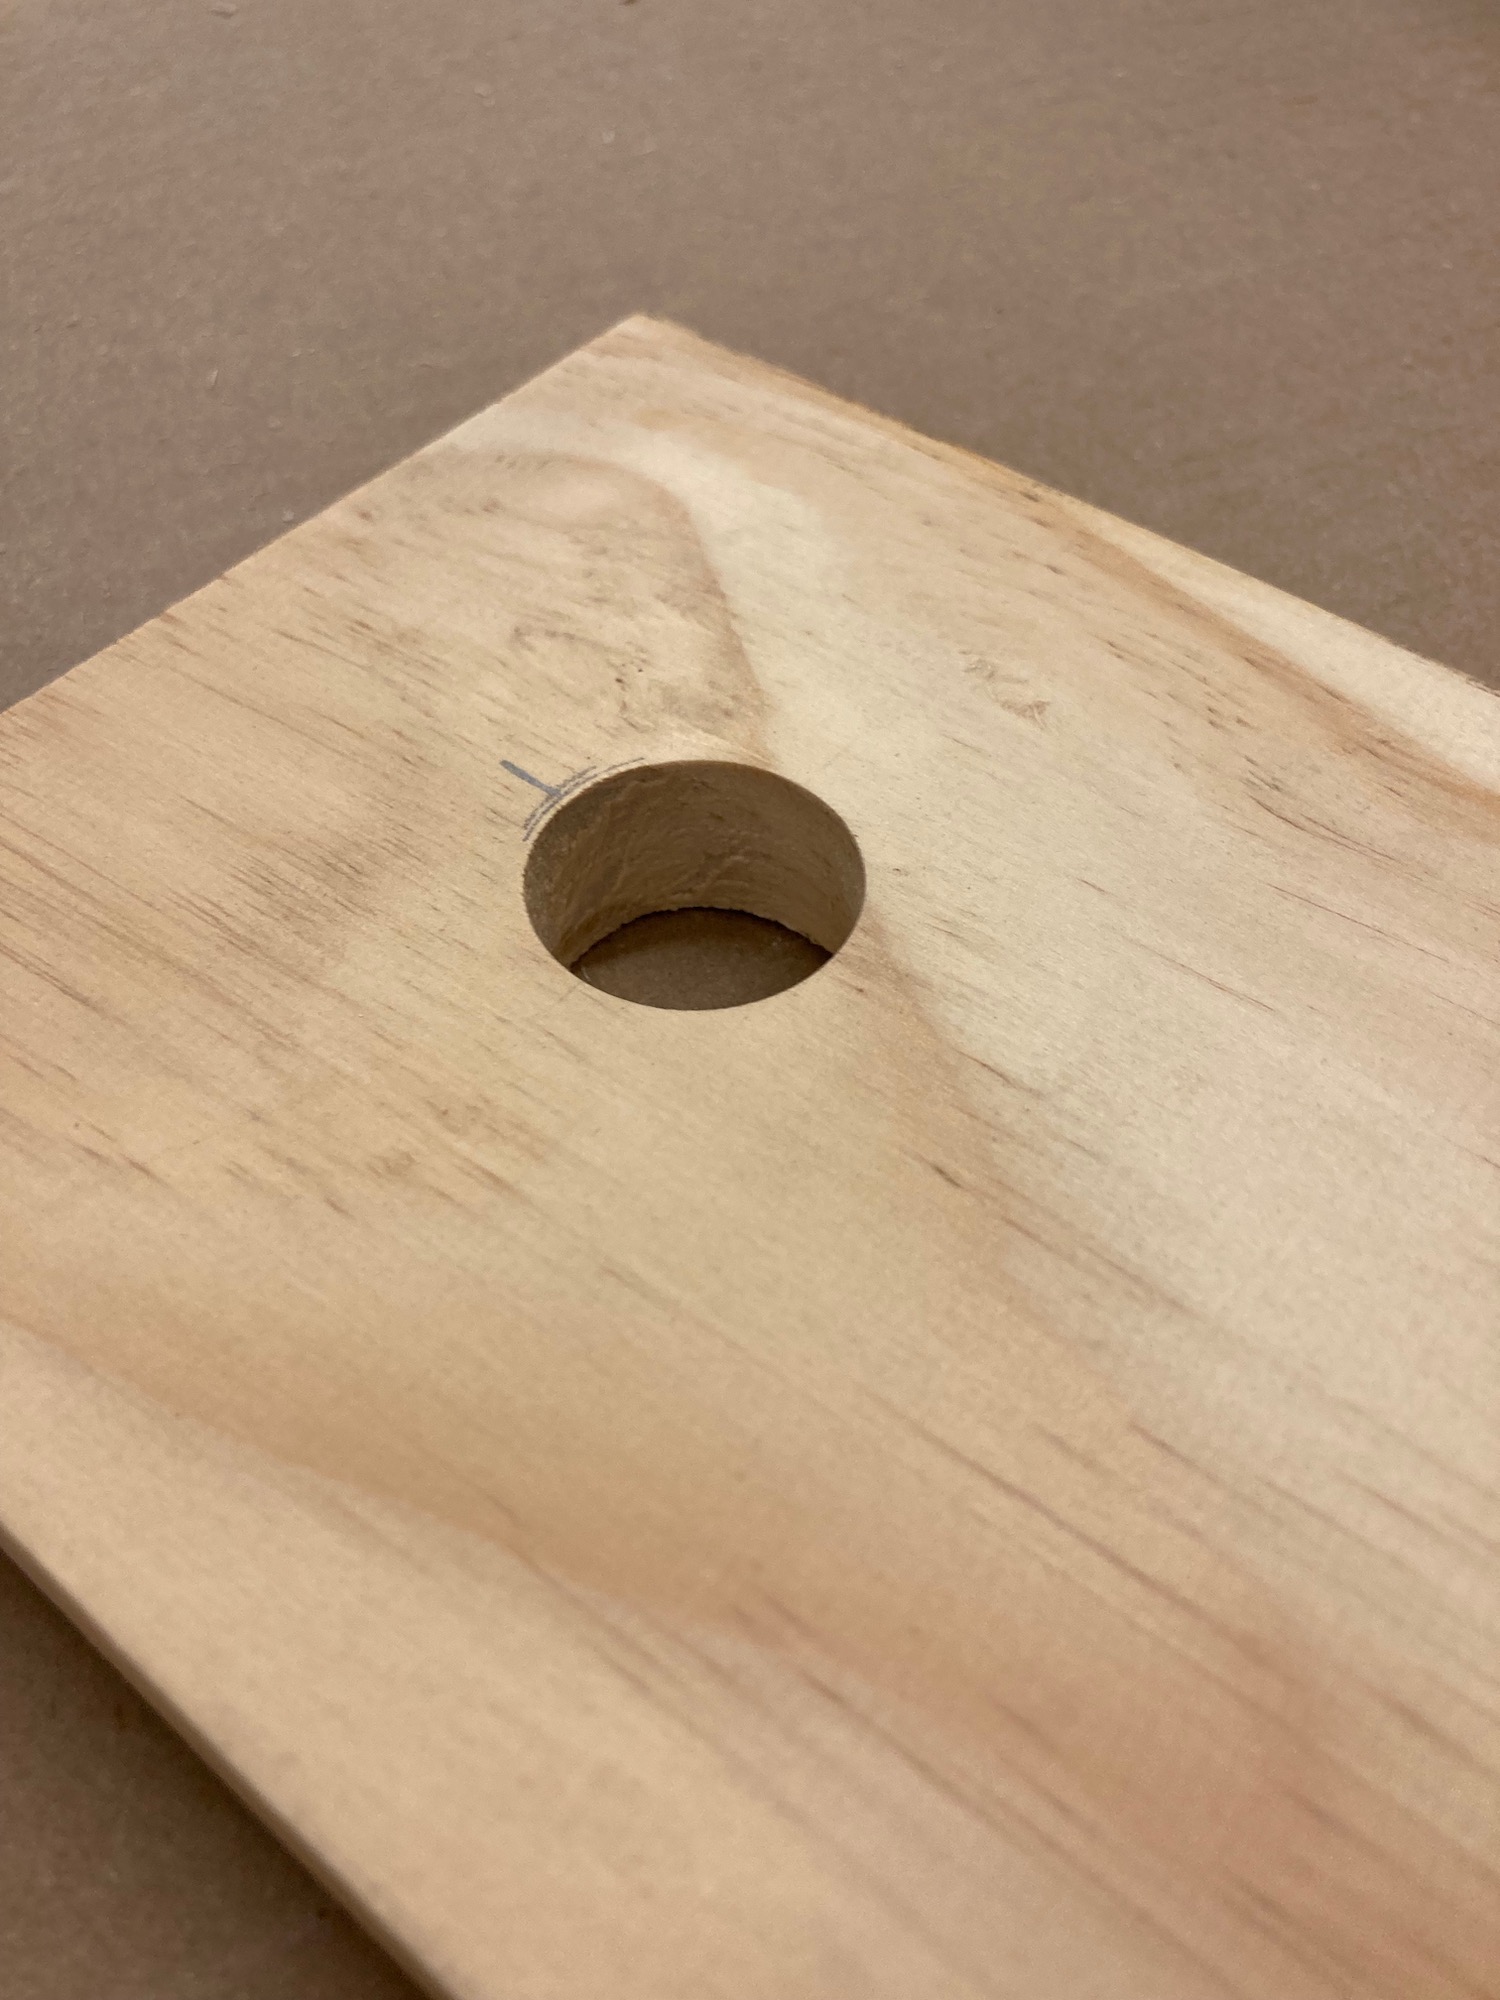
 A little brainstorming was involved, and with some experimentation, we figured out that a 7/8" hole would hold the piece. 


 Jig time! 


I marked the center, and since the slot was 5/16" wide, I put a dado stack in the saw, and pondered how to hold the piece whole it was being cut. 


That's a really tricky cut, and could possibly ruin the piece if it wasn't supported properly while running it over the blade. No - I wasn't about to hold it!  So I decided that a simple temporary brace would work well to hold it in place while being cut.  


A few lines for centering, 


and I was ready for the cut. 


Although it ended up being slightly off-center, I'd say this piece came out exactly as I'd hoped. 


I did a little staining to match the rest of the base, honestly, they matched perfectly.   


The attachment? Some epoxy and a screw... better than new!


Sunday, June 13, 2021

 OK, this is a little outside of what I normally post on this blog, but I'm furious over this video I saw on Twitter today. 

This sociopath employee needs to be fired, and charged with animal cruelty.

Sunday, June 06, 2021

Changing the knives on a Bridgewood planer

It's not glamorous, but it IS pretty satisfying doing a little maintenance on some of the tools around the shop.  

In the past few weeks, I've replaced a few motor belts, sanded a few tablesaw tops, and generally tried to get the school in shape for the upcoming summer session. As one might guess - this maintenance is never-ending.  

But oddly enough - I enjoy it. When I put on some music and pull out a tool manual, it's time for a little R&R. That doesn't stand for "rest and relaxation" - in this case, it stands for "remove and replace."

The 24" Bridgewood planer's knives needed some attention,


 mostly due to nicks like this. 


The nicks are a little hard to see, but those nicks make grooves across boards when they're run through the planer. And the quality of the cut is a little fuzzy, leaving the boards in need of more sanding. 

Good news is - this maintenance really only takes three tools. Well, four if you count the manual. 

Some needle nose pliers, a wrench, and the knife press gauge that came with the planer. 


Lifting up the top cover exposes the cutterhead. 


Over the years, I've made some notes inside the planer, 


 like the size of the wrench needed, and which direction tightens or loosens the gib bolts.  


When your hands are full and you're juggling a few things, and holding a razor sharp knife, it's nice to have this info right in front of you. 


By the way, I would NEVER attempt changing the knives without gloves. In this video, I've loosened all of the gib nuts and am taking the knives out. Before you start blowing all of the dust out of the cutterhead, make sure you remove the springs that sit below the knives.


 Reinstalling the knives is a breeze with this knife press gauge.


Simply put the springs back into their little slots,  slip the gib and one knife back into place, and then place the press gauge over the knife. 


It will gently lower the knife to the correct height while you tighten the bolts. There's no guessing, but if it's your first time, you may want an extra set of hands. I tighten the two outside bolts first, to get the  knife locked into place at the correct height. Once you have it set at the right height, just go back and tighten all the rest of the bolts and you're done. 


Honestly it takes about ten minutes per knife to take one out, blow the area clean, and reinstall it at the correct height.  It almost took me longer to write this post than it did to change all three knives... about a half hour, with some extra minutes used for shooting photos and the video. 


BTW, over the years, I've had many people write to me, asking for a copy of the BRIDGEWOOD manual. If you need a PDF of it, email me at jamie@wooditis.com and I'd be happy to email a copy to you.


Tuesday, May 25, 2021

You remember what a trapezoid is, right?


 One of the byproducts of this pandemic is all of the do-it-yourself-ers who have learned to build, and started projects around the house. Or just jumped back into hobbies that they used to enjoy, but never had time to pursue them.  

My friend Sharon Gainsburg, who owns and operates a stone carving school here in town often sends her students over to my shop,


 to design pedestals for their sculptures. So with the boom of DIY work, there's also a boom of creativity - whether it involves stone carving, ceramic work, epoxy pours, spoon carving - you name it, I've been seeing it!

Now, I enjoy a good challenge when making a sculpture base - sometimes it's locating an obscure color or wood (or dyeing wood to match something), or installing hardware I'm not used to... there are almost always some interesting challenges. 

But a recent commission was not only a really fun piece to build, it was a bit of a math test for me. And I love math! 

You remember back in Geometry class, when we learned about trapezoids, right? (Thanks, Miss Gibson!) 

I'll make it easy on you...

trap·e·zoid
/ˈtrapəˌzoid/
See definitions in:

What is a trapezoid shape?  A trapezoid is a quadrilateral with at least one pair of parallel sides. No other features matter. (In English-speaking countries outside of North America, the equivalent term is trapezium.) The parallel sides may be vertical , horizontal , or slanting .


So when a sculptor asked me to make an odd shape, and the only thing I had to work with was this torn cardboard pattern - well.... challenge accepted! 


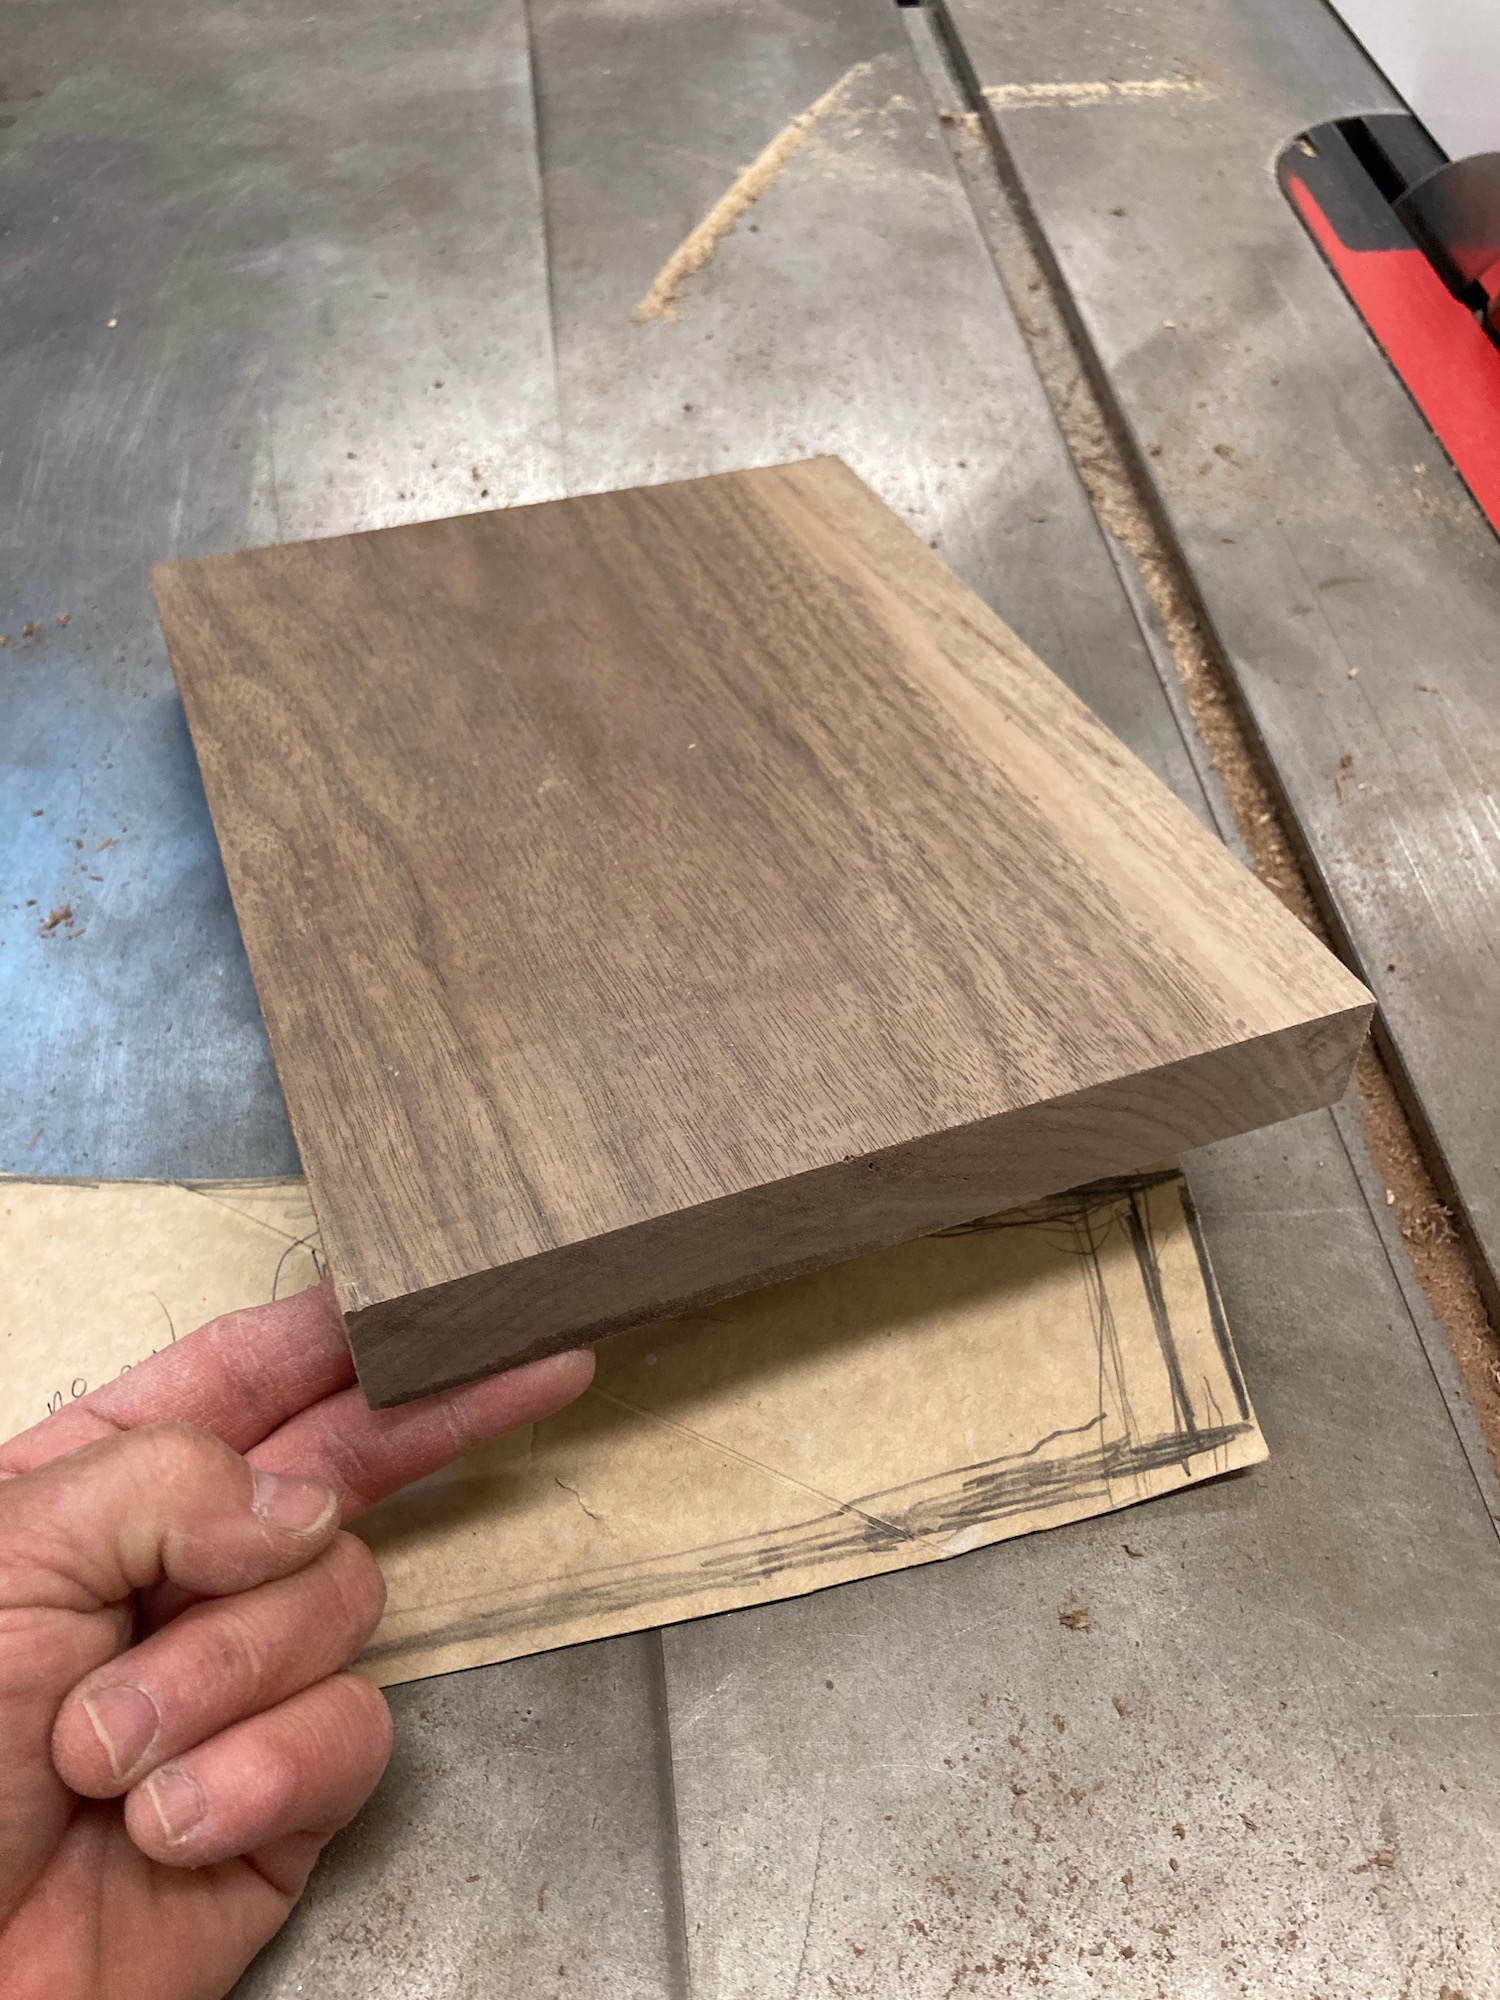
I'd acquired a really nice 1" thick board of walnut - sometimes pieces like that present a problem. They're too small to make a large project out of it, but too big to be considered scrap. Those pieces usually just sit on a shelf, awaiting inspiration. Honestly, this board didn't know that it was destined to become a sculpture base, but I knew it as soon as I saw the cardboard pattern. 


Again - math was the key, and I calculated that each board needed to have about a half inch of taper cut into it. So I taped a 1/2" shim on one end, and cut the excess away of the tablesaw.


I'm not sure what I'll do with these massive walnut shims, but they're pretty cool looking. 


Meanwhile, the pedestal is taking shape, 


which each tapered piece creating a lovely end grain pattern.


Once I had chosen the layout, I numbered them and braced myself for a bit of a clamping nightmare.  


Tapered pieces always slip when clamping them, so I pulled out some extra clamps and cauls, and got to work.  


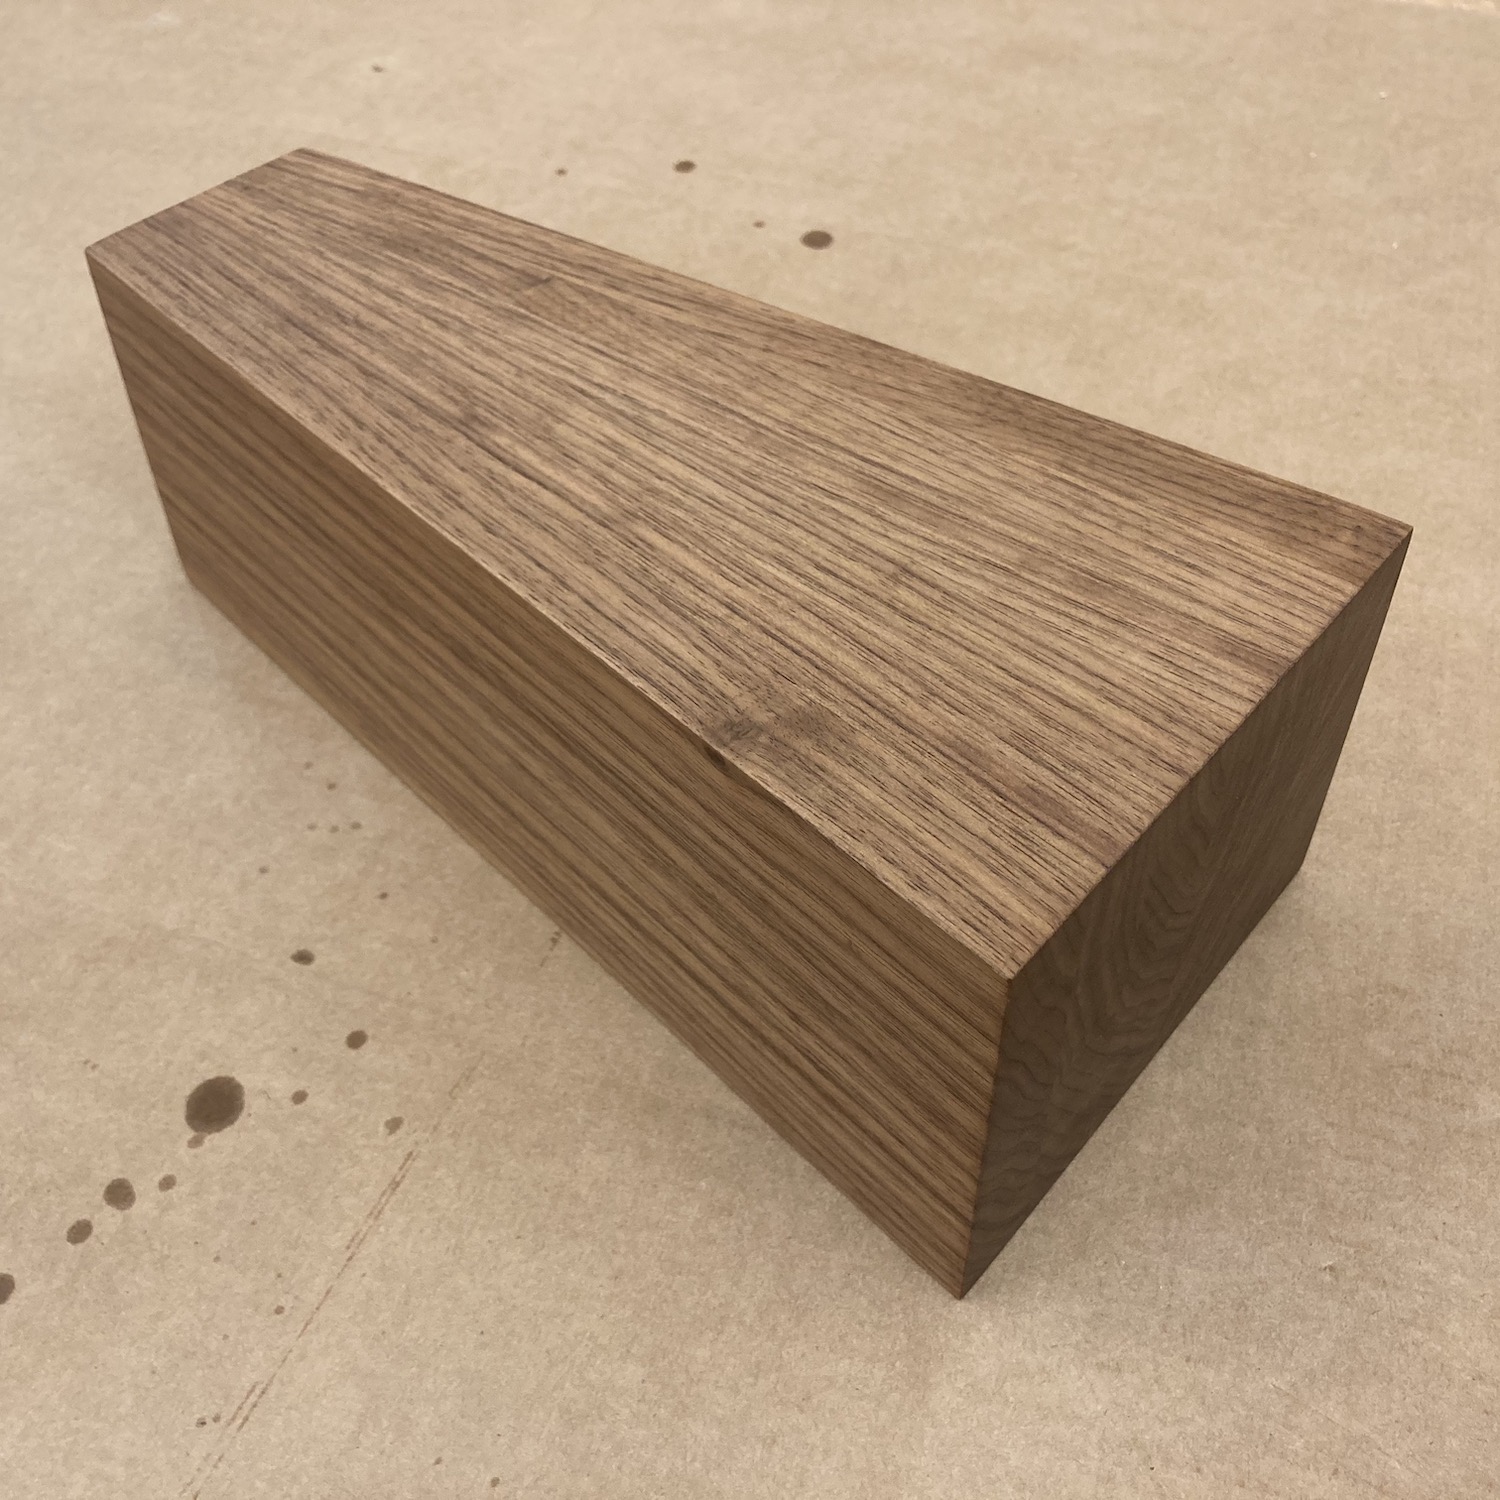
After it was dry, I little trimming and jointing was all that was needed to come up with this nearly seamless block of gorgeousness! 


The end grain pattern almost hypnotizes you! And this block is nothing to sneeze at - almost 7 pounds of solid walnut.  


I cannot wait to see this piece, when the sculpture is mounted to it! Hopefully, I'll have a photo to share with you.


Tuesday, May 18, 2021

My 2021 garden is well on its way!

It's hard to believe that it's been nearly a month since I posted, but damn.... it's been crazy busy here. Teaching five days / nights a week makes this blog a little lower priority! One thing is for sure - people are hungry for woodworking classes.

It's also crazy to think that this photo was taken jus a little less than four months ago. Snow! 


We had a bit of snow that even dusted this artichoke plant!


 And with that cold weather, friends were handling out lemons from their yards, perfect for juicing and freezing into ice cubes, so that we could enjoy lemonade all year long.


 When I started my Spring clean-up, I found some odds and ends from last year's bounty; the tomatoes weren't too tasty, but their color was amazing.   


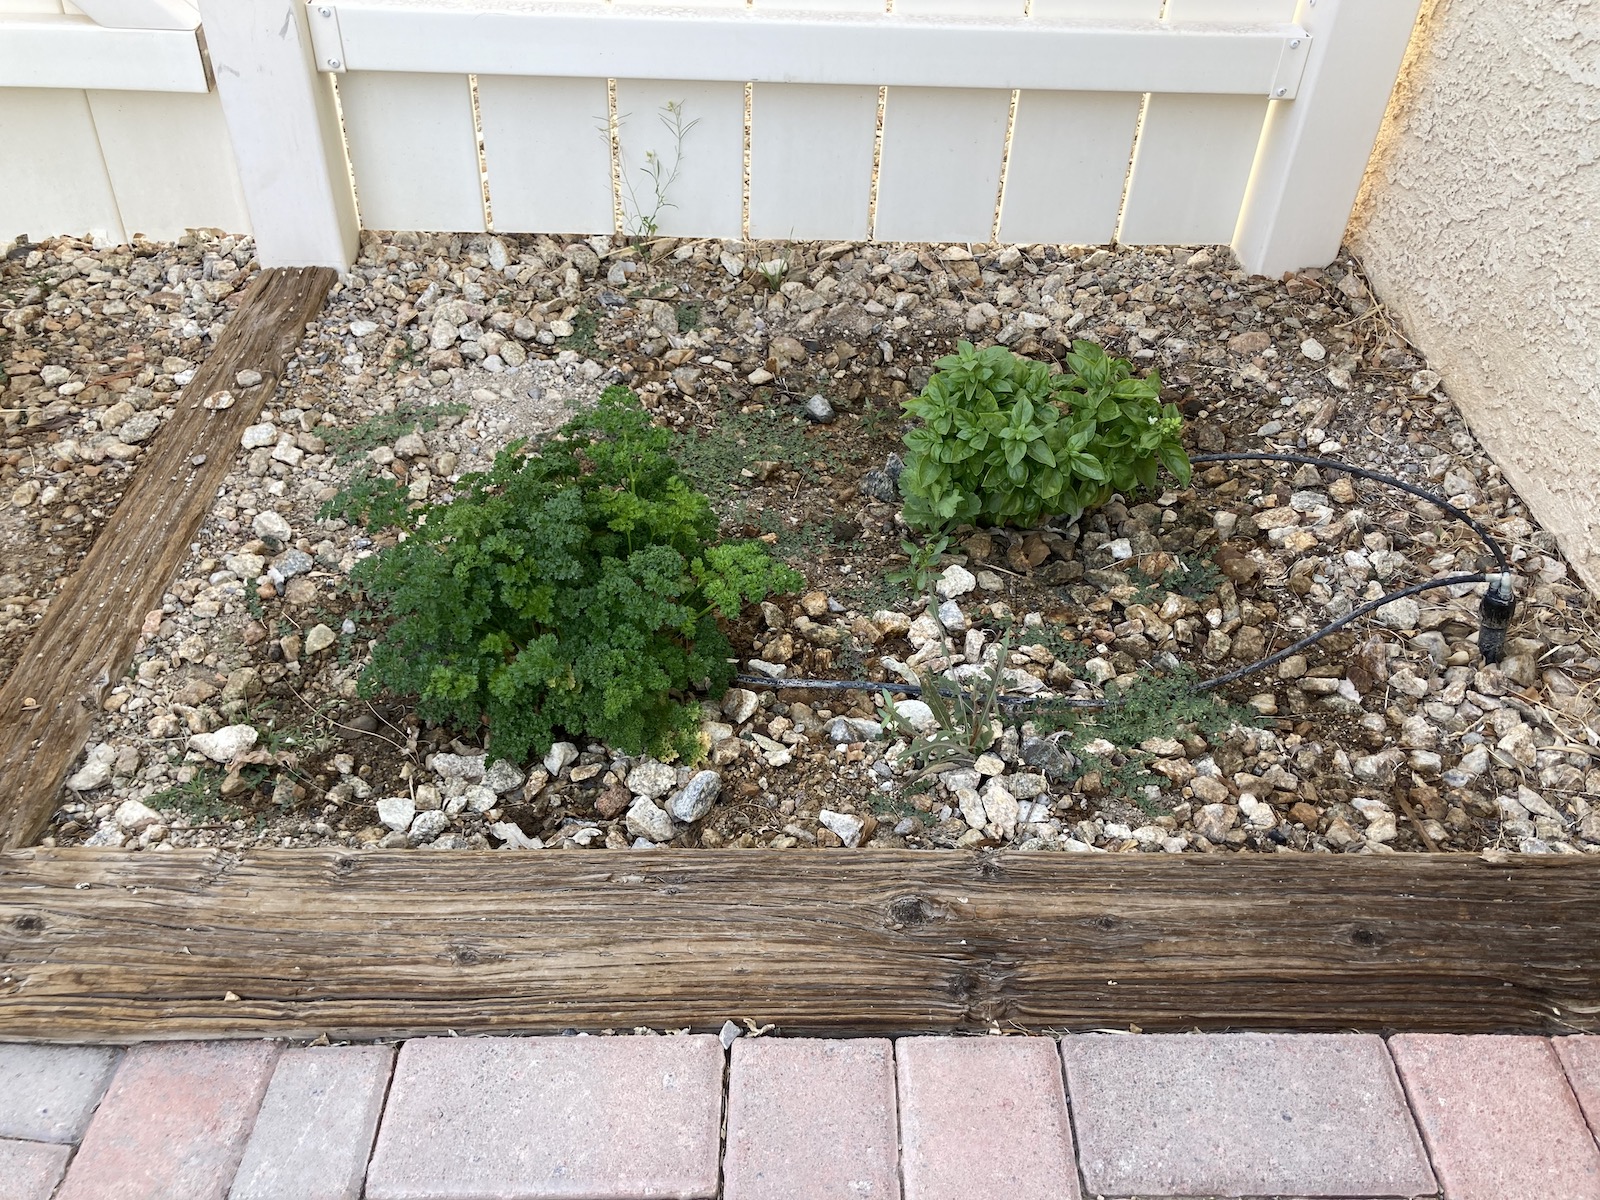
I'm still figuring out this garden stuff, and one thing is plant rotation. Plants shouldn't grow the same same location from year to year, so I experimented with putting parsley and basil in a new location. Here's the new spot, with the plants looking very tiny. 


To be honest, here they are a few months later and I'm not all that impressed. I probably should have kept them in the same beds where they flourish every year. Lesson learned!  

But one thing that DID flourish were the artichokes. Damn! What a crop! 

They start out as these little babies, popping up deep in the leaves of the bush. 


Then...

BAM!


There are more than one could imagine!


 Dozens and dozens, in fact - so many, that I've had trouble giving them away!


 Alas, the aphids had their way with the lower leaves, and I had to give this plant a good haircut. 


I've never figured out how to beat the aphids at this game, but at least we had a huge harvest. And the plant will recover by next year.  Here's the last one, ready to sprout a gorgeous flower. 

It's a pretty amazing plant. Gotta love perennials!

 Seriously, everything is is bloom, even this gorgeous plant in my friend Ann's front yard. What a glorious greeting when you pull into her driveway!


I may have another problem - I probably planted too many spaghetti squash plants in this raised bed. It was sort of an experiment, as I didn't know if the soil in this bed would be fertile - apparently, it is! There are dozens and dozens of small squash sprouting up - this is going to be crazy in a month or so! (I hope I have some friends willing to take these!) 


]
And finally - my other friend Lupe gave me some seeds earlier this year, and they've sprouted up mightily. This lettuce is hearty and wow/delicious! 


The beets started out as teeny sprouts - can you even see the little red sprouts here in the dirt? 


Now they're huge, and I sauté the tops every other day or so. IMHO, that's the best part of the beet plant! 


I've never had luck with carrots - but they're growing like weeds! 


By the way, veggies aren't the only things growing around the yard! 

I'll get back to posting about woodworking soon, but these garden pictures were too good to postpone any longer!


Happy planting to all of the desert gardeners out there!