Friday, July 10, 2020

"You had time"... to build a Tie Cabinet


This shutdown (and the imminent re-opening) of Nevada has been a mixed lasting for a lot of businesses. Quite a few of my peers have told me that business is brisk, and that this period has been a blessing in disguise. 

For me, it's been a mixed bag. Not a day goes by when I don't hear from students who are yearning to get back into the shop. They miss the camaraderie, and the access to the tools. 

Frankly - they miss making cool stuff!

Speaking of cool stuff - I finally finished my tie cabinet. 


Back in the day, I used to wear neck ties. And I amassed a very nice collection of them - everything from hand painted silk ties (with woodworking motifs!) to some really fun designs. 

Who doesn't love a Mr. Potato Head tie?! 


A few of my ties have woodworking and plumbing designs, too! 


When I used to volunteer for the local AIDS task force, this condom tie was a big hit! 


I LOVELOVELOVE these pop culture ties, like this SPAM design and this Batman tie. 


And this Pink Floyd tie got a lot of use, back in the day.  


I had to thin out the collection - there were just too many!  

This cabinet had its start 17 years ago, when I made these doors at an Anderson Ranch design seminar. 


These doors hung in my studio for a long time, and every time I looked at them, I made a mental note to get that cabinet made. 

When I had some free time...

The shutdown gave me the time I needed - in fact, I've built myself a couple of pieces in the last few months. But this tie cabinet is one that I love the most. 


It features three drawers, 


and one removable tray. 


To commemorate this period, I lasered a small plate for the back. 


The shop is re-opening to the public this coming weekend, and it will be very interesting to have people back on the tools. 

It feels good to check this cabinet off of my "to do" list.  I'm looking at this shutdown as a blessing in disguise - I'm so saddened by the loss of life, the loss of people's livelihoods, and how some businesses have simply disappeared.  It's mind boggling to realize that some of these things are... simply... gone.   

But we're a resilient bunch, and we'll figure this out someday. Meanwhile, just "having time" will have to suffice. 

Here's one of my favorite Ani DiFranco songs - You had time.  

Enjoy!

Thursday, June 25, 2020

My new chair repair record...

Even though the state of Nevada is slowly coming back to life, I think that some people are still cooped up in their homes, and working on projects around the house. Yesterday was a record for me, four people brought chairs to the shop for me to repair.

I used to dread these repairs, but honestly, after you've done a few, they're quite easy.  

This one had a broken side stretcher, 


and it was a little tricky because of its odd size.  It was basically a dowel, but an weird size - 7/8" in diameter. Of course, I had smaller ones at the shop. And bigger ones. But not that exact size. 

I didn't feel like pulling out the lathe and turning a new one. So the next best thing was to make a quick one - by cutting a strip of wood 7/8" square, 


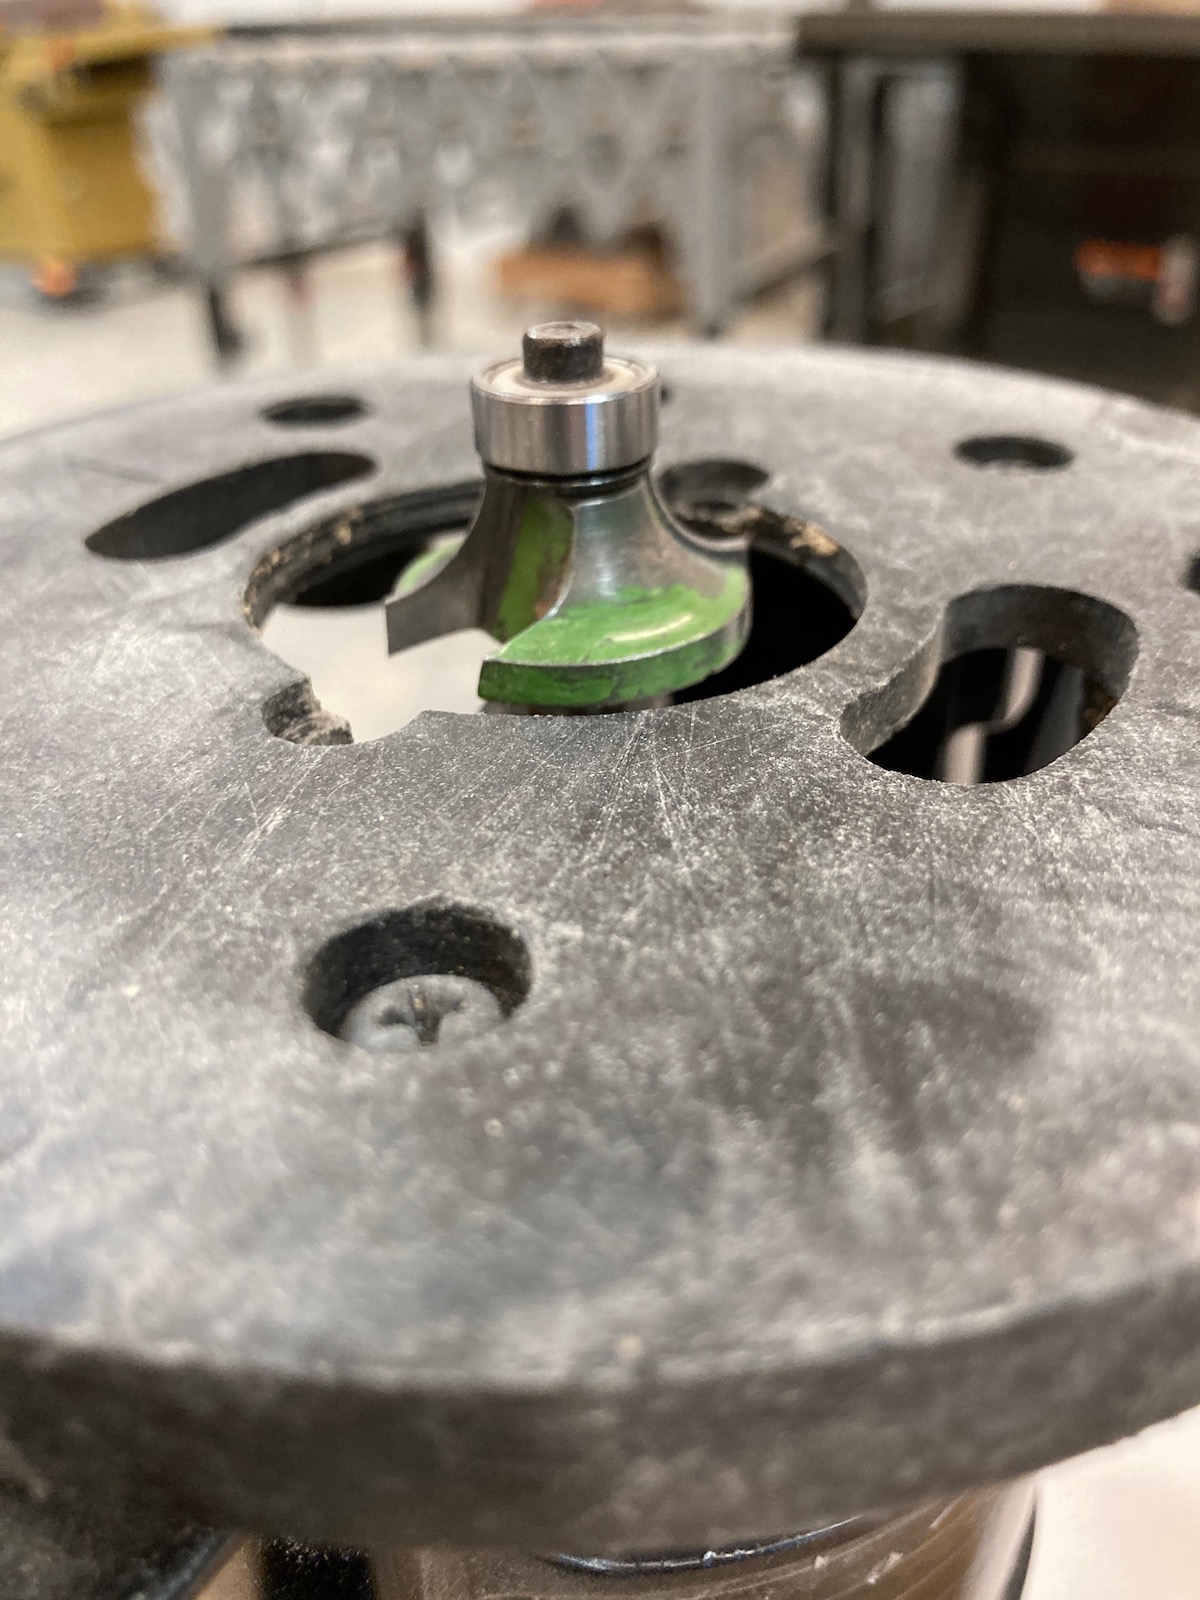
and then running over the corners with a router bit. 


I used a bit that wasn't exactly the right size, but in a pinch, I made it work. I rounded the corners over, and them shaped the ends to fit into the holes on the chair, where the broken piece fits. 


Of course, they used a pocket hole on the stretcher (anyone who know me will know how I feel about those!) so I had to drill one on each end. A little sanding and the new stretcher was ready for finishing. 


There's nothing like using Mohawk spray Toners to match a finish.  I tested these - one was too golden, and the other was too red. 


But the perfect match was this... 


Dark Walnut. Perfect. 


I love it when the right color pops out immediately, instead of having to blend colors together. I taped off the ends, so they would remain clean for gluing, 


and made a small "rotisserie" out of cardboard, for spraying the part. 


Honestly, this piece was a super quick fix - from old to new in 45 minutes. You could barely tell the broken part from the new one. Another happy customer in the books!  


Other small repairs are piling up - a bunk bed ladder to re-size, a few new drawers to make, and a rocking chair repair. As much as these small jobs can be tedious, they actually make me a much better woodworker, teaching me about matching finishes, re-engineering poorly designed pieces, and more. 

One thing is for sure - people want these repairs done quickly and for a fair price. 

What's your latest home project?  Working on anything fun?


Thursday, June 18, 2020

TGFM

This pandemic has been a blessing and a curse, but one things is for sure - people have been taking care of small projects around their homes. Not a day goes by when I don't get a call about a repair,  a new project,  or someone interested in taking a class. 

Honestly - most business owners I know tell me they're busier than ever. Sure, things are different.

 LIFE IS DIFFERENT.  

But most have adapted with curb-side pickups, online sales, distance learning, Zoom meetings, etc. It's working.

One of the constants in my life is people calling for repairs. I get calls about everything from broken furniture, to refinishing, to building new projects, but one of the most popular calls is for drawer and door repair. 

Property managers constantly have apartments or homes that have damaged components, and well.... who wants to rent a place that has missing kitchen drawers? Or broken doors?

This door came to me with a panel that had a giant hole in it. (Of course I forgot to take a picture of it before I removed the panel.)  Suffice it to say that this repair was pretty stressful!  The tenant was threatened with having to pay for all new doors in the kitchen, because of this one broken door. 


 I made two plunge cuts on the tablesaw, cutting away the two strips of wood that held the panel in place. 


Luckily, I had parts of the old panel that I could use as a template for the new panel. 


And one of my neighbors in my warehouse complex had a piece of plywood that I could use, thus avoiding having to buy a whole 4x8 sheet. 


But I knew the challenge would be matching the finish.. that's ALWAYS the biggest problem! 
I pulled out my trusty Mohawk catalog, 


and tried to find a close match. I ended up going to my local Mohawk store,


 and the clerk tested a few different shades until we found the closest match. It's not perfect; one was too white, another to yellow... but we finally found one that would work. 


I ended up with a shade in the middle - maybe not a perfect match, but as we say.... close enough!


 Putting the panel back in was a bit of a challenge. I had to coax it in place gently - so I grabbed my "small" mallet. 


One whack later and it slipped into the slots. All that was left was two small strips of trim on the back of the door, to keep the panel in place. Repairs like this are more tedious than difficult. 


Taking a trip to the Mohawk store was probably the most time consuming part, honestly.  I feel like there's so much stress going on in people's lives that taking on small jobs like these are the least I can do to help out a bit. It's not much, but it sure saved my customer a ton of money in the long run. 

TGFM

(That's - Thank God for Mohawk!)


Monday, May 25, 2020

Oil makes all the difference...


Don't you love it when a piece starts to come together? 

Here's the cabinet, with its first coat of oil.


Thursday, May 21, 2020

All plugged up....


If I'm going to be honest, this pandemic shutdown is starting to get to me. In good ways and bad ways, too.

It not so much the cessation of classes; I can handle that. In fact, I'm trying to look at it as a blessing, so I'm doing some heavy duty sorting and decluttering at the school. And I have some really nice commissions I'm finally having a chance to complete. So I can't complain there. 

But... It's the uncertainty.  

I've never been a fan of that. Call me boring, but I like certainty. I like schedules, and timelines and calendars with firm dates. Some people can live by the seat of their pants, without firm plans or an idea of where they're headed. That's not me. 

Anyway, I've been working on this cabinet and it was time to turn attention to the base. I experimented with a few different widths for the base to finally determine its width.


 I couldn't be sure until I actually put the cabinet on top, so ensure I had the proper margins. 


At the same time, I was experimenting with the drawers that I need to build. 


I'm trying to decide if I want integrated pulls in the drawer faces, or not. (Probably not.)


When I'm in the "designing" phase, my shop basically is trashed...and the workbench takes the brunt of it. 


With the base dimensions finally determined, I clamped it together, 


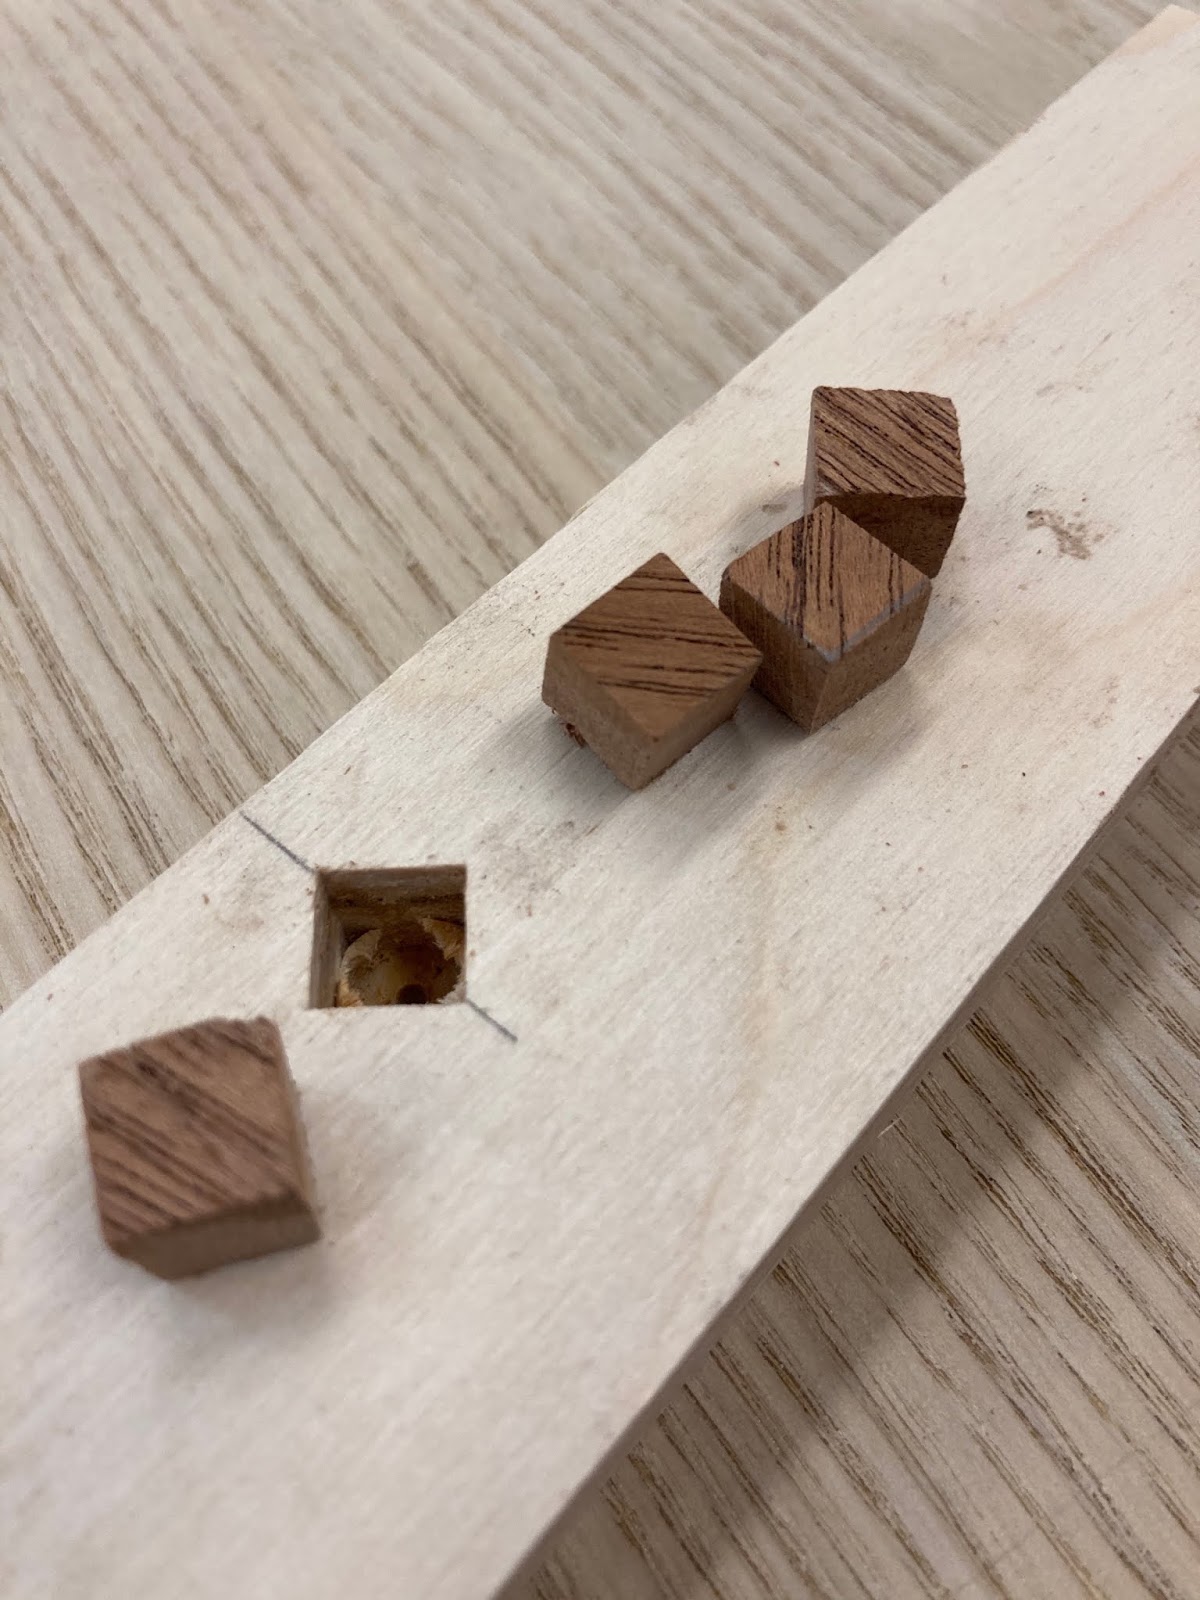
and turned my sites toward the carcase. Although I Domino'ed the carcase together, I felt that it needed some added fasteners, and remembered that I'd bought these Lee Valley square punches a while back... just for a project like this! They allow you to create some square plugs, a very nice detail that I love to add into my work. 


The punches come in a few different sizes, and I chose the 3/8 inch for this job. 


You start with a hole (I drew lines here so that I would get the proper location),


 and then give the punch a few solid taps with a hammer. 


The punch shears off the excess to create a perfectly square hole. 


A small chisel helps get rid of any little bits that don't come out cleanly. 


Then I drilled a pilot hole for the screw and BAM! A perfect solution fro beefing up the case of this piece. 


But... where do I get the square plugs to fill these? Now it would have been really easy to just cut a strip of wood, and make smalls plugs... but....

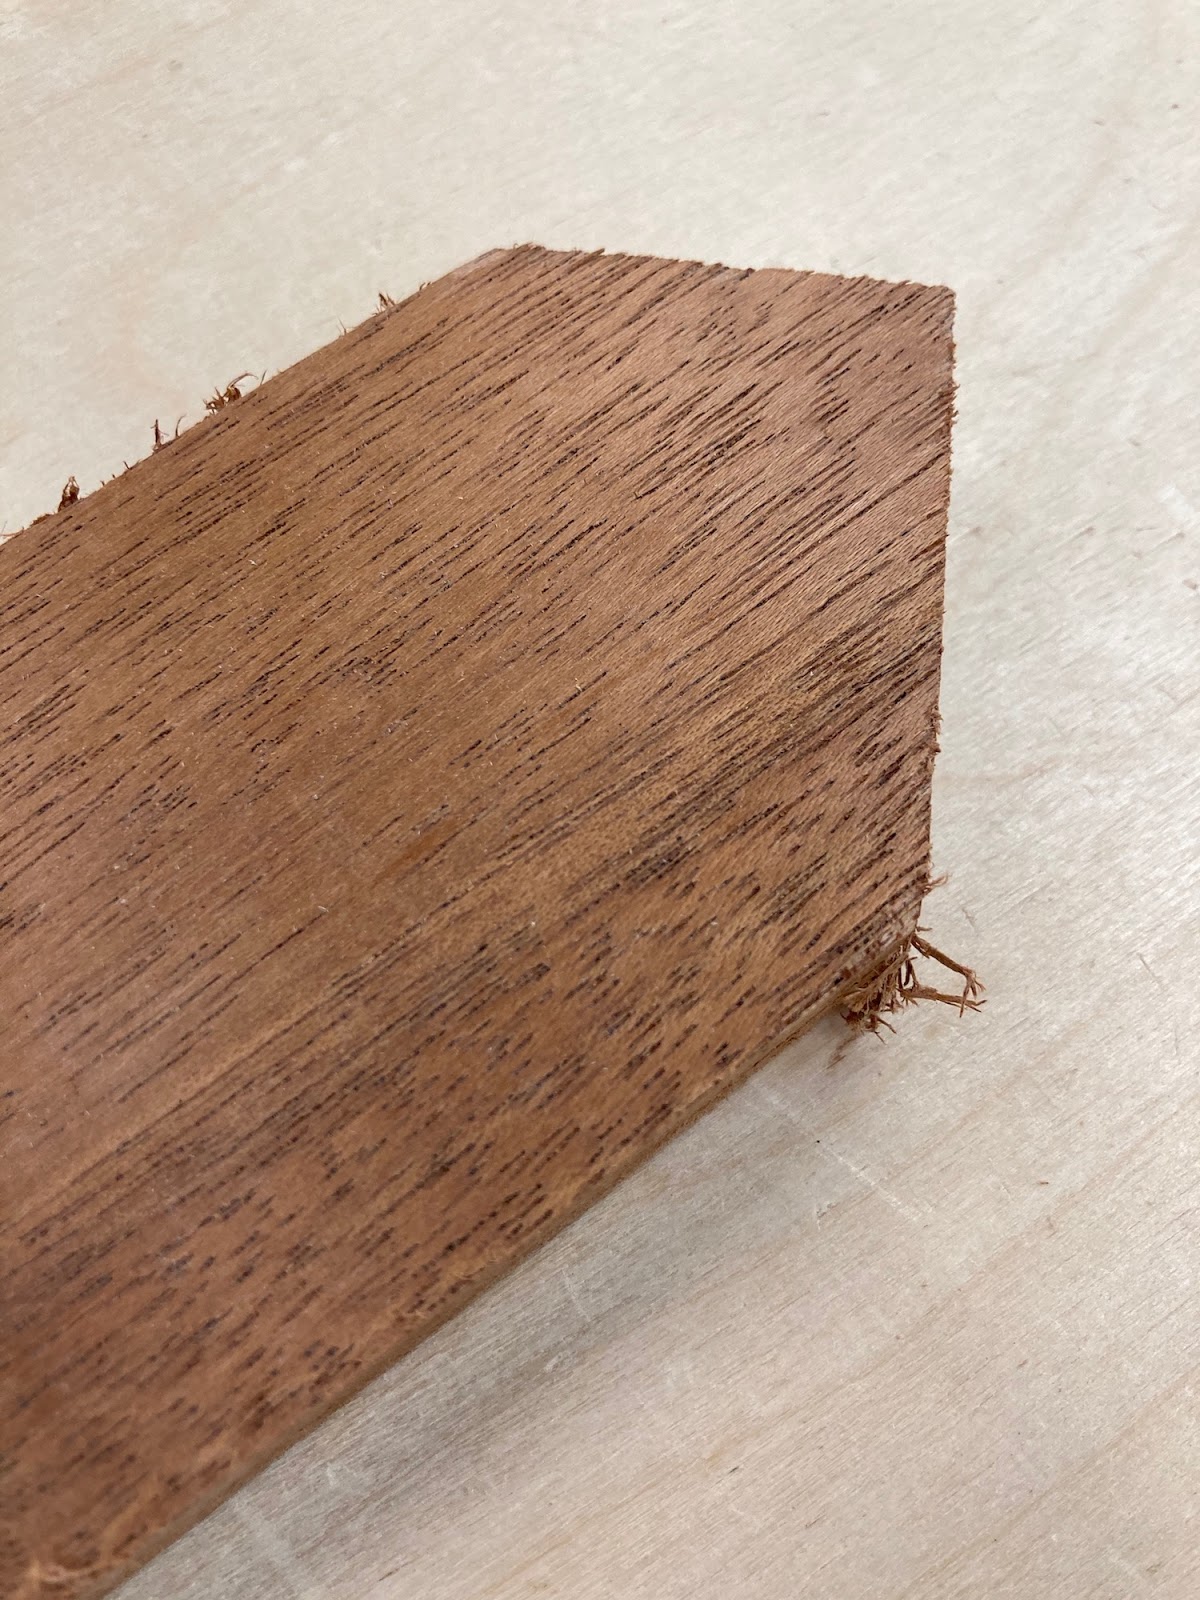
the grain would have been running in the wrong orientation.  So I took a board, cut a few 45 degree angles, 


and managed to  make some plugs with the grain running the proper direction.


 It took a few touch ups on the sander, test fitting them in this scrap.  


A little bit of glue holds them in place.... and then the chisel magic begins.


 I love chisels, BTW. They're one of my favorite tools. 

Paring down a plug with a sharp chisel is one of woodworking's true joys. 


Finally - I designed a little sign for the back of the cabinet. Might as well commemorate this situation. 


I particularly like the barbed wire border, which just about sums up life these days. 


  Next up?


 Drawers and finishing. This piece is 85% done!