Sunday, June 30, 2019

Time to review, recharge and reset.

It's been a busy couple of weeks in the shop, but classes finally ended this past Friday and it's time to review, recharge and reset. 

Maybe relax, too... who knows?

I saw something that caught my eye the other day and checked out a website I'd never heard of - they make high quality zero clearance insert plates for tablesaws.  


The best part? The actual insert is replaceable - so instead of needing the whole plate, your can just replace the 1/4" insert that wears out over time. 


Sweet. 


Ok, maybe that brings out the nerd in me, but this is a big deal. 

When your standard insert is used for a while, the saw blade slot widens. This could come from using different blades, or tilting the blade... but when it's too wide, a couple of things can happen. Your wood can chip out on the bottom of your cut, or worse... a thin strip of wood can slip into the slot, which can jam your dust collector chute. 

Not to mention that it's dangerous to have strips of wood being sucked into your saw. All in all... it's a problem, and Jack Colliflower recognized it. 

At $100, it's not an insert that everyone's going to rush out and get, but I decided to try one at the shop. It came fast - just a day or two after ordering it.


 Well wrapped, 


the plate itself was bundled with a couple of spare inserts. 


The old and the new. It's very nicely machined -  fits perfectly, and looks great. The replaceable 1/4" insert is perfectly cut, and I'll use one of the spares as a pattern to make my own. 


It's branded, so there's no confusion who made it. 

Own it, Jack! 


There are five different set screws that will help level it with the top of your saw. 

The inserts and plates came without instructions on how to cut a new slot, but I've done it a hundred times on other inserts. So I figured that technique would work with this insert. 

To cut a slot on a new zero clearance insert, you bring the fence over the blade, to hold the insert in place when tasing the blade. Make sure that the blade won't hit the fence when you raise it. Then -  flip on the saw and raise the blade,  cutting a perfect slot into your new insert.


I'm not sure if you can tell from this video, but when I raised the blade through the plate, the MDF insert flexed enough to delaminate it, and crack the melamine face. 


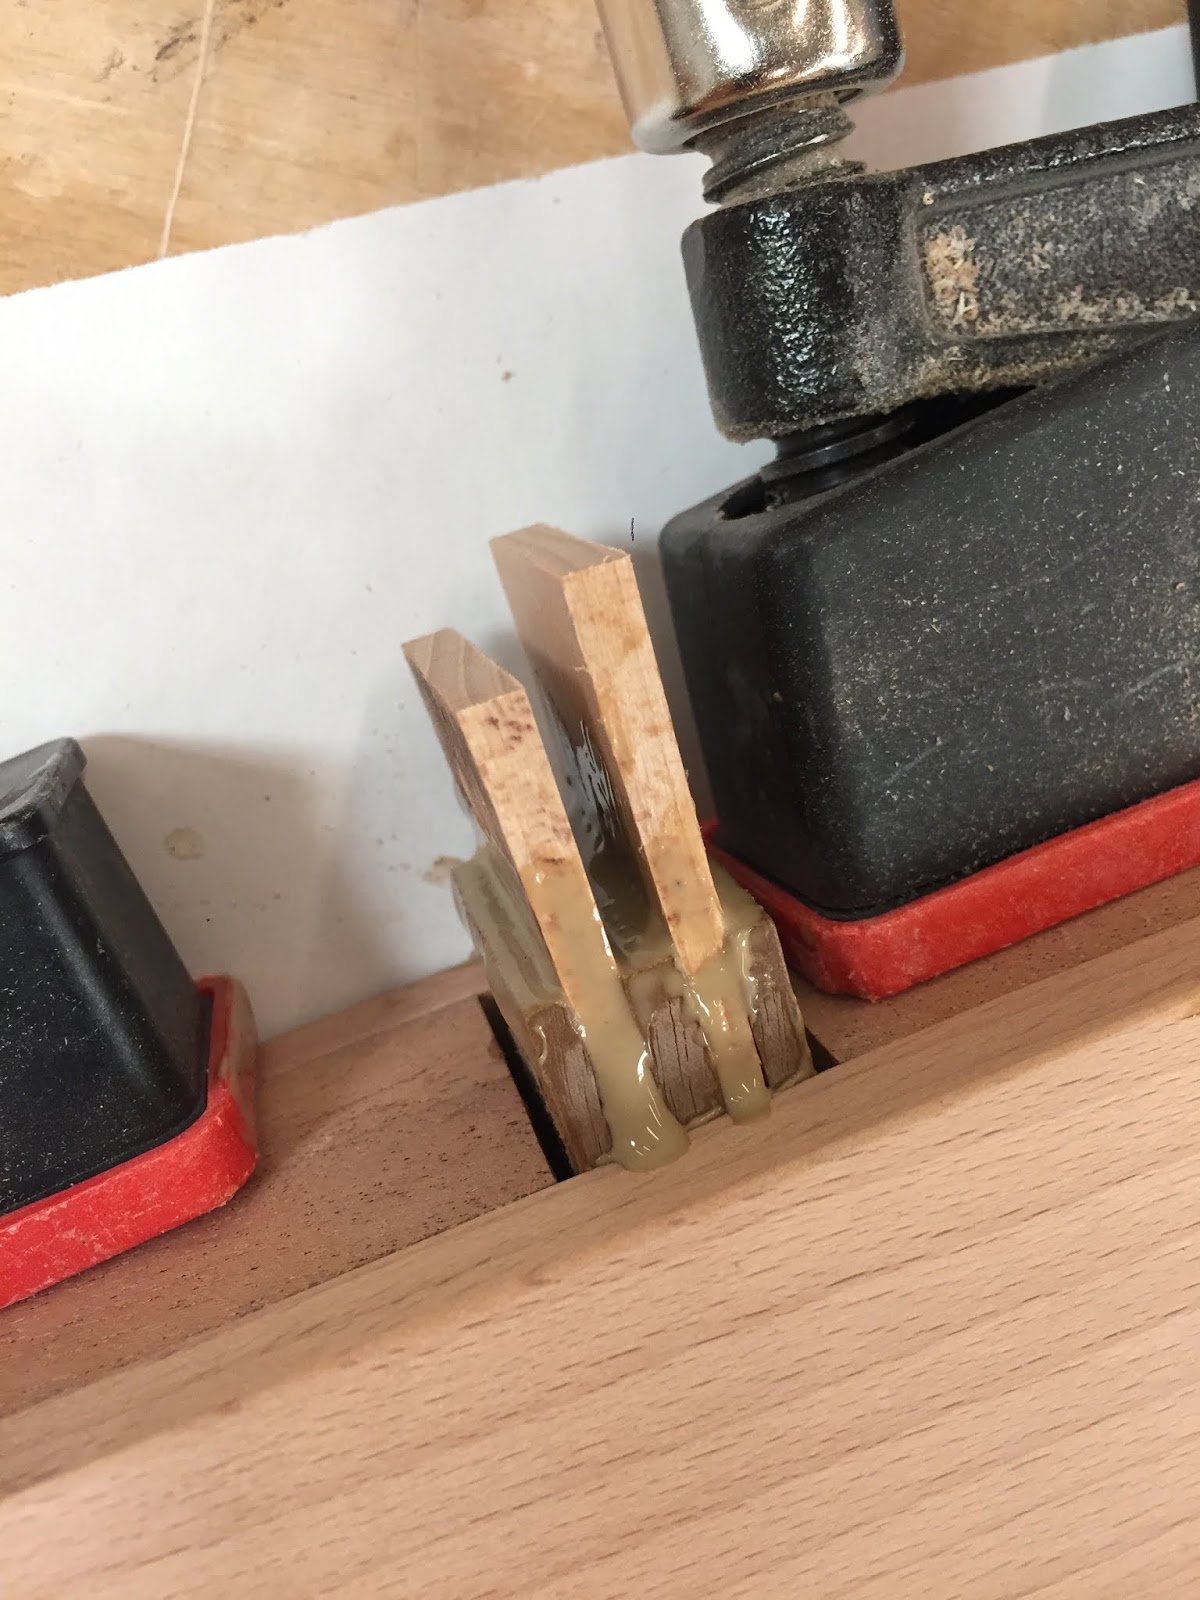
Not a disaster, but I had to pull out the insert and glue it back together. In the future, I'll probably support the insert on both sides, so it can't flex as much. 

Or - I'll cut the slot on the saw ahead of time. 

All in all, I give this new insert plate a solid B+ - and if if works like I hope it does, I'll upgrade that to an A.

Stay tuned....


Thursday, June 20, 2019

Getting our Mallet on....

Who knew making a mallet could be so fun!


We finished up the mallet class by coming back to the shop and making a few more, just for fun. I'm not sure why, but this really was a satisfying one!


Monday, June 17, 2019

Working with "sentimental" logs


Someone brought me a few "sentimental" logs recently, asking me to turn them into rolling pins. The tree had grown in their yard for decades, and when it was time to cut it down, they couldn't bear to simply discard the wood. Or burn it. 

I've made my fair share of rolling pins out of "sentimental" logs - in fact, one year, a family dropped off a whole trunk full of wood, and asked that I make as many things from the wood as possible. That kept me busy for a while, and it was a fun project, as I had artistic license to make whatever the wood dictated. 

Here's an amazing video with some new technology for wood splitting... this sure would have been helpful when I lived back in Ohio, and spent each Fall splitting wood for the upcoming winter. 

Thursday, June 13, 2019

Just a reminder to secure your load....

Saw this on Facebook recently - I've certainly had my fair share of losing loads on the road - but never this bad!


Sunday, June 09, 2019

Making a Joiners Mallet


It's been way too long since I blogged, and a few of you let me know that!

I'm thick in the middle of a ton of work, but even more grueling - taking care of business stuff. When you're in business, more than half of your time is taken up by paperwork, dealing with purchases and suppliers, taxes, inventory, maintenance and more. I'm not complaining, but it tends to take more time than the actual woodworking. 

But the good news is - I'm back to a better balance of building more, and pushing fewer papers around my desk. Yay for that. 

We started a mallet making class, and the inspiration for this a 1992 article in ShopNotes,  featuring a simple and effective plan for making one. 


It's a very simple project, but there are so many ways to personalize it, that this doesn't turn into a clone of someone else's mallet. The combinations of wood are endless, and after making one or two, I suspect that everyone will be making another one! 


I made a second one, even heavier than the first; here's the tenon end with two slots for wedging the handle into the head. 


This test fit helps, you don't want to start spreading glue and find out that you need to shave a little more wood down. 


A little glue,


 and some wedges draw everything tight. 


When these are tapped down, the handle is secured tightly in the mortise. 


After the glue sets up, 


they're trimmed off, and everything gets sanded. 


This is really a terrific project, and a little addicting. Like I said - once I made one, I wanted to make a ton, with different wood combinations, sizes, and weights. 


In fact, I was thinking that this would be a fun little business  to start - custom mallets. The next thing I knew - the most recent newsletter from Highland Woodworking came out and it featured a woman doing just that!  


Want to make your own?  Check out this video, which uses the same ShopNotes article that we used.


Monday, May 13, 2019

Motor Heaven


If you have tools, one thing is for sure... they're eventually going to break down. 

No matter how much you keep up with normal maintenance, parts wear out or fail. That's just the way it is, if you work with motors and pulleys and belts and fan blades.

So when a few motors in the shop started sputtering and whining, I knew I needed some professional help. I went to my usual motor guy, but unfortunately ... he couldn't perform the repairs I needed.  He's been around a long time, and has probably worked on motors longer than I've been alive. But I think he's got one foot out the retirement door, and just couldn't seem to perform the repairs. 

So he sent me to another motor shop in town - who knew that one town could have two motor repair places that have been in business for 60+ years?

Walking into Carlson Electric is like walking back in time. 


The front counter greets you with a bunch of signs, obviously relics of past issues they've had with other customers. I guess if you've been around that long, you're bound to have had some issues.


Honestly, I had the feeling that Woodie, the owner, has probably forgotten more about motors than most have ever learned. 

The best thing is that they have so many spare parts, scrapped from old motors, that just about any type of repair can be made.

 Pulleys? No problem.


 I'm not even sure what these are called - motor ends? 

Either way, there are a buttload of them - in every size and shape imaginable. Seriously, it's like a graveyard for motor parts. 


It's hard to take it all in. 


My repair was performed while I waited, with spare parts.  $25. I even got to watch the repair being made, until Woodie caught me in the back repair area, cussed me out and made me wait up front. 

Yeah, yeah, I get it... insurance regulations and all....

The bottom line is - I've found my new repair shop in town. 

And if you're ever in need of a good motor repair shop, I highly recommend them. Sure, Woodie can be a little gruff (read some of the Yelp reviews to understand what I mean), but he's one of the best in town.  He's who you want repairing your gear.


Tuesday, May 07, 2019

Late to the party?


 Maybe I'm late to the party, but I learned a sweet trick this week from one of the members of the carving club.  

Listen to the tune below while reading the rest of this past... it'll make sense at the end.


Remember the last post about tattoos, and covering up accidents? 

Barry was working on this eagle head,


 and accidentally broke off the tip of the beak.  As I looked closely at it - I could barely see a flaw, and asked how he'd fixed it.


 And he gave me the tip of the year... baking soda and superglue. He built up the tip with drops of glue and baking soda, and once it dried - he dremel-ed it smooth. 

Genius!

(Maybe I'm late to the party, but I've never heard of this technique.)


You know those nasty cracks that we get on our fingertips, especially during winter? Someone suggested superglue, rather than the more traditional first-aid solutions, like Skin Shield or New Skin. I've tried them all - they sting, and don't work. At least for me, they don't work. 

This past winter - I became a big fan of super glue. 

In fact, you can pick up a pack at your local Dollar Tree that will last a while. 


You don't have to worry about a bigger tube of it drying up and going to waste.

Honestly, I've tried them all, and superglue is a game changer for skin cracks. This fellow actually repaired a smashed nail, and although it's a nasty photo below, the repair is brilliant.


 I'm going to remember this one. 

Thursday, May 02, 2019

Cool Woodworking Tattoos

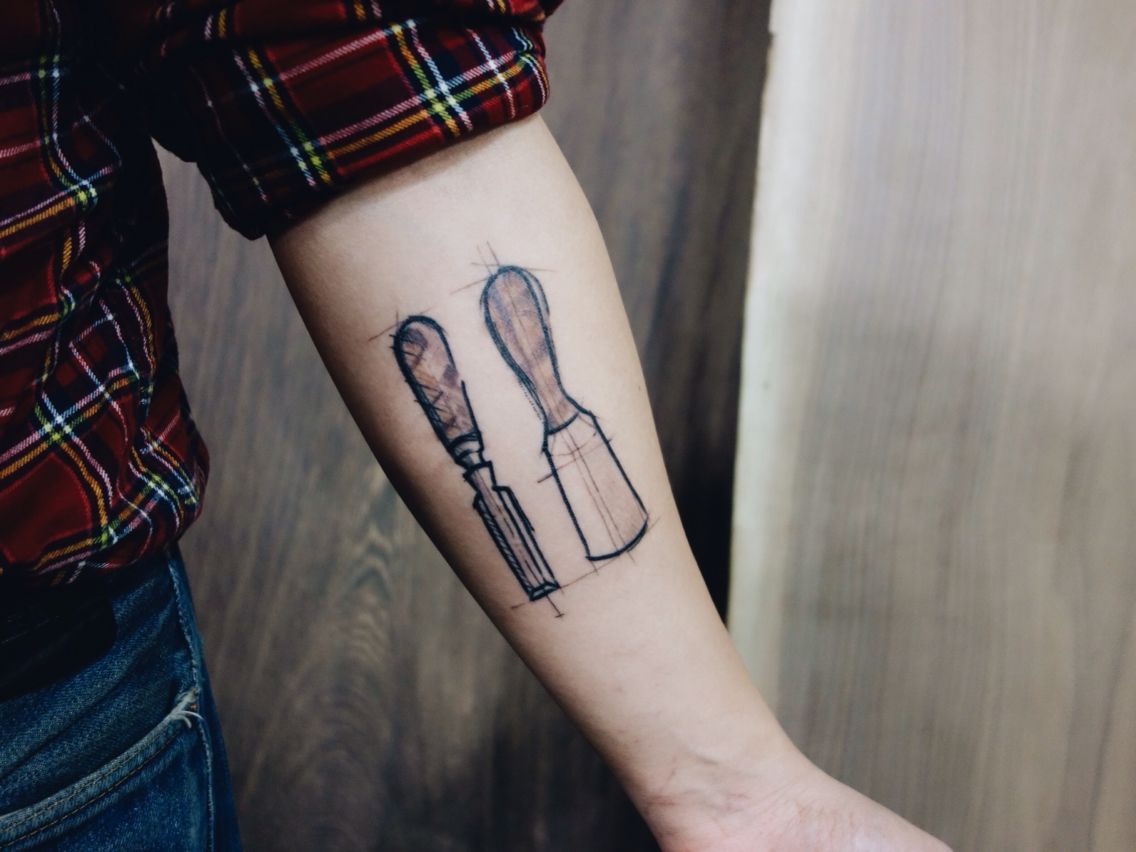
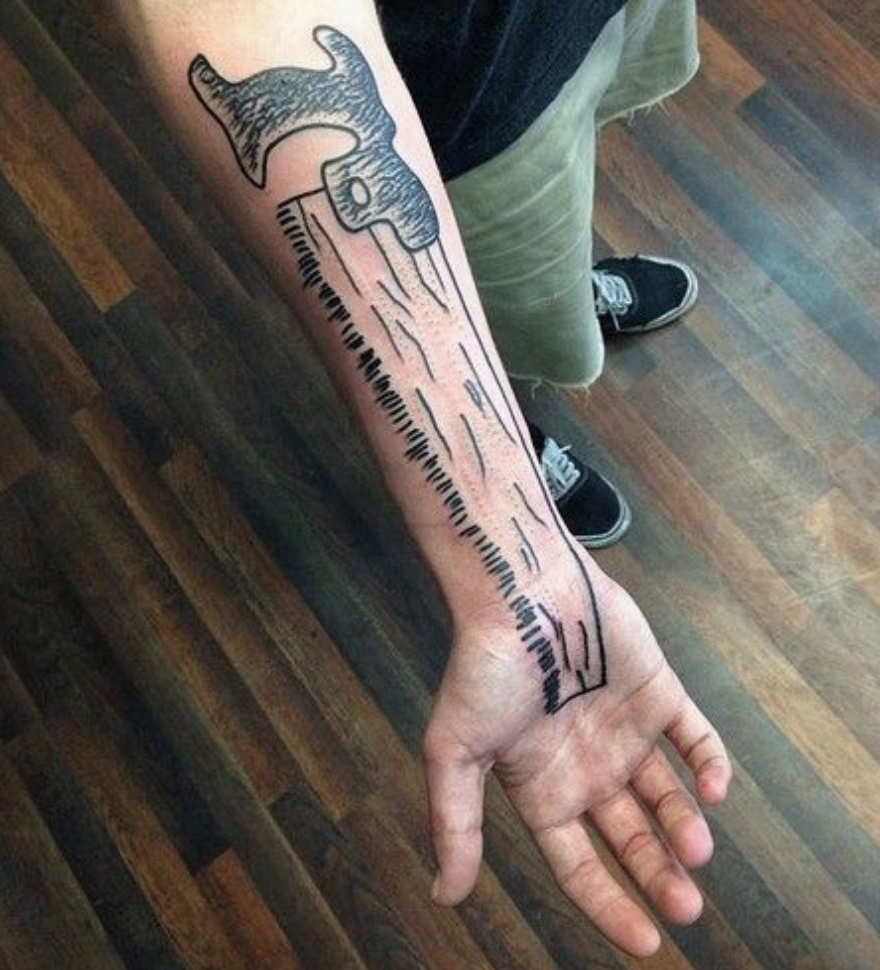
If you regularly check out woodworking websites like I do, you'll notice some really interesting tattoos. I love the way people incorporate names or some personalization into the artwork -  here are a few of my favorites.


 I love how this woodworker has hidden the fact that he's missing two fingertips. Genius! 


That brings me to my dilemma - depending on how my shin heals, I might need some artwork to disguise this nasty scar. We'll see.... 


Stay safe!


Saturday, April 27, 2019

Game on!

The buzz is starting....


Sunday, April 14, 2019

Working smarter, not harder


Customers often come to me with vague ideas of what they want. 

So when someone came by recently, and gave me a photos like this one,


but with some changes, I knew what had to be done. But I was on a very tight schedule - just a few days to complete this, and with a full teaching schedule and a pile of other work stacking up, I had to prioritize the details. 

He wanted a collage of photos in frames, and some added embellishments. 


The word "Family" had to be in there somewhere, as it was intended for a close knit family. The theme of a family tree was my focus. 


We looked at a lot of examples and options, and finally came up with an idea of an easy-to-hang shadowbox, with a french cleat on the back. Making the outer frame was easy, and I domino'ed the corners for some added strength. 

In light of the time crunch, I found some wonderful wooden frames and utilized those, rather than making my own. Not enough time. 

But the best part was cutting out the artwork with my Glowforge laser. Here it is, as I was experimenting with the layout and spacing. 


 My ingenious method for attaching the frames to the backer board used these - brilliant!

And I matched the color of these (gray) frames by using this toner - so easy and professional of a match! It's available in many different colors, and the Light Walnut matched perfectly.


Here is it, starting to come together, with hours to spare.  


As a little bonus, I added the initials of the couple, as if they were carved into the tree trunk... a fun detail that really capped off this build. 


Having the Glowforge  has opened up amazing doors... I'm working on some very fun  commissions right now, and it's great to be working smarter, not harder.

 I'll take it!