Sunday, June 23, 2013

Let's finish up those end grain cutting boards

There are too many posts just dangling  out there - I still need to post pictures of that tall dresser I built and blogged about a couple of months ago, as well as wrap up the cutting board post. 

So - let's finish up these end grain boards.

After cutting and gluing the boards a second time, you end up with a wooden blank that still needs to be crosscut to form the small vertical pieces that will form the top of your end grain board. There were eight people in the class, and all eight made a blank, which was sawn into 1 1/4" strips. 
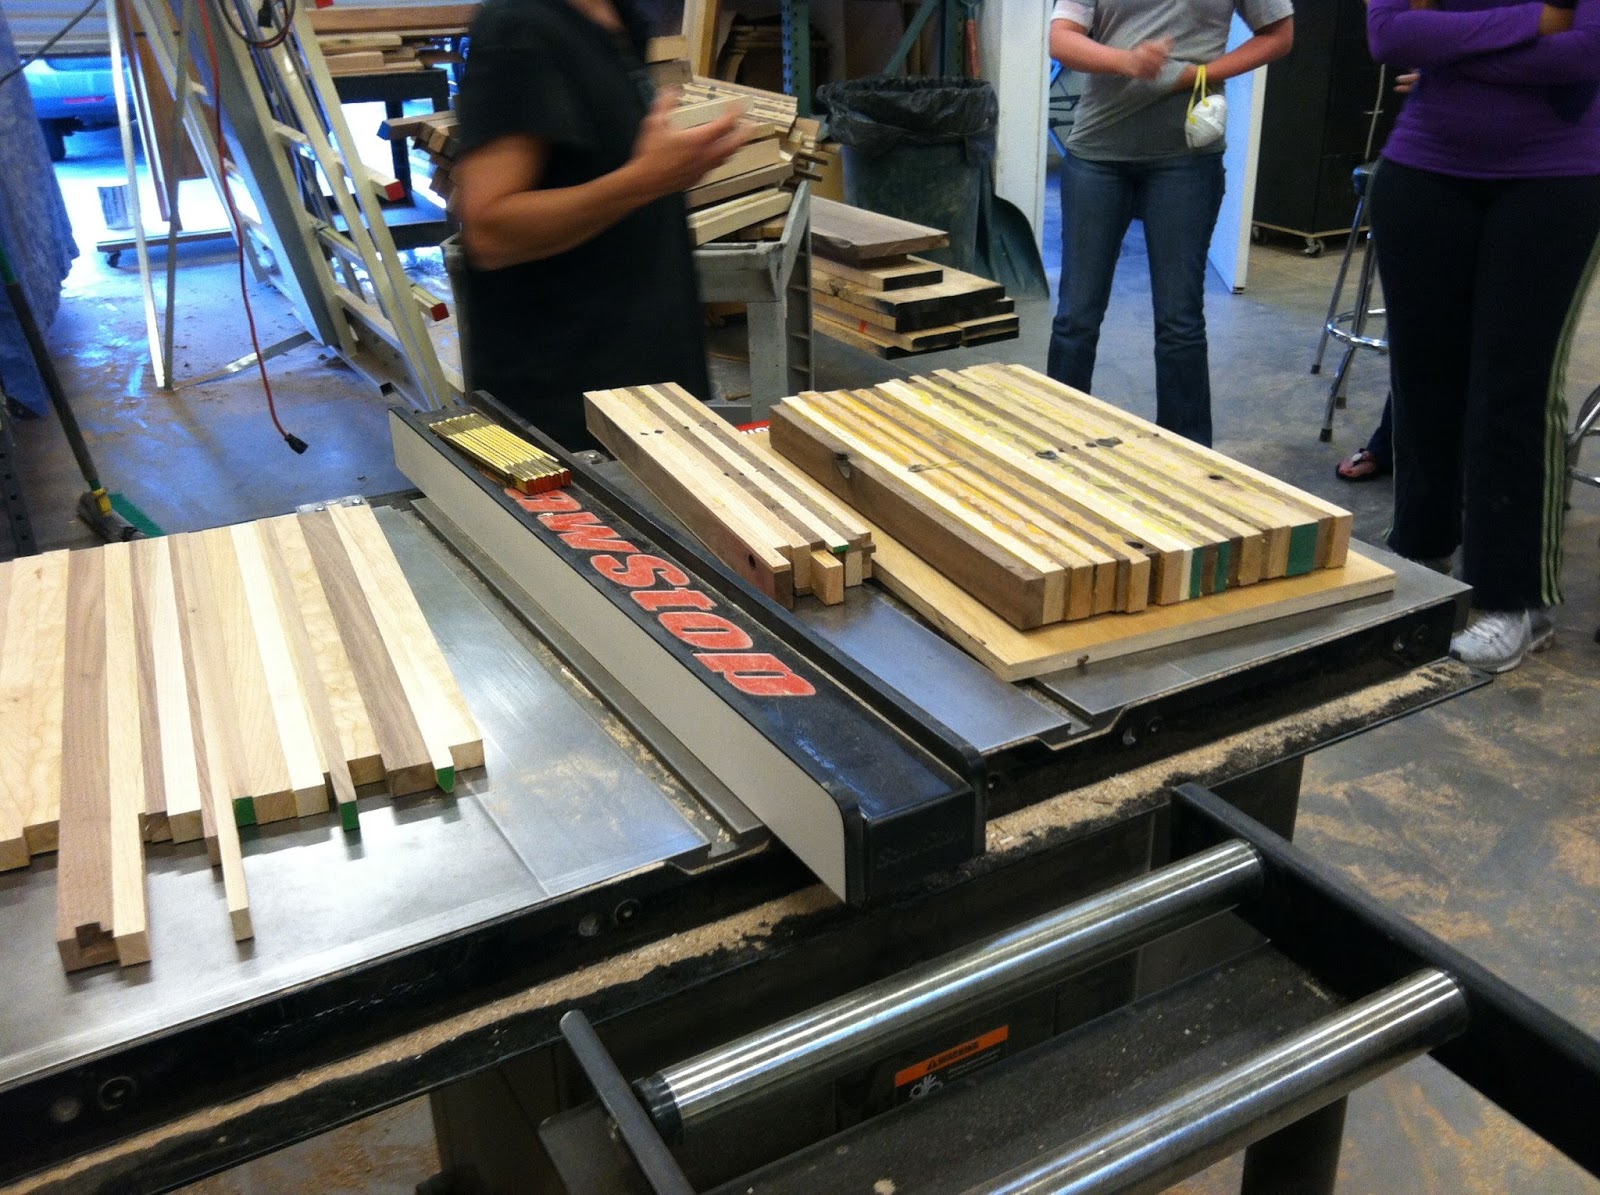

Cutting the board is easier with two people.


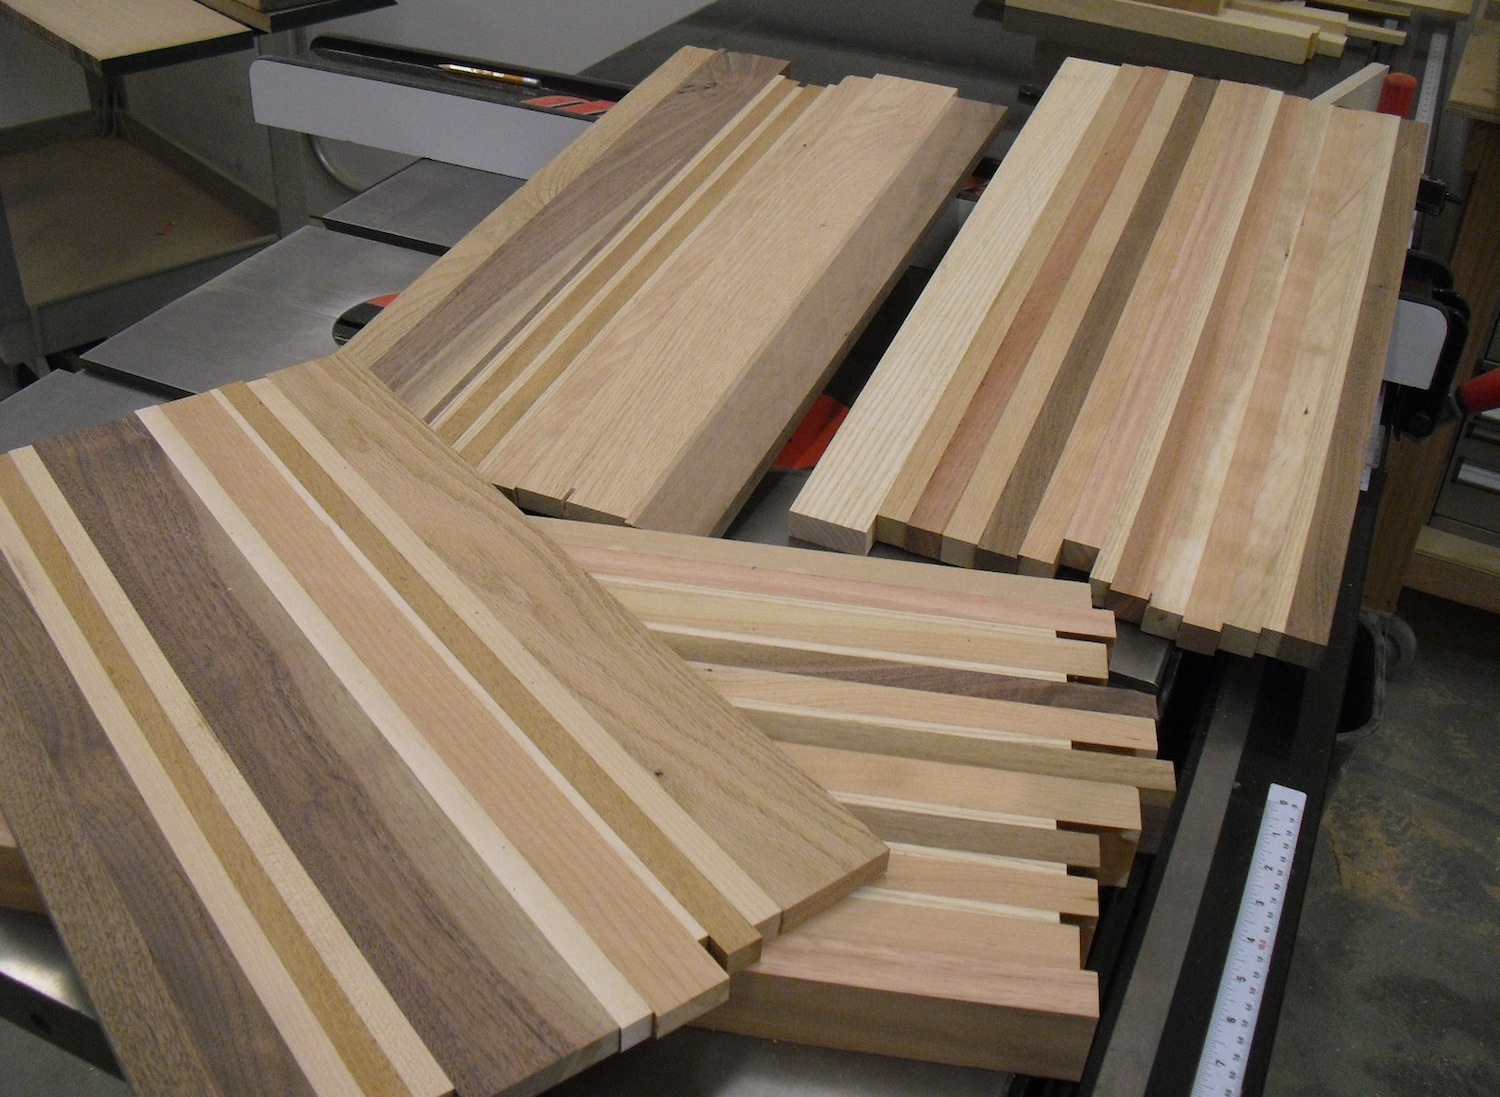
The cool part about this being a group project is that everyone put their strips on the table, and then we mixed and matched everyone's pieces together, making amazing boards. Here they are, grouped by each person's board blank. 


And here we are, grabbing for cool pieces of wood!


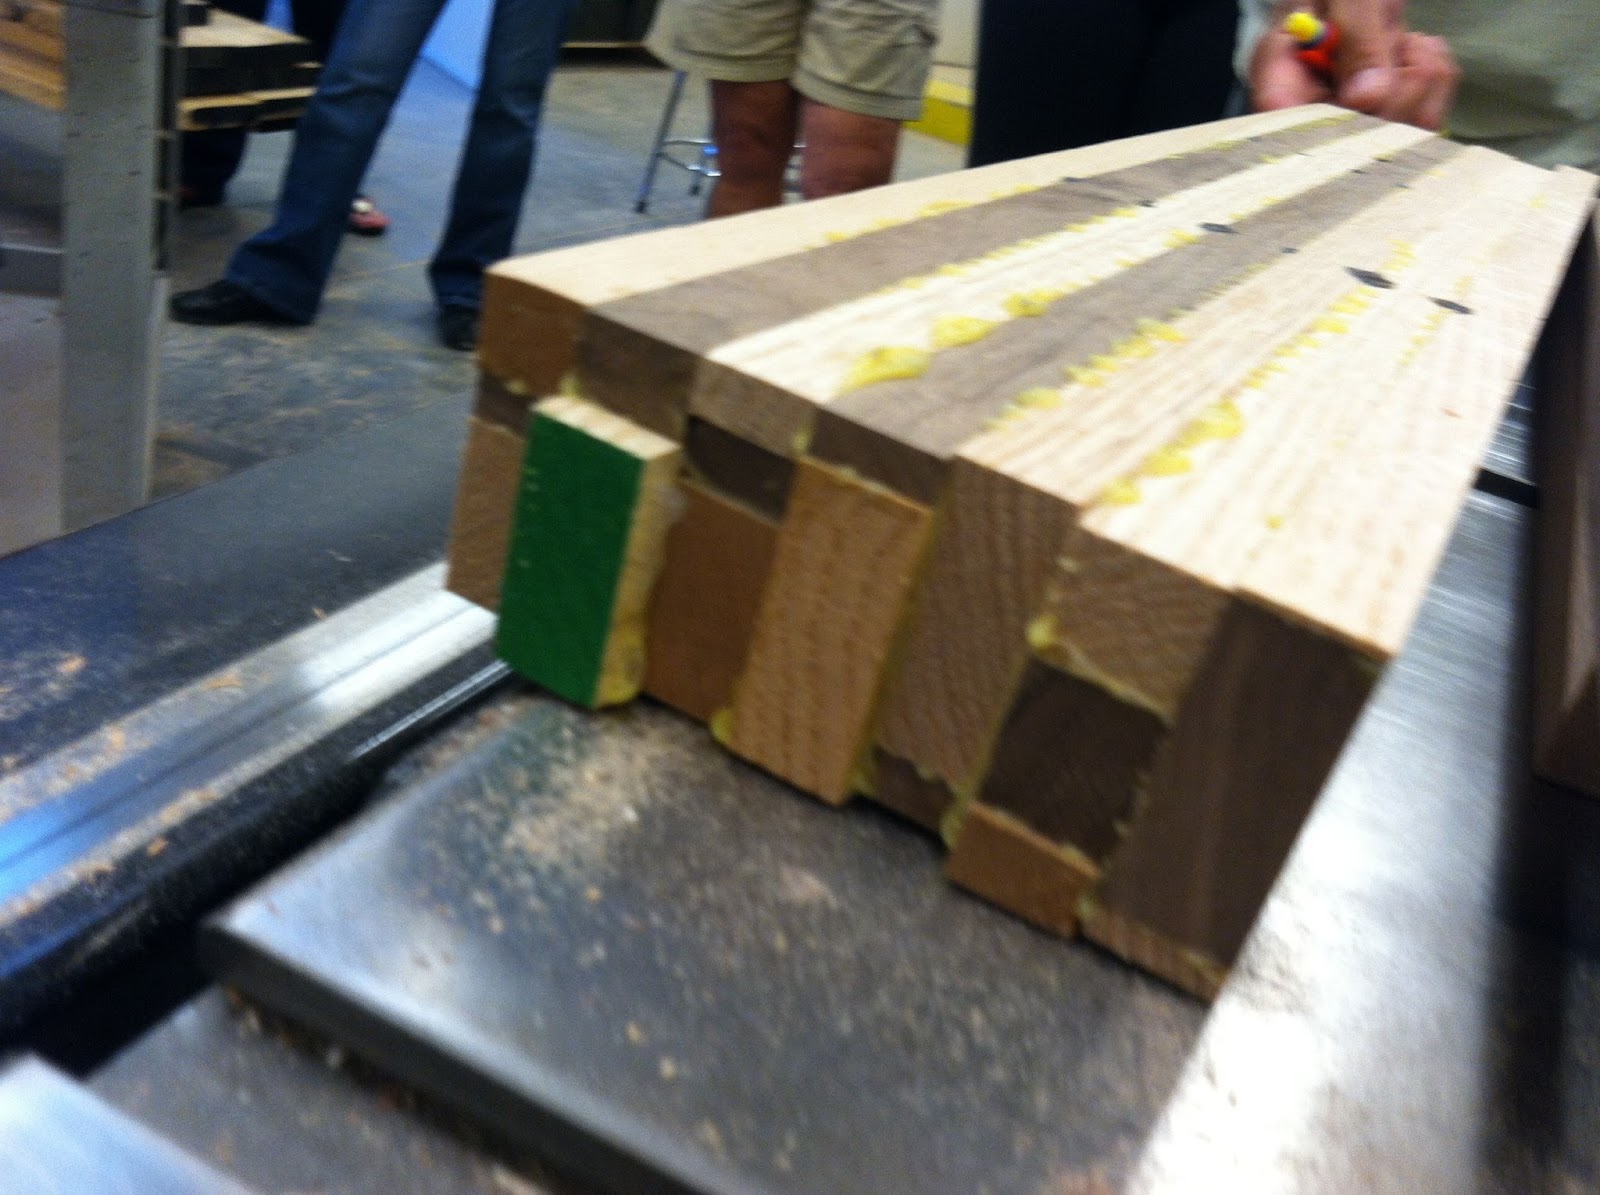
Now I've read in forums and magazines that say you can't run an end grain cutting board through a planer, but that's just not true. Sure, the tail end of the board can blow off, once it passes the cutter head unsupported. But the key to minimizing that is to glue a scrap board on the back end of the piece. I keep some 2x4s in the shop that work perfectly for this. Here's a board ready to be glued together.


Here are all the boards, awaiting the planer. 


This is another one of those "it takes a village" projects, with several people pushing the board into the planer, and someone on the back side, catching it as it exits the planer.


We still have to square up the board, as the ends are uneven. If your board is too big to fit on the miter gauge, just flip the miter gauge around and cut it the other way. 


One thing is certain - these boards need a lot of TLC - much more sanding than a regular cutting board. But - wow, they're worth every bit of the effort. I don't think you'll find a more gorgeous board out there!


 Congratulations to everyone for a job well done on these boards! These were a terrific team project, and everyone walked away with a masterpiece!


Thursday, June 20, 2013

Awww... this makes me sad....

This is sad - I'm not a huge TV watcher. But I have to admit - I absolutely love The Sopranos. It reminded me of all the weird intricacies of being Italian. 

RIP James G... way too young.


Here's another good one...

Wednesday, June 19, 2013

Taking the reins...

It's funny how things come full circle, if you wait long enough. Years ago - and I mean YEARS ago! - I used to frequent a very cool woodworking store in Cleveland. Think Lee Valley, only thirty years ago.


 I don't even know if they're still in business; I can't find anything out about them. But  I remember being a young (broke) woodworker who would visit their store and drool over the woodworking benches they sold.  


Leichtung Tools sold Lervad benches back then. I don't believe there are any US dealers who carry them anymore. That's a shame - they make a full line of excellent benches - for jewelers, carvers, and everyone in between. 


Out of the blue a couple of weeks ago, a woman called me and said she had a bench that she wanted to give away. Her husband had passed away, and she wanted to find a good home for it. 

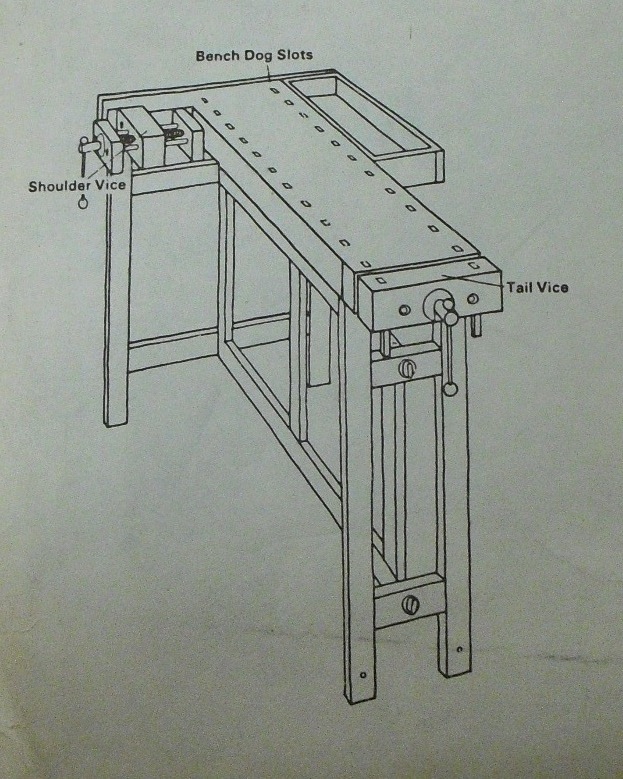
I arranged a time to pick it up, and imagine my surprise when I walked into her garage and saw this Lervad Model 610 just sitting there,


 in nearly mint condition! 


She even had the original manual with it! It's a terrific
 little bench - complete with bench dogs 


and two vices. Yup! A tail vise and a shoulder vise....perfect for holding wood while planing 


or cutting joinery. 


This bench has literally been around the world - her husband bought it while in the military, and had it shipped to Europe, where he used it for light carving projects. The address on the paperwork she gave me even had his APO address on it.


It always feels special when someone donates a piece like this to the shop - like I've been given the guardianship of it. Not to sound corny, but receiving a bench like this commands that some respect be given to it. There's a responsibility that comes along with it. 


 You don't want people dripping glue all over it while gluing something up, or getting spray paint all over the top of it. 


So for now - I'll just find a good spot for it in the shop, and hopefully - let some people use it who will treat it well. 


Oh - I thought it might be a nice idea to commemorate it - so I ordered this plate. Many thanks to the Hall family for this... we'll take good care of it.

Thursday, June 13, 2013

Making the best cutting board ever! (Part one)

Sometimes these blog posts materialize quickly, like the last one,which popped up in a day. But this one has been in the works for a very long time. 

See - when you have a woodshop where there are classes running constantly, and steady stream of woodworkers making things, then you have a ton of scrap material that builds up quickly. That's not always a bad thing - because you can turn this scrap into some of the most lovely end grain boards that you'll ever see. 

I call them - confetti boards. They look like you've thrown a bunch of wood bits into the air, and they come down landing like this.


Years ago, I visited my buddy Larry's woodshop, and realized that he had more scrap than anyone could possibly use. Seriously, he probably had scraps from the 1970s laying around his shop. I showed him how to make this type of board, and he's been making and selling them ever since - commanding top dollar for these boards! 

Yes, end grain boards are in high demand, as they are kinder to knives than traditional cutting boards, which look like these.


As the theory goes, end grain boards are "self healing" with knife marks and cuts eventually "closing back up." I'm not so sure I buy that 100%, but I know that the end grain's vertical wood fibers are more open to the knife edge. Or as Pete in the Sin City Woodworkers group described - imagine a broom turned upside down. Now imagine using a knife on the very vertical edges of those broom bristles. When the knife cuts into them, the bristles part. When the knife is pulled away, the bristles go back together. That's the concept of an end grain board.

Me? I just think they look WAY better, and the fact that they're kinder to my knives is simply a plus. 

But they're a TON of work - in some cases - the amount of work is quadrupled. That's why they're so damn expensive. See - with a traditional board - you glue it up 


and plane it down. 

You can add some plugs to spice things up. Or not. 


These traditional boards are pretty simple. Just a few steps and you have a work of beauty. 

End grain boards are a whole different beast. 

It starts with scrap.  


Lots of it.


You'll need more scrap than you could ever dream about, if you want to make a lot of these boards. 


I save and eventually sort the scrap into piles. 


Each pile is sorted into boards that are relatively the same thickness, so that I can glue up the "blanks" that are needed for these boards.


Each blank is glued randomly - and honestly - the more random, the better. Thin strips work really well - so even if you have a quarter inch piece of material, it will play a part in this project. (This project may turn you into a hoarder.)


The only thing you should aim for is contrast - light/dark woods. 


Over and over again.


And - over and over again.


When you plane these down, you want them in random thicknesses - honestly - anything goes!


Now here's the tricky part.  You're going to rip some of these boards into strips, turn them on edge, and re-glue them back together.  Like this board - I ripped it into strips about 1 1/2" wide, and then flipped the strips up vertically.


Like this. 


Now you can start to see how we're developing some vertical and horizontal lines in these "blanks." 

I suppose there is one thing you need to think about - and that would be the width of your laminations. If you want your board to eventually be - let's say 18" wide, your final blanks need to be maybe 19 of 20" wide. 


Still - we're only halfway there.  

Stay tuned for part two....

Monday, June 10, 2013

RIP Cal Bowman

This is a sad blog post to write.

If you live in Las Vegas, you know how damn hot it's been this week. It really bothers me when people complain about the heat here - I mean - YOU LIVE IN THE DESERT, what do you expect? 

(I complain about it too - and yes, that is stupid. It's a bad habit I am trying to break.)

It's easy to forget how dangerous this heat can be. Forget that your dog is in the car and it will die. Same with kids in cars. Every year, there are tragic stories about someone dying in a hot car. 

So yesterday, when I heard that some Boy Scouts and their Scout leaders had run into trouble while hiking out by Lake Mead, I thought - who would take kids out on a day when the temps were going to reach over 110 degrees? It's so easy to criticize or think something cruel about that, when the truth is - it was just an accident. No one would have ever scheduled something like that, knowing what the outcome would be.

That's why it's called an accident. We'd all do things differently if we could go back in time and change things - right?

Sadly enough - the scout leader who died during that hike was a student of mine at the school. Cal was a good guy - quick with a smile, or a kind word. Smart. Busy. Energetic. Wanted to build a ton of furniture. 


He was a member of the Sin City Woodworkers group, and at our last holiday party, he'd won a tool in our raffle, which is still sitting in my office. A month or two ago, he emailed me to say he'd be by shortly - for he was in the process of setting up his woodshop and needed the tool he'd won. Sad.


So - please - before you make a mean comment or a judgement about this tragedy, stop and think about this. These comments are mean spirited and unnecessary. At various times in our lives, we've all encountered dicey situations, like narrowly avoiding car crashes, or luckily - leaving the scene of a disaster, moments before it occurs. 

By some twist of fate or luck, we manage to stay safe. Lucky us. Be a better person, and instead of judging this situation, offer up a bit of thanks that you're still around. And - maybe a little prayer (if you're the praying type) for Cal. 


Friday, June 07, 2013

Back to the start...

I love this video, not sure why, but it's just so damn clever. 

I've only eaten at Chipotle once (maybe ten years ago!) and from what I remember, it was pretty decent fast food. Makes me want to try them again. This is what I call successful marketing!

(Thanks for the link, Jen Yu!)


Tuesday, June 04, 2013

Changing the blades on the Makita 2040 planer

Believe it or not, I still had a set of unused blades for this old Makita 2040 planer. I purchased them in the 90's, and never found the need to use them. 

I'm so organized - I knew right where to find them! (I even found the credit card receipt for them, stuck in my planer manual.)


I've probably changed the blades on this machine a few dozen times over the years, and it's always struck me how archaic the directions are.  Really - the manual is so lame for guiding you through this procedure. 

You have to remove the top chip guard to expose the blades. Do that by loosening this screw and rotating that little tab 90 degrees.


Do the same to this one, 


and then pull the cover off. 


Now it's time to lock the cutterhead in place. There is a black plastic lever on top that locks into place when you have the blades rotated into the right place. 

There are two blades - and to get to each one, you have to remove the eight bolts that hold down the blade drum cover. 


Here I've removed the blade drum cover, 


it's easy to simply slip the blades out now. 


My sharpener engraved my name on my blades - I'm guessing this was done by Jim's Sharpening Service in Akron, many years ago. He was a terrific guy, did all of my sharpening until he died very suddenly and his apprentice took over the shop. I don't know if he's still in business, but they were a great company to use - friendly, reasonably priced, and always had a fun story or some silly joke to share. 


I've already drawn blood - I don't even know what I touched!


Time to blow out the 15 year old dust inside the planer, and install the new knives. 


Here's where it gets lame. 

LAME!!!

Makita gives you two high tech devices for setting the height of your knives - these blocks of wood. (Eye-roll.... please....)


Basically, you slip the blades in place, and secure them with all eight bolts - only hand tight for now. Then - rotate the cutter head until the blade is at it's highest point, and push the piece of wood down over the blade. That way - you don't slice yourself on the sharp blade. In theory, at least - I almost always get a little cut. 

It's a little complicated and I've probably lost a few of you with this - but the set the exact height, you press down slightly on the wood block, and leave it sitting over the top of the blade. Rotate the cutter head very slowly, and when the blade scraped the wood, it should push it slightly forward - about a quarter of an inch. Do that on both sides of the blade. When both sides advance that piece of wood the same distance, your blade height is set.

What a ridiculous way to set the height!

I am sure there are people out there with dial indicators that do this much more accurately - but this is the way I do it. It's old school -  but I'll stick with it. It works fine. For some reason, Lady Luck was looking over my shoulders - I set these blades in about ten minutes. 

I took some rust cleaner and wiped down the tables - they were in pretty bad shape. 


I can make a serious mess when working on tools. 


But the good news is - she is starting to get back into excellent shape. Next step - some adjustments to the bottom rollers and then reinstalling the top rollers. She's almost ready to use... 


Stay tuned!

Sunday, June 02, 2013

The Woodworking Antidepressant Solution


Architecture, interior design, and more ∨

Whether granite countertops, a custom kitchen island, or built-in wine racks are new kitchen musts, discover thousands of kitchen designs to help make your dream come true.
Find home remodeling professionals, local residential architects, top home builders in your area and decorating and interior design ideas.