Friends are the spice of life, right?
My buddy Rick is a designer, computer whiz, woodworker, inventor, and one of the nerdiest guys that I know. I say that with a ton of love and respect for him!
The other day, he decided to paint and trick out his shop vac, turning it into a droid. Because.... why not?
Like I said - NERD!

He has so many tools and tricks up his sleeve, but he relied mostly on his 3D printer. And his creativity.
He painted the body of the vacuum with a shellac primer, ordering a couple colors of paint from Home Depot.
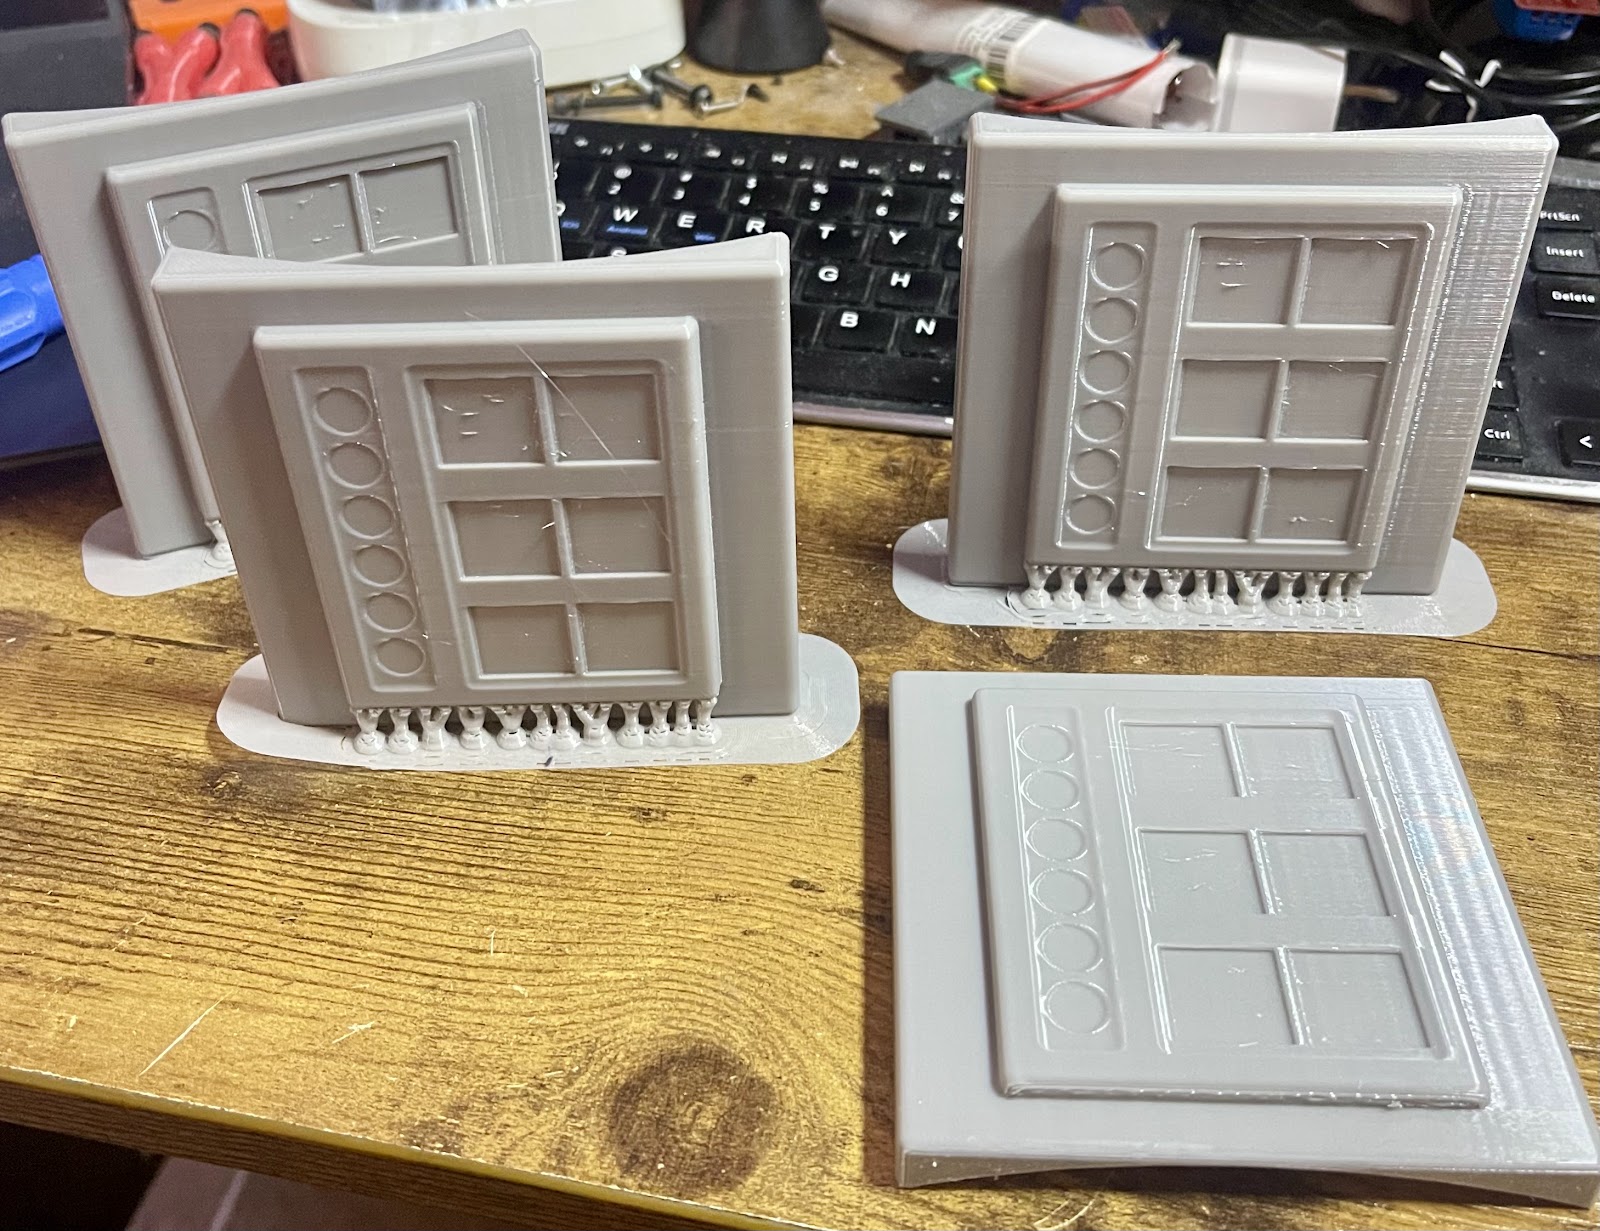
To make it look like a droid, he designed some buttons and lights - here are some of the prototype parts he printed.
He even curved the backs of them, to fit on the rounded body of the vac.
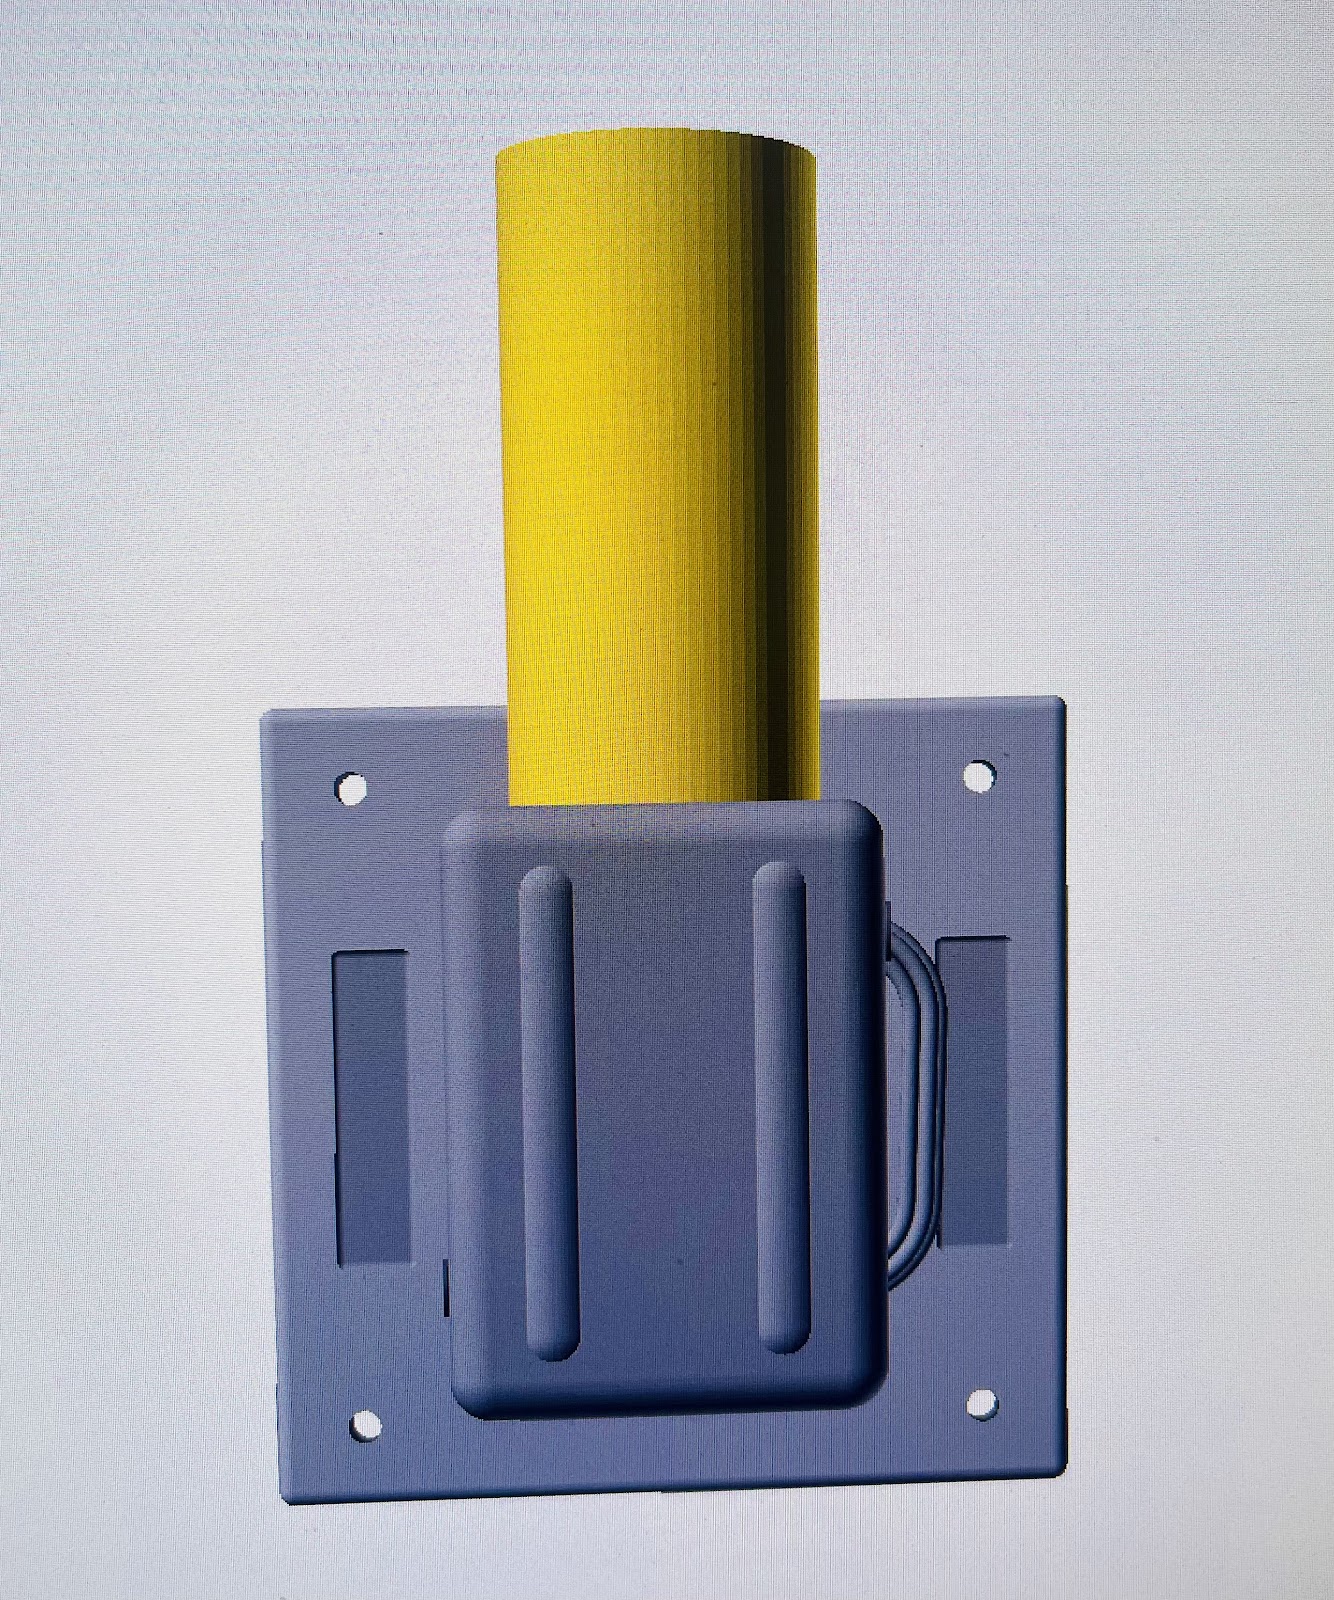
He dug out some semi transparent filament for the buttons and the lights, to make it look more realistic. While he was printing the light panels, he started thinking about the arms, and designed them to hold the end of the hose. The other one will hold the bag of accessories so it’s all together. (Smart design, I love it!)
These arms have fake screws and fake wires.
Again - they are curved on the back for the round body and the yellow pipe can be a hook or hold the end of the hose.This rendering is what it would look like, according to his design.
Hot off the press - these four button/LED plates just finished printing.
He thought of everything, including printing a bunch of multi color semi translucent buttons and lights for the droid.
This is crazy-fun!
Next - he turned his attention to the exhaust ports. Fake vents with fake screws? No problem!

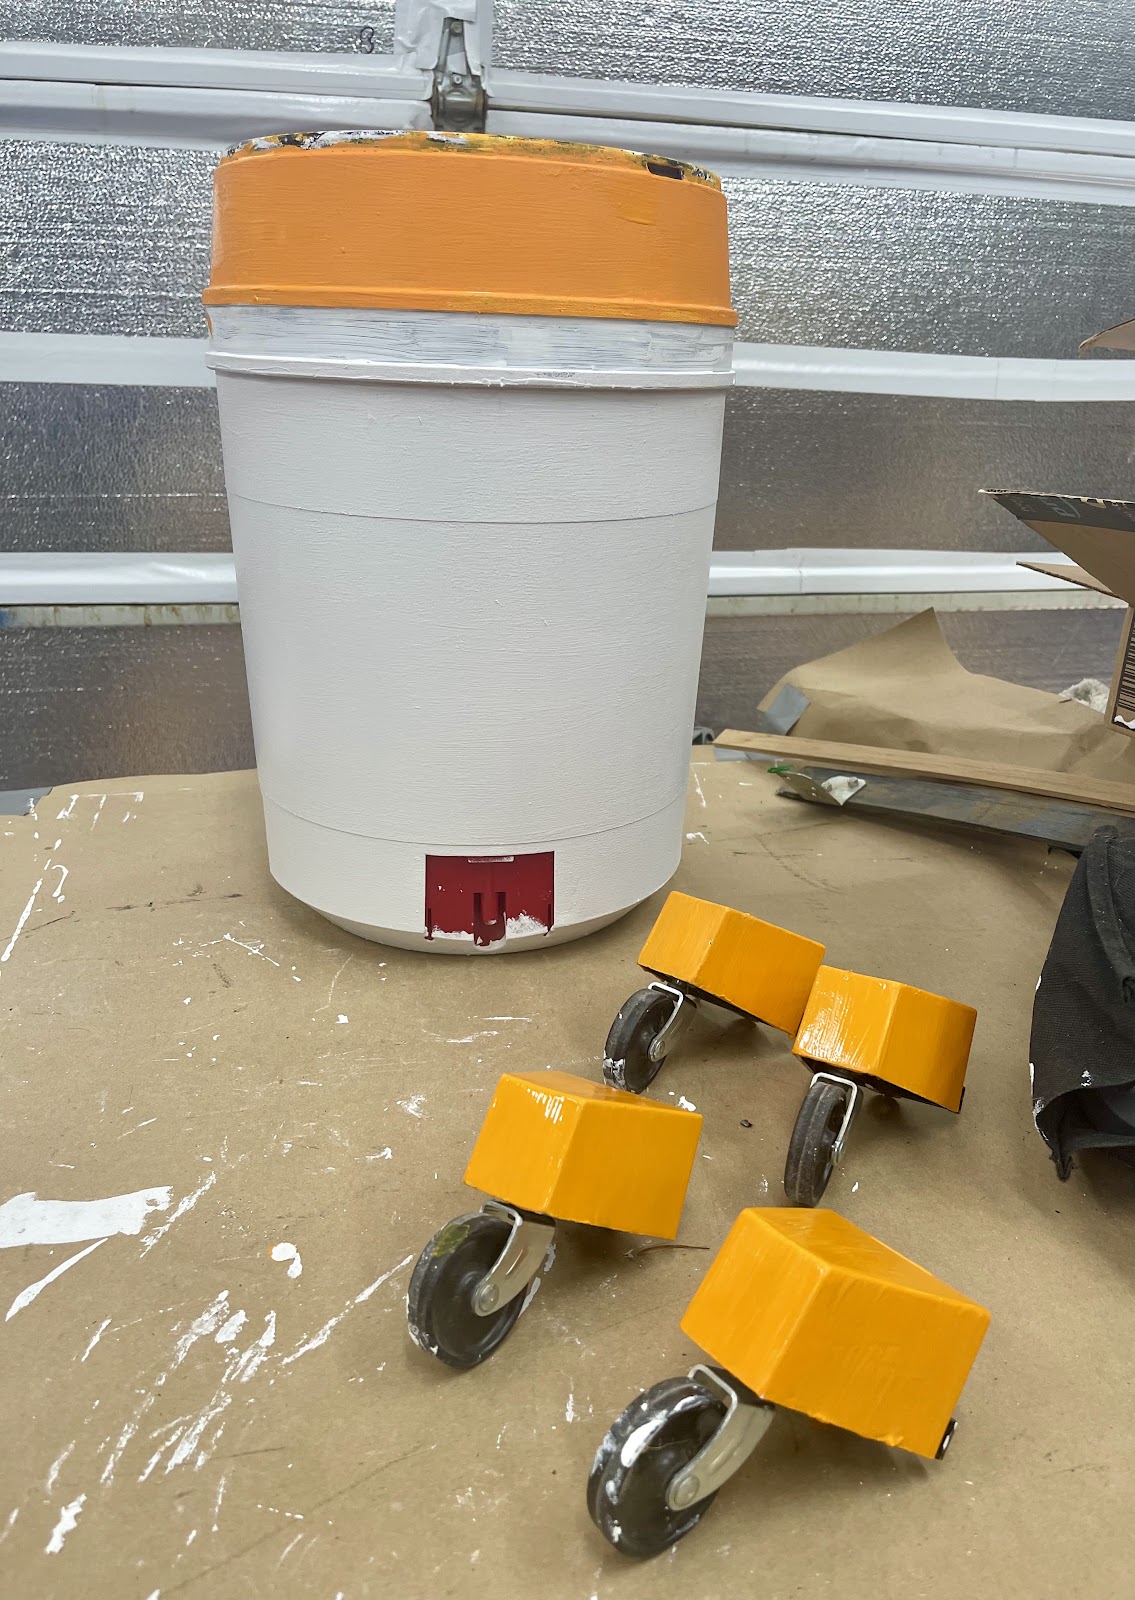
Here's the vac after two coats of primer and two coats of paint. Next is the black banding around the middle
He masked off the area, and sprayed the band black.

Gluing the semi-translucent buttons and lights on the panels was a challenge. Superglue for the win! He told me this was all PETG filament for these parts, btw.
(Whatever that means!)
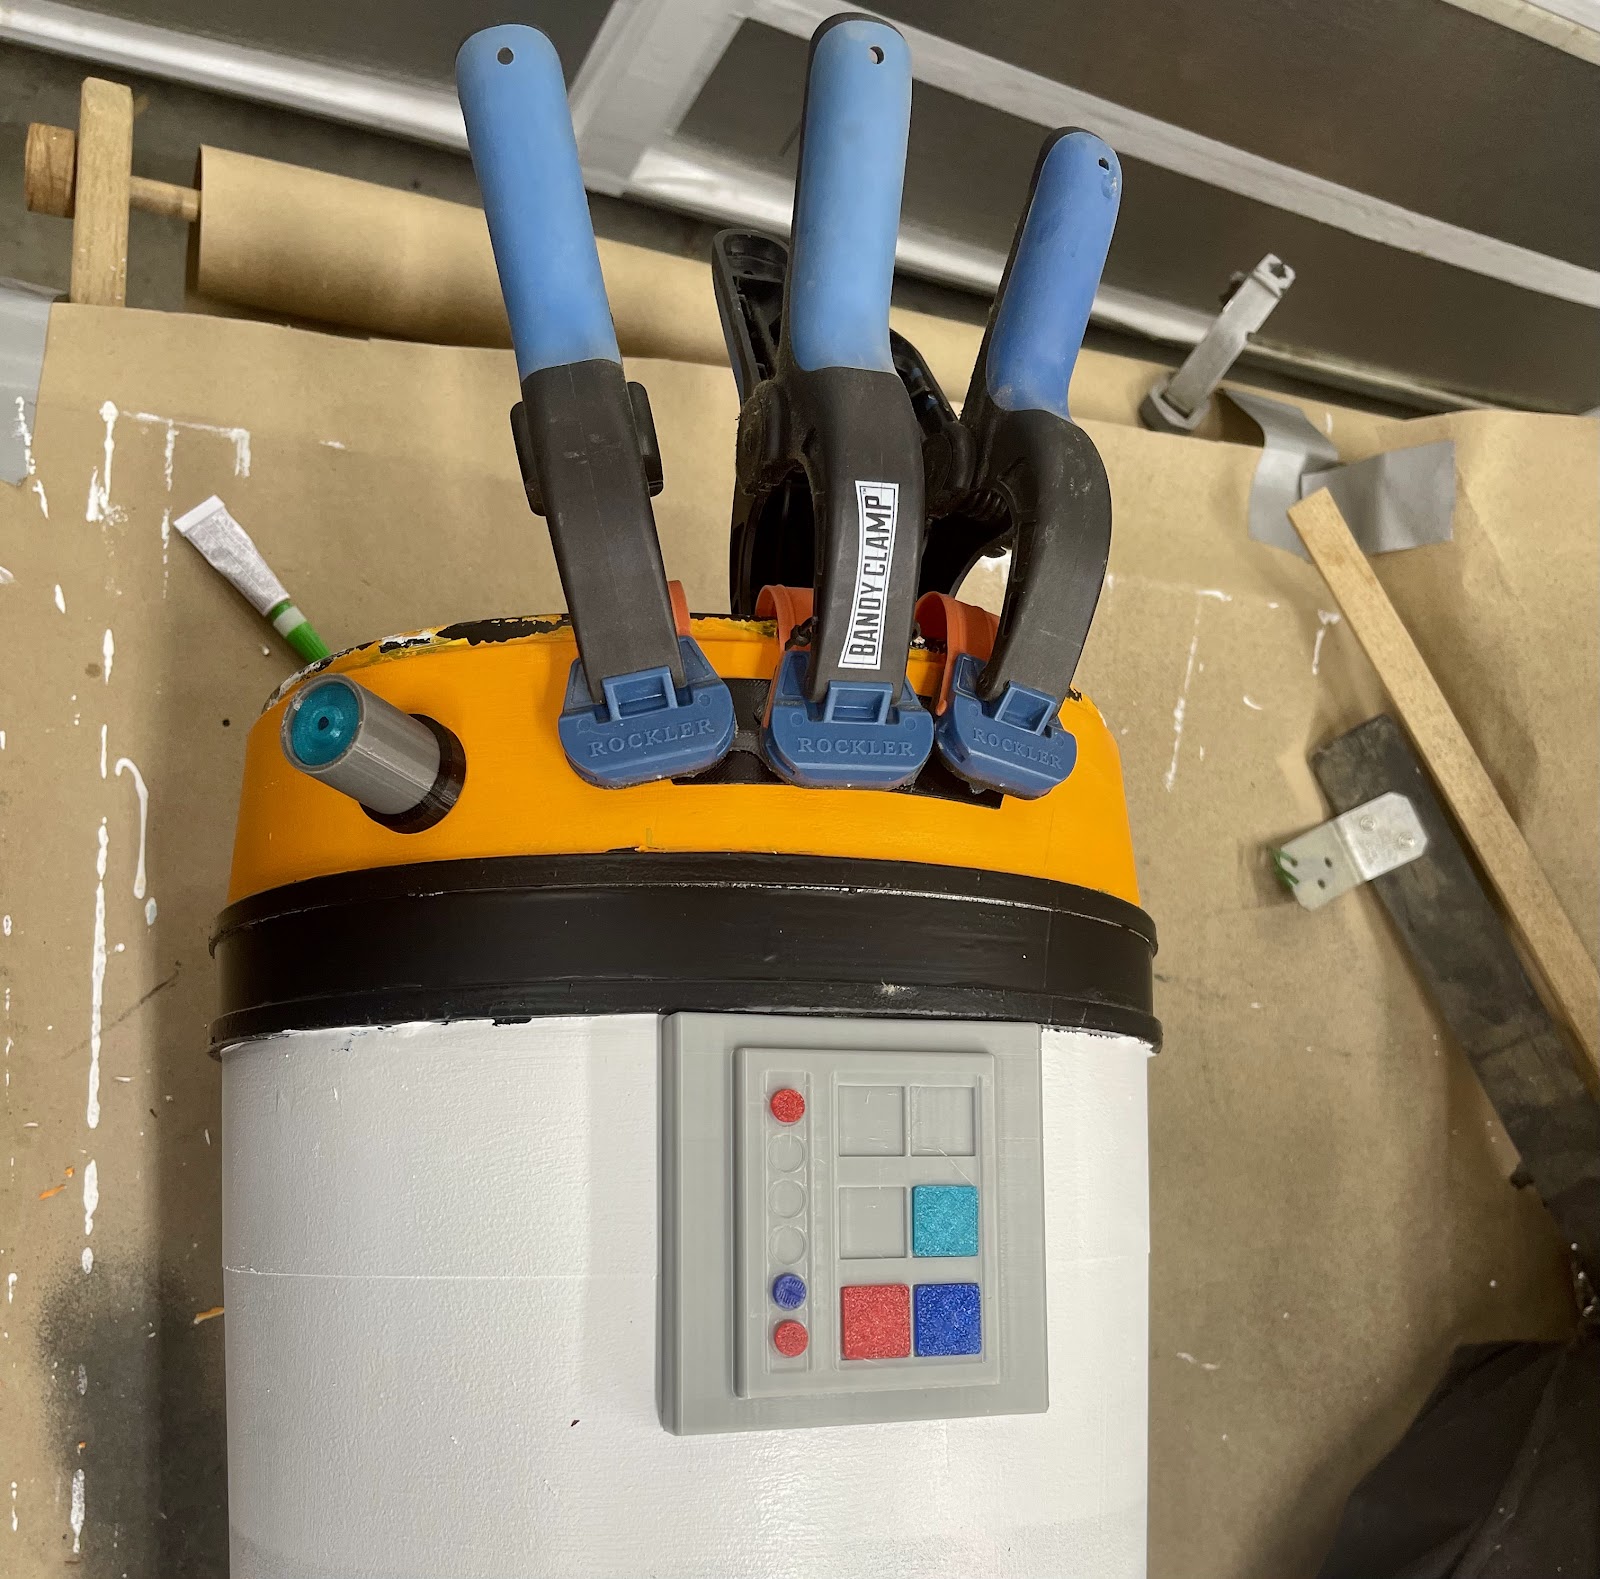
A real challenge was clamping everything while the glue did its magic.
Good thing he has a ton of these clamps.
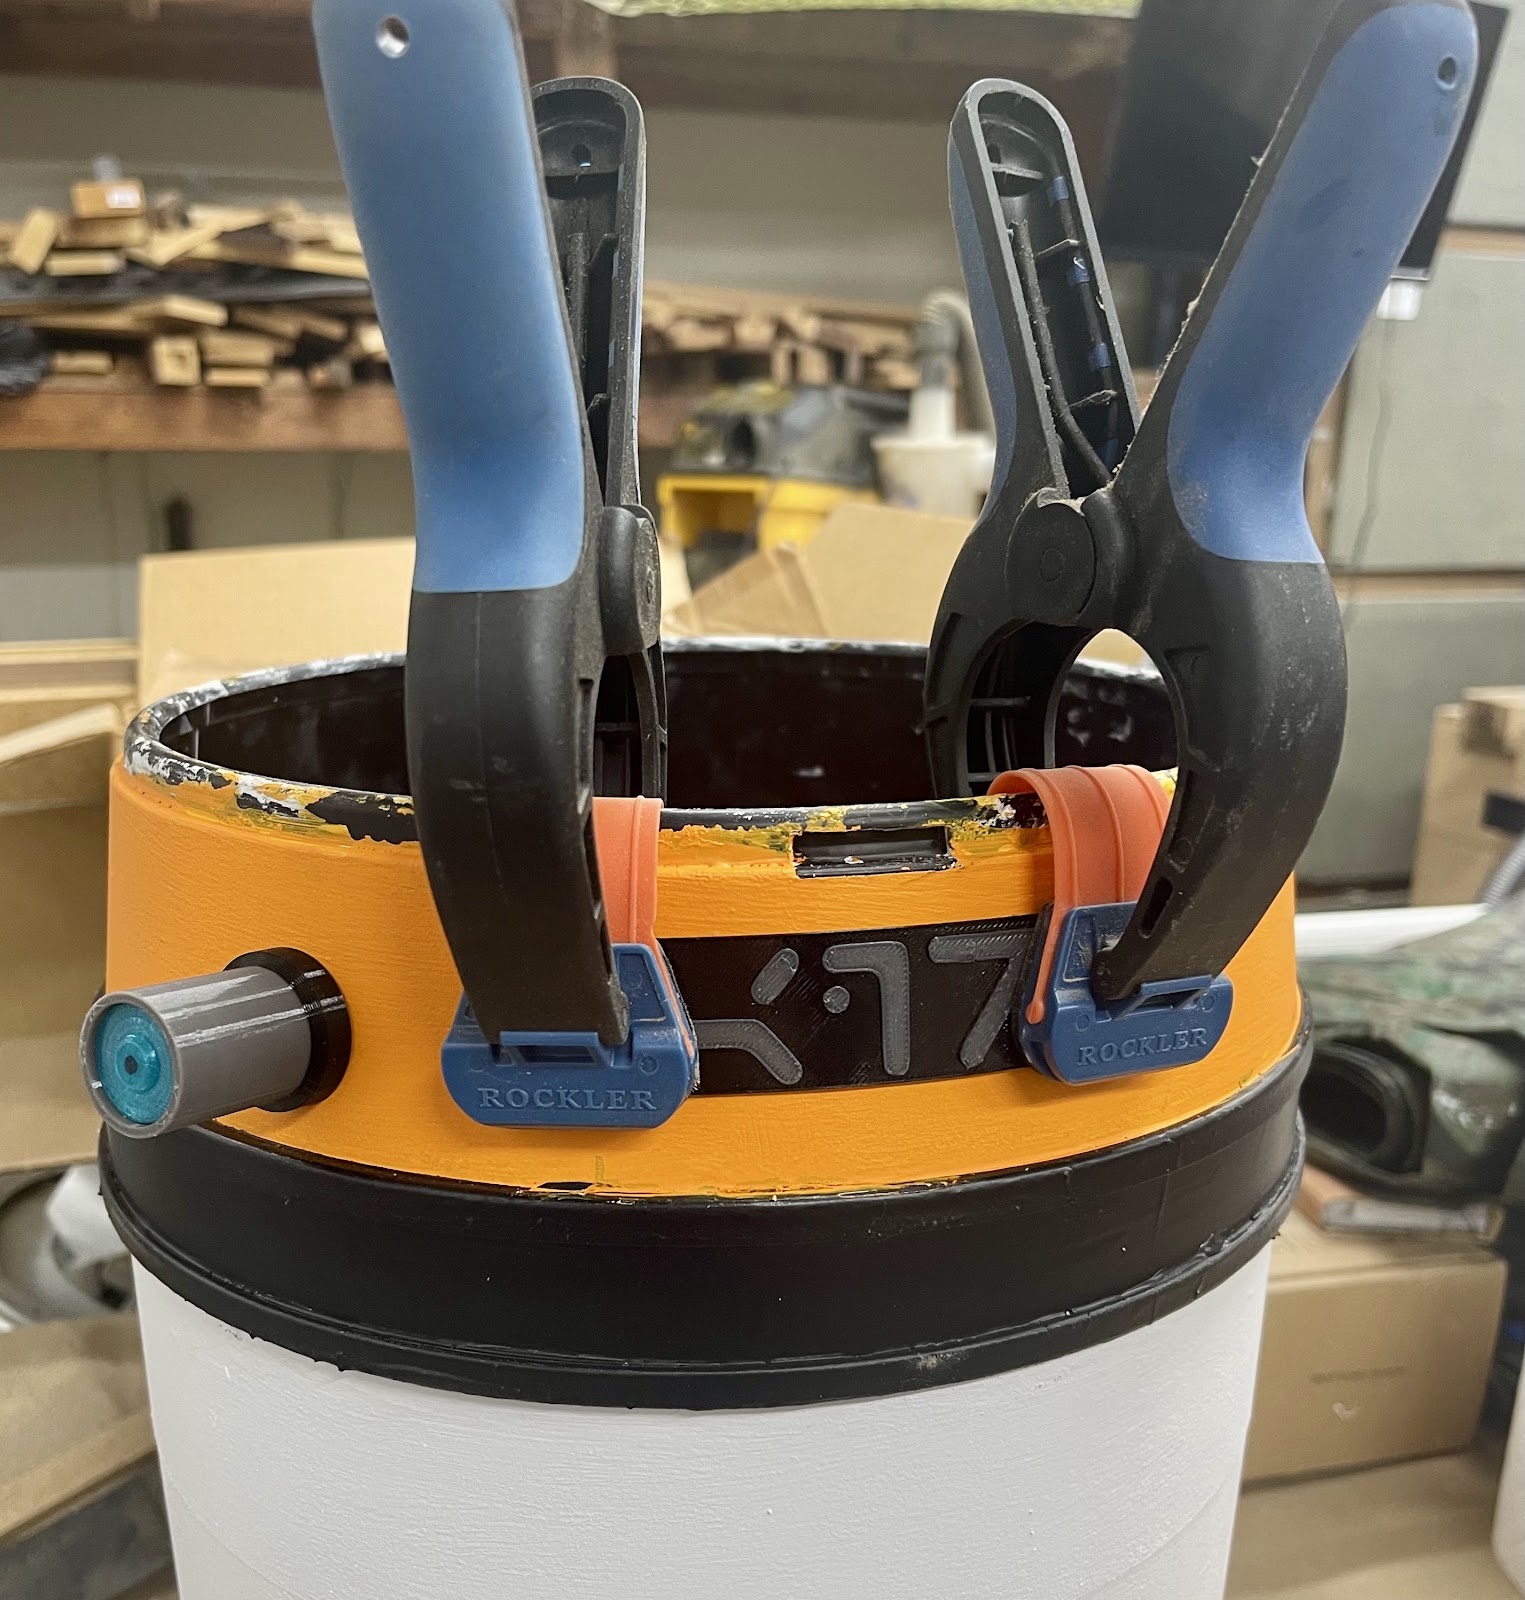
He attached the feet and started applying some detail items. Clamping the robot name plate on.

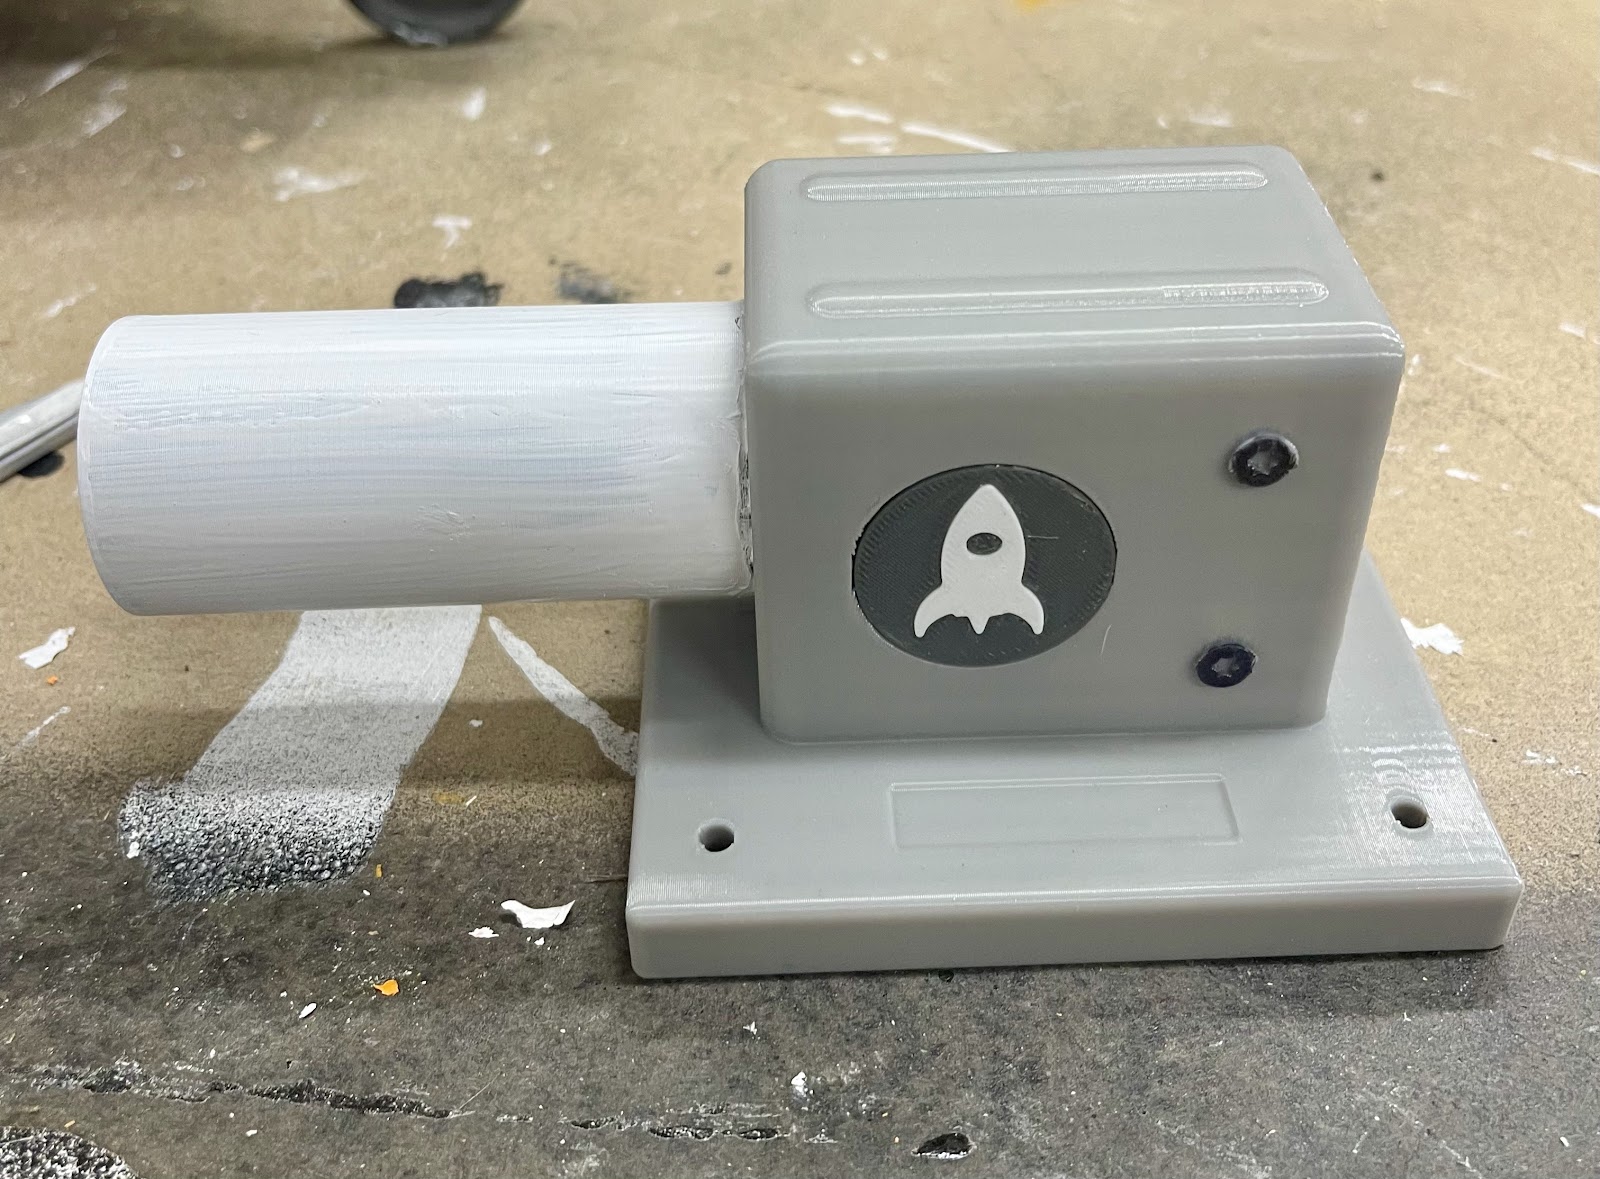
He decided to do a 30mm atomic rocket ship inlay - all 3D printed, no paint. His 3D printer holds numerous spools of various colored filaments, so he can print things, integrating the colors.
Here's one of the “arms” of the robot.
Btw the text on the logo means “AIR!” In an droid font. (Who the hell knew there was a droid font?!?)
A little robotic grip to hold the bag of accessories for the arm
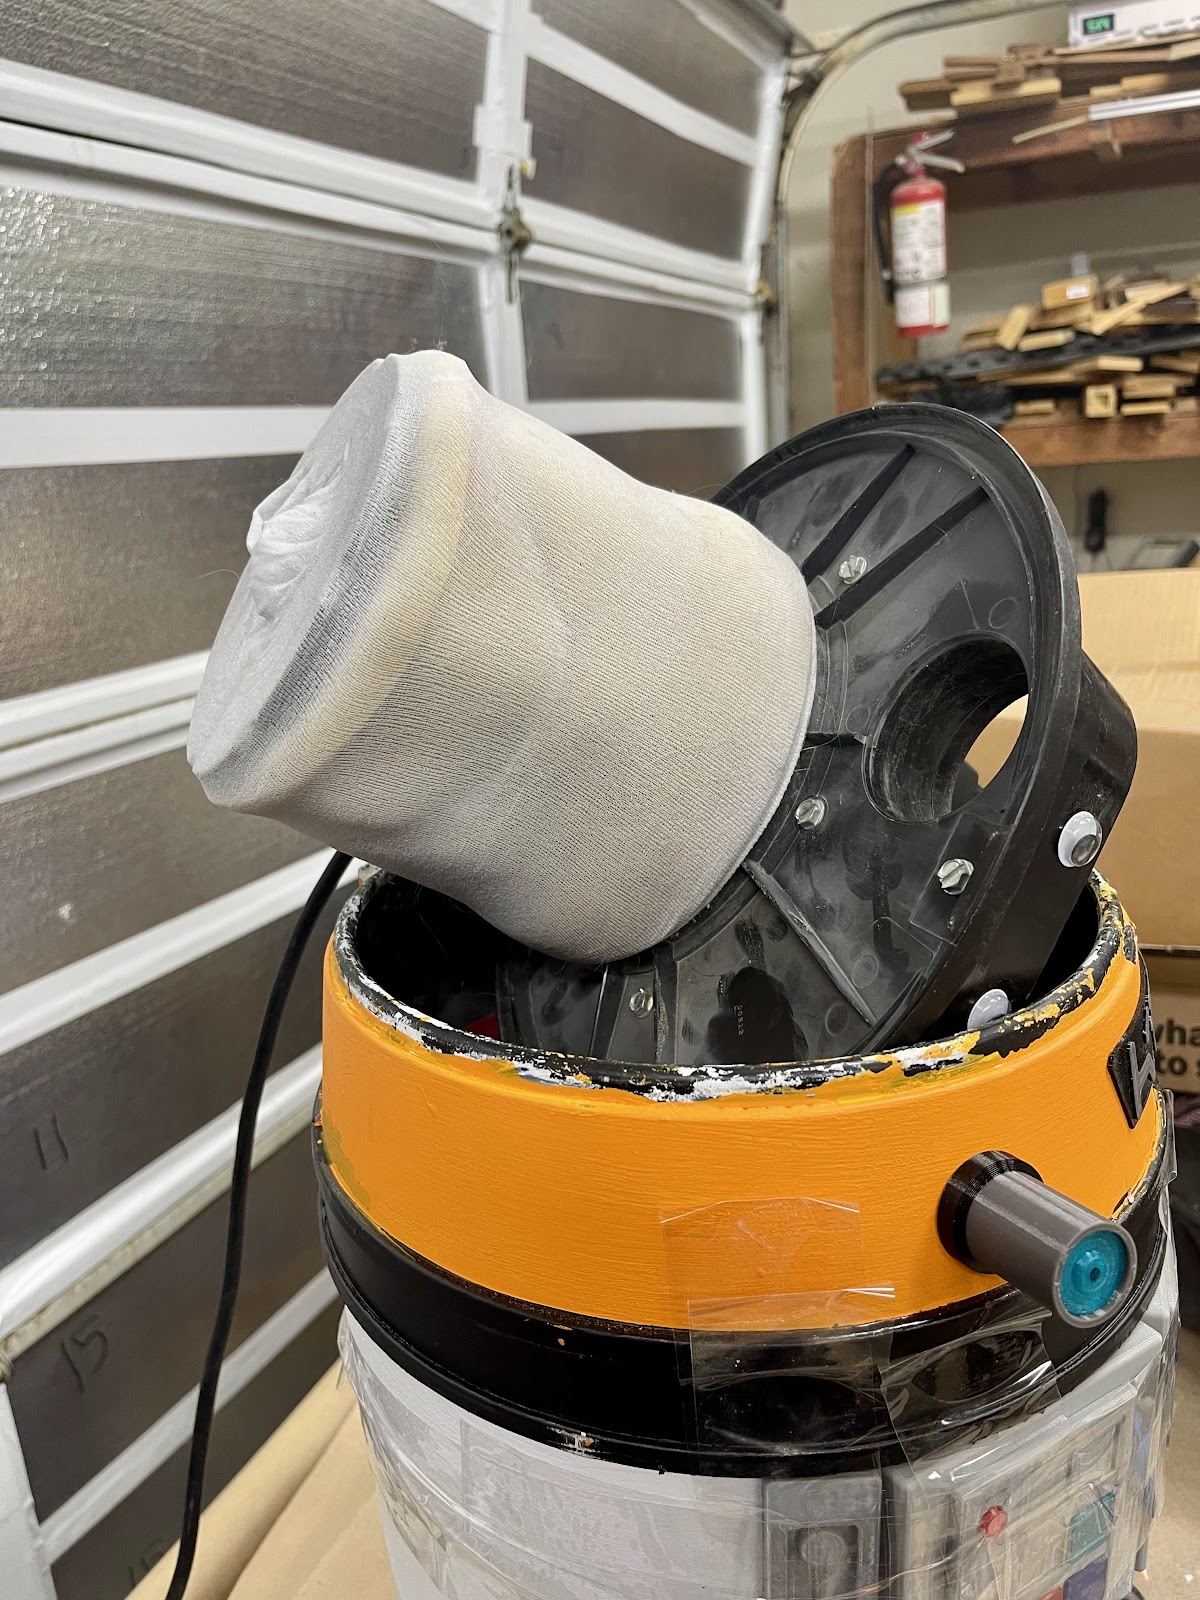
This is genius - he put a pool sock on the filter, so he doesn't have to constantly buy new filters. I'm totally buying some of these socks the next time I buy a new filter - I hate beating on my filter to coax a little more life out of it.
He also figured out how to make the superglue work more quickly, by using a spray activator on the glue. That meant he didn't need to use tape or clamps to hold everything.
And finally...
I'm not sure when he snuck the wiggly eyes on it, but it's a cool effect.
I constantly tell him that he should advertise, telling people about some of his services - like 3D printing. He has a big laser and a CNC - and I have used him a few times for help with some of my projects.
So - if you need a little boost for something you're working on, let me know and I'll connect you with him!











No comments:
Post a Comment