Back in the day, I used to make a lot of tamboured pieces. What's a tambour, you ask?
|
 m
m b
b r
r , t
, t
Think of a rolltop desk, and you'll understand what tambour is. I've made dozens of jewelry boxes with custom tambours, some of the best-selling items that I've ever made!
In fact, years ago, I built some kitchen cabinets using tambours for the doors - and it was an incredible kitchen, if I do say so myself! Imagine an upper kitchen cabinets that looks like a rolltop desk.
So when I posed a challenge to the Sin City Woodworkers group for our holiday party - make something out of a single 2 x 4 - I decided to make a small tamboured wall cabinet. The only stipulation to this contest is that everything must be made from a 2 x 4. All of the components have to be from the single board. You can add hardware, or other fasteners, but no additional wood.
Here's how I made the small tambour.
Starting with some resawn 2x4 stock, I took my small trim router

and rounded over each edge of that board.


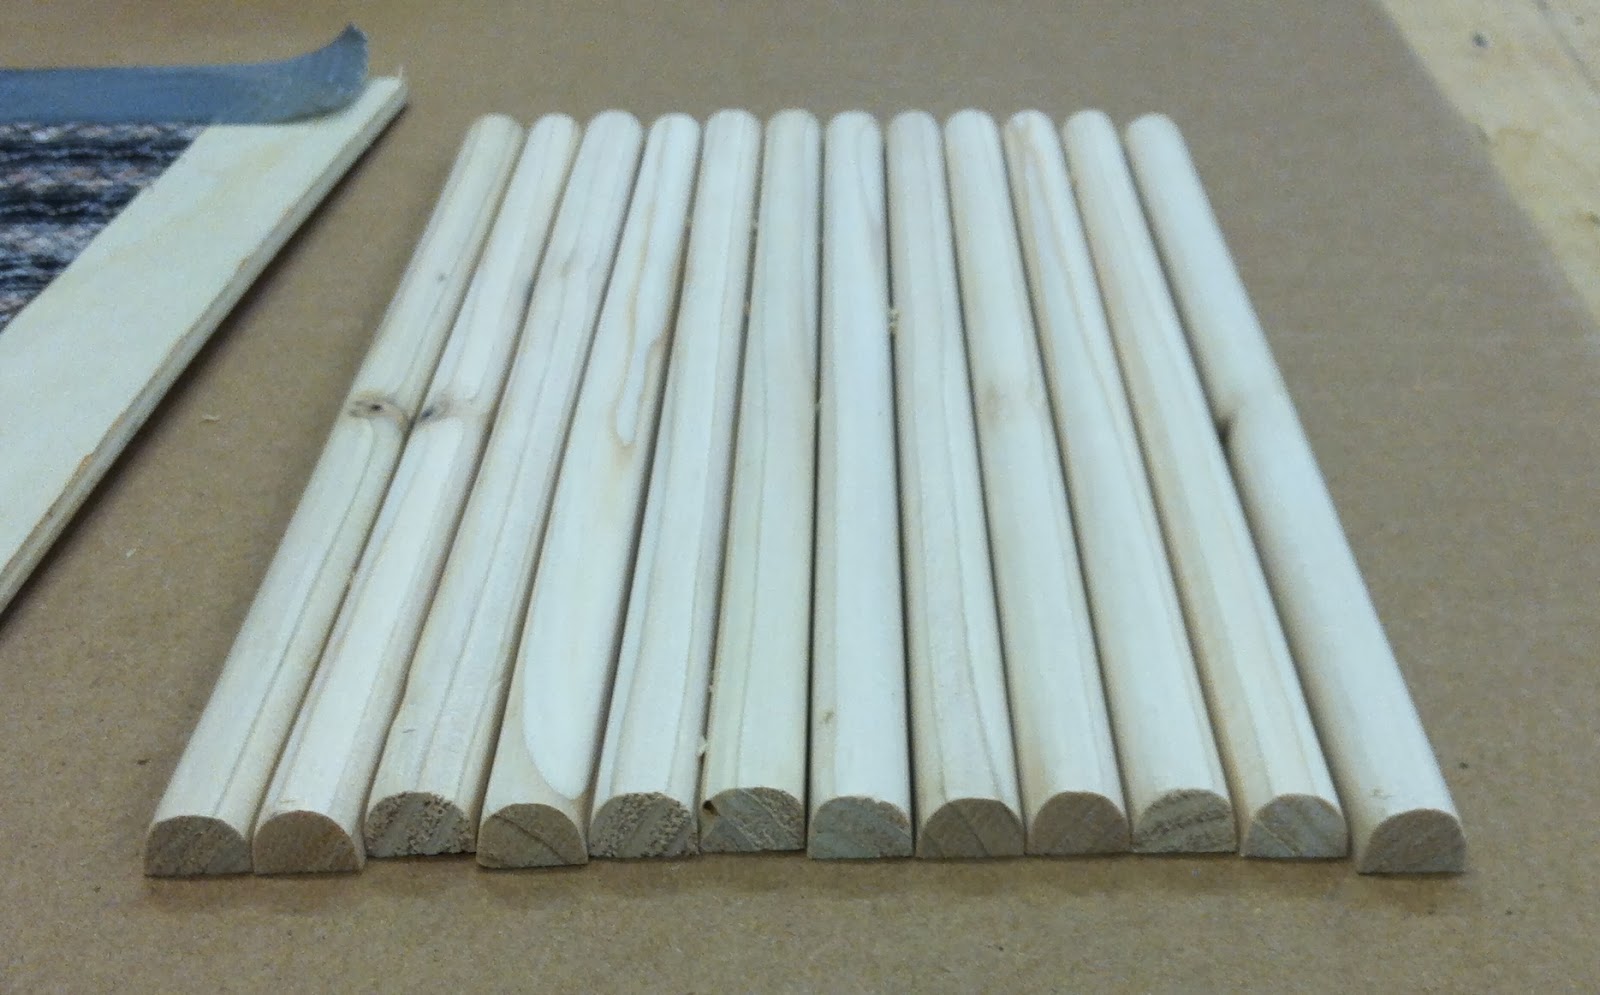
It's much easier to do it while the pieces of wood are still attached to the board, then doing each individual slat. That would be too dangerous. While the board is whole, sand the edges,

and then rip them off on the table saw.

Do that a few times and you'll wind up with enough slats to make a tambour.


I couldn't find any fabric to use for the backing of this so I asked my friend Kris if she had anything at that would be suitable. Of course she hooked me up! She brought in several pieces of fabric and I chose this.

Generally, I like to wait a day after cutting my slats before gluing them to the fabric. Sometimes, one will twist or warp a bit, after cutting it free from the board. So I let them sit for a day.
If you're making a small tambour, it's easy to hold the fabric in place with a little bit of duct tape.

Spread glue on it, and then

lay the slats down, one by one. After the glue starts to set, trim the fabric. I usually do this with an X-Acto knife and a straight edge.

This is also the time when you will clean up any glue that has seeped through, onto the wood. Do it while the glue isn't fully hardened and it will be much easier, trust me!

With the fabric trimmed,

I usually clean the edges with a straight bit in my router table.

You don't want any glue residue riding in the tambour track. Here, the edges are cleaned

and I'm ready to test the fit in this cabinet track.

A perfect fit!

I need to add the trim piece on the front of this cabinet, and maybe a French cleat on the back of it for hanging on the wall. But I'm almost done.
This 2 x 4 cost less than $3, and is an inexpensive way for you to practice your woodworking techniques. I highly recommend it!
Since all the projects in the 2 x 4 challenge will be voted upon anonymously, my cabinet isn't a candidate for being entered in the contest. Damn! But I plan on making a second piece to enter in the contest. I just won't blog about it!
When our group holds the contest in December, I'll be sure to post some pictures here - I can't wait to see what people build!
No comments:
Post a Comment