Wednesday, August 02, 2023

My mitzvah for the summer


Since the AWFS Show ended last week, I've been playing catch-up with all the jobs piling up in the shop! Seems like everyone wants some new furniture these days!

One commitment I wanted to finish up was a donation I promised to LightHouse Charities - a non profit located just a few blocks from my shop. 

I'd stopped by to speak with them, and they'd mentioned that an opportunity to sell bread from their bakery has popped up. Even though it's blazing hot right now, they hope to sell some baked good at Gilcrease Orchards, a gem of a "pick your own fruit and veggies" nursery up in the northwest part of town. 

So they'd asked for some sort of tabletop rack for selling their goodies. 

You know - it takes a village - I never turn down a donation, so when Ken at Legacy Woodworking asked if I wanted some plywood cutoffs from a job that they had built, I picked them up. 

That was a while ago - and I stared at that stack for a long time, wondering what I would do with all of it. Sure, a few friends would ask for a board or two, but I still had a ton, even after giving much of it away. 

So it was a natural conclusion that I would build the bread rack from it - baltic birch plywood is a high quality plywood, beautiful and often used in food service displays. 

I started by making three shelves, in different widths. Since I had 3/4" and 1/4" plywood - I made the exterior frames from the thicker stock. Then I made the slats for the bottom out of the thinner stock. 

Once they were made, I had to decide on the "framework" that would told them all together. So I laid them out and played with some various design ideas. 


Nothing was really hitting me right, and then it dawned on me! A solid side would allow a stringer connection to the shelves, and also allow for a little artwork, if necessary. So I cut some sides, and clamped it all together, to see how it looked.

I love it when a plan comes together in my brain!

I purchased some special connectors 
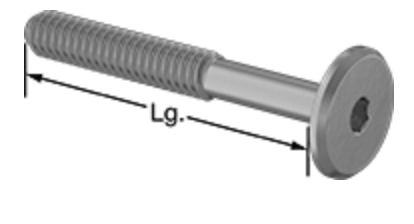


from one of my favorite hardware suppliers - McMaster-Carr. I swear - they have the best assortment and quickest shipping out there. And reasonable shipping charges, which is pretty important, too. 

Within a day, I had the connectors I needed.  


Finally - I lasered some signage for the rack. It's screwed in place, so if they want to change the rack to sell something different, they can remove it, they can. 

They make a variety of items for sale, and I suspect this won't be the last rack I'll build for them.

 Luckily - I have more plywood! 


Sunday, July 16, 2023

Castle Craft to the rescue

My current project has proven challenging, but mostly because I'm working with some unfamiliar guidelines that have to be observed. The urn I'm building is heading to Italy soon, to be put into a vault that won't be opened for 99 years. So it needs to stand up to humidity, time, temperature fluctuations and more. 

After a ton of research, I've built the base with virtually no glue. All of the joints are pinned with dowels, so that even when the glue disintegrates, the dowels will keep everything together. 


All of the joinery is locked together, 


incorporated with lips, so that when the wood shrinks or swells, no gaps will allow the contents to escape.  


Like I said - it's been a challenge. 

But the lid has been even trickier. I wanted to incorporate a curve into the lid, 


and again - not using any glue makes this a tough build. I experimented with doweling a lid together, with angles cut into the 4 pieces.


 But scrapped that idea. 


I've said it before - it takes a village.

  So I reached out to Rick at Castle Craft, and he suggested cutting the curve on a solid piece on his CNC.  


It's virtually - the exact opposite of the base that I employed on the box. 


I'm not sure if this video will load, but here's the CNC machining that curve. 


He came up with a simple plan for curving the lid, and frankly - I was happy to not have to pull out my hand planes and create that curve by hand. 


Like I said - this project has been challenging, but maybe I have a good excuse... 


I have a busy couple of weeks coming up, so this may have to be shelved for a while. Between the AWFS show in about 10 days, and helping out at a friend's cabinet shop, I'll barely be putting in any time in my own shop. 

Maybe that's a good thing!

Stay cool, everyone

Friday, July 07, 2023

Cedar of Lebanon - aroma of the gods


They say that our sense of smell is one of the most accurate senses we possess. Certain smells can transport us back to various times in our past. I can remember the smell of beef stew in my mom's kitchen,  or - this is going WAY back - I can remember the aroma from our neighbor baking cookies, with cinnamon and nutmeg wafting through the apartment we lived in. I might have been 3 or 4 years old.

Not to mention coffee... if I smell it across the house, it almost instantly perks me up!

Bacon? Forgetaboutit!


So close your eyes for a second and imagine the sweetest smelling wood you can imagine. Have you ever walked into a room where someone has just cut some pine, or sassafras, where the room is fragrant with the aroma of freshly sawn wood? 

That's what my shop has smelled like all week. 

I'm working on an urn that will eventually end up in Italy, in a mausoleum wall. I'm not sure of the logistics and laws, but it's my understanding it will stay sealed for 99 years, at which time it may be removed or rehoused. So this container needs to last. And not deteriorate too badly.

According to tradition that my client has researched, the urn should be made from Cedar of Lebanon, which is the source of the aroma wafting from my shop. 

I'm not sure how to describe it, and even less certain where to find it. He located a slab in Northern California, and had it resawn and brought it to my shop, where it has been stored, drying slowly.

And here's some guidance of what he wants built. 


Early Dynastic Coffin by Rosicrucian Egyptian Museum 


I'll be building a more contemporary version of this in the next week or two, along with a crate in which this urn will travel. So - two boxes out of this lovely wood. 


Close your eyes and imagine the aroma... it's pretty amazing. 


Friday, June 30, 2023

Building on the fly

There is no doubt, I have clearly jumped down a rabbit hole.


It started with door knockers, so I built a door to display one of them. 


And then... another day, another knocker!


Apparently, knockers with hand motifs are very popular. The Google search found 7,700,000 results in 0.44 seconds.


It was easy enough to make this arched door. And hang the knocker. 


But I hadn't thought ahead, considering that I would need a curved jamb for the door. 


So I made a plywood form, and then bent some plywood around it. 


By the way, I've never used bendable plywood before, and it is a game changer. What a cool product, I'm definitely going to incorporate this into some new projects. 


I wanted the jamb to be about one inch thick, so I cut four strips and QUICKLY spread the glue. 


It's so warm here, glue sets up faster than you can spread it. 


Once the jamb was trimmed to size, I could visualize the door hanging inside of it.


 Honestly, this is the fun part of building - I call it building on the fly. 


You get to play around with shapes, different dimensions, overhangs, it's just perfect when your client lets you make all of the artistic decisions. 


This project was a little bit different than the last one, I had some size constraints to work within, so the framework around it is a little smaller than I wanted. 


The last door jam project I worked on utilized MilkPaint, but I wanted this one to be different. More wood! 


So I decided to make miniature cedar shingles , otherwise called shakes. Now there are a ton of doll houses out there that use shakes, but I couldn't really find any info about making them. But - they're really nothing more than small shims, and I've made buttloads of those. 


So I trimmed some boards to the rough size I needed the shakes, and did a little experimenting. 


The miter gauge was set to 2° and I cut a shim, flipping the board over each time I made a cut. 


The first sample was a bit too thick, so I reset the miter gauge and cut one again. Better!


The trick for mass-producing shims is pretty slick.


Just set a stop and flip the board over for each cut. 


The area that I needed to apply shakes to was about 17 inches long, and I laid out a line of shims to test my spacing. 


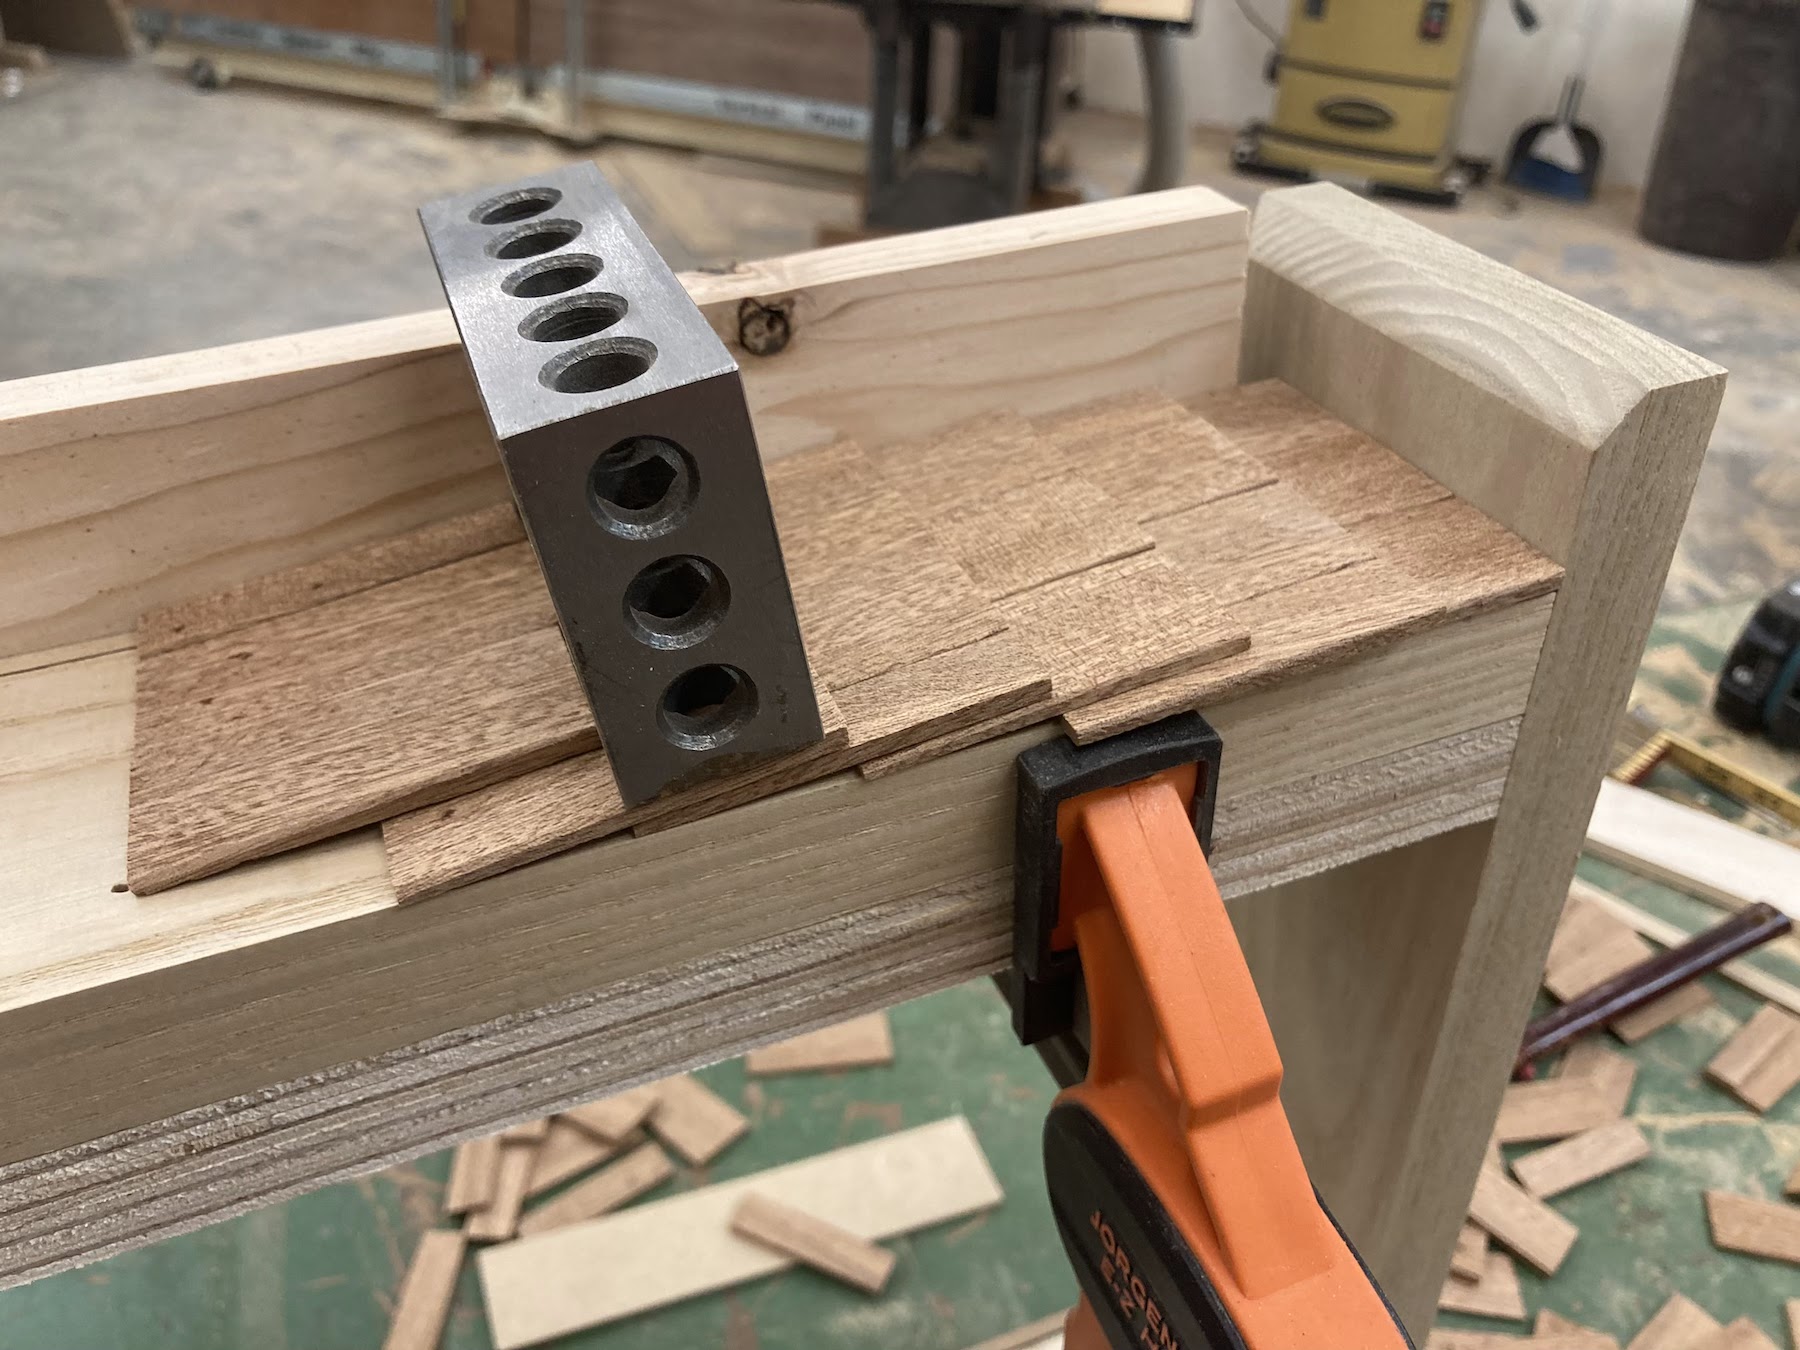
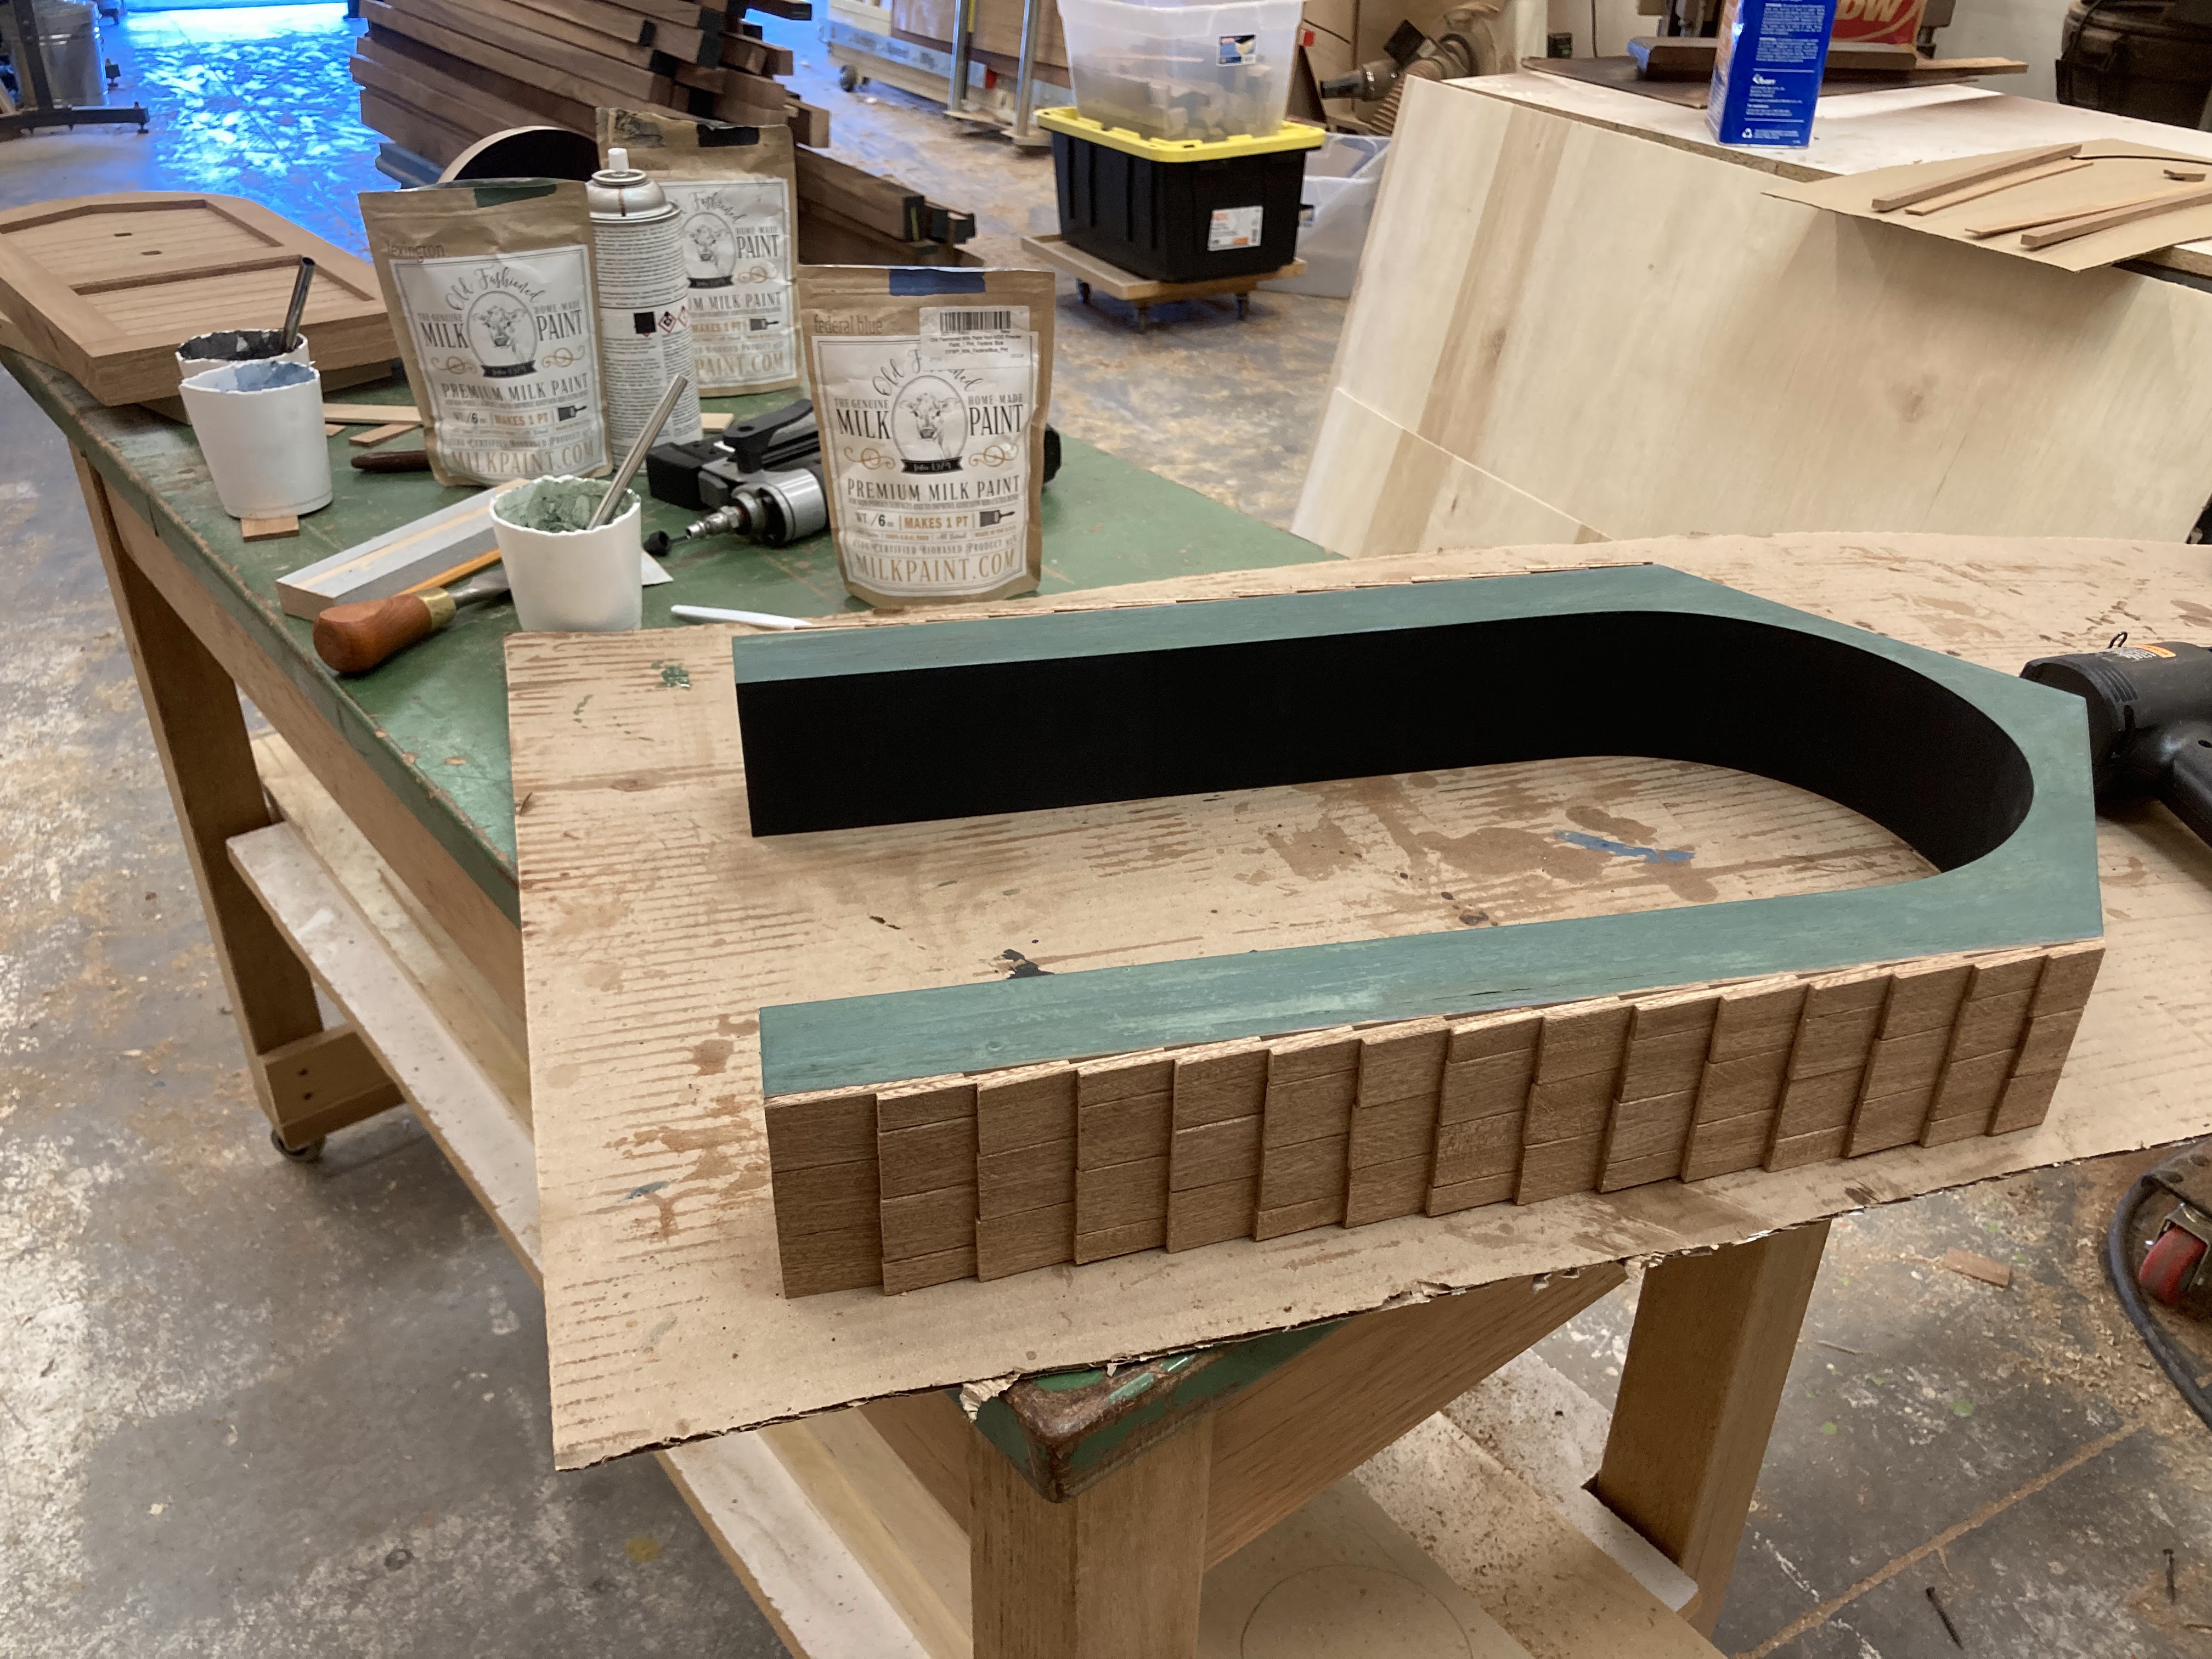
Once I figured it out, I started applying them. Using the 1-2-3 Block made quick work of it, and I had one side done in no time. The second side went much easier. And a block plane helped me trim a few of the pieces that overhung too far.


I’m not the only woodworker out there who makes a disaster out of their workspace, right? My shop was completely trashed - it took me longer to clean up than it did to shingle one of the sides. 


A little milk paint added some much needed color, 


I needed to start thinking about the casing around the door. The diameter was around 9 1/4", so I cut the curved trim with my laser - an easy solution for cutting a perfect semi-circle. 


BTW, my customer asked me to incorporate some special dates and initials into one of these door projects. So I lasered the dates into three of the shingles. 


It looks like someone climbed onto the roof and pulled out a pocketknife! 


Just a few details left - the door had a tendency to swing open just a bit. So I added a magnetic catch. And true to this architecture, I added a keystone on the arch. Little details like this are ridiculously fun to do.

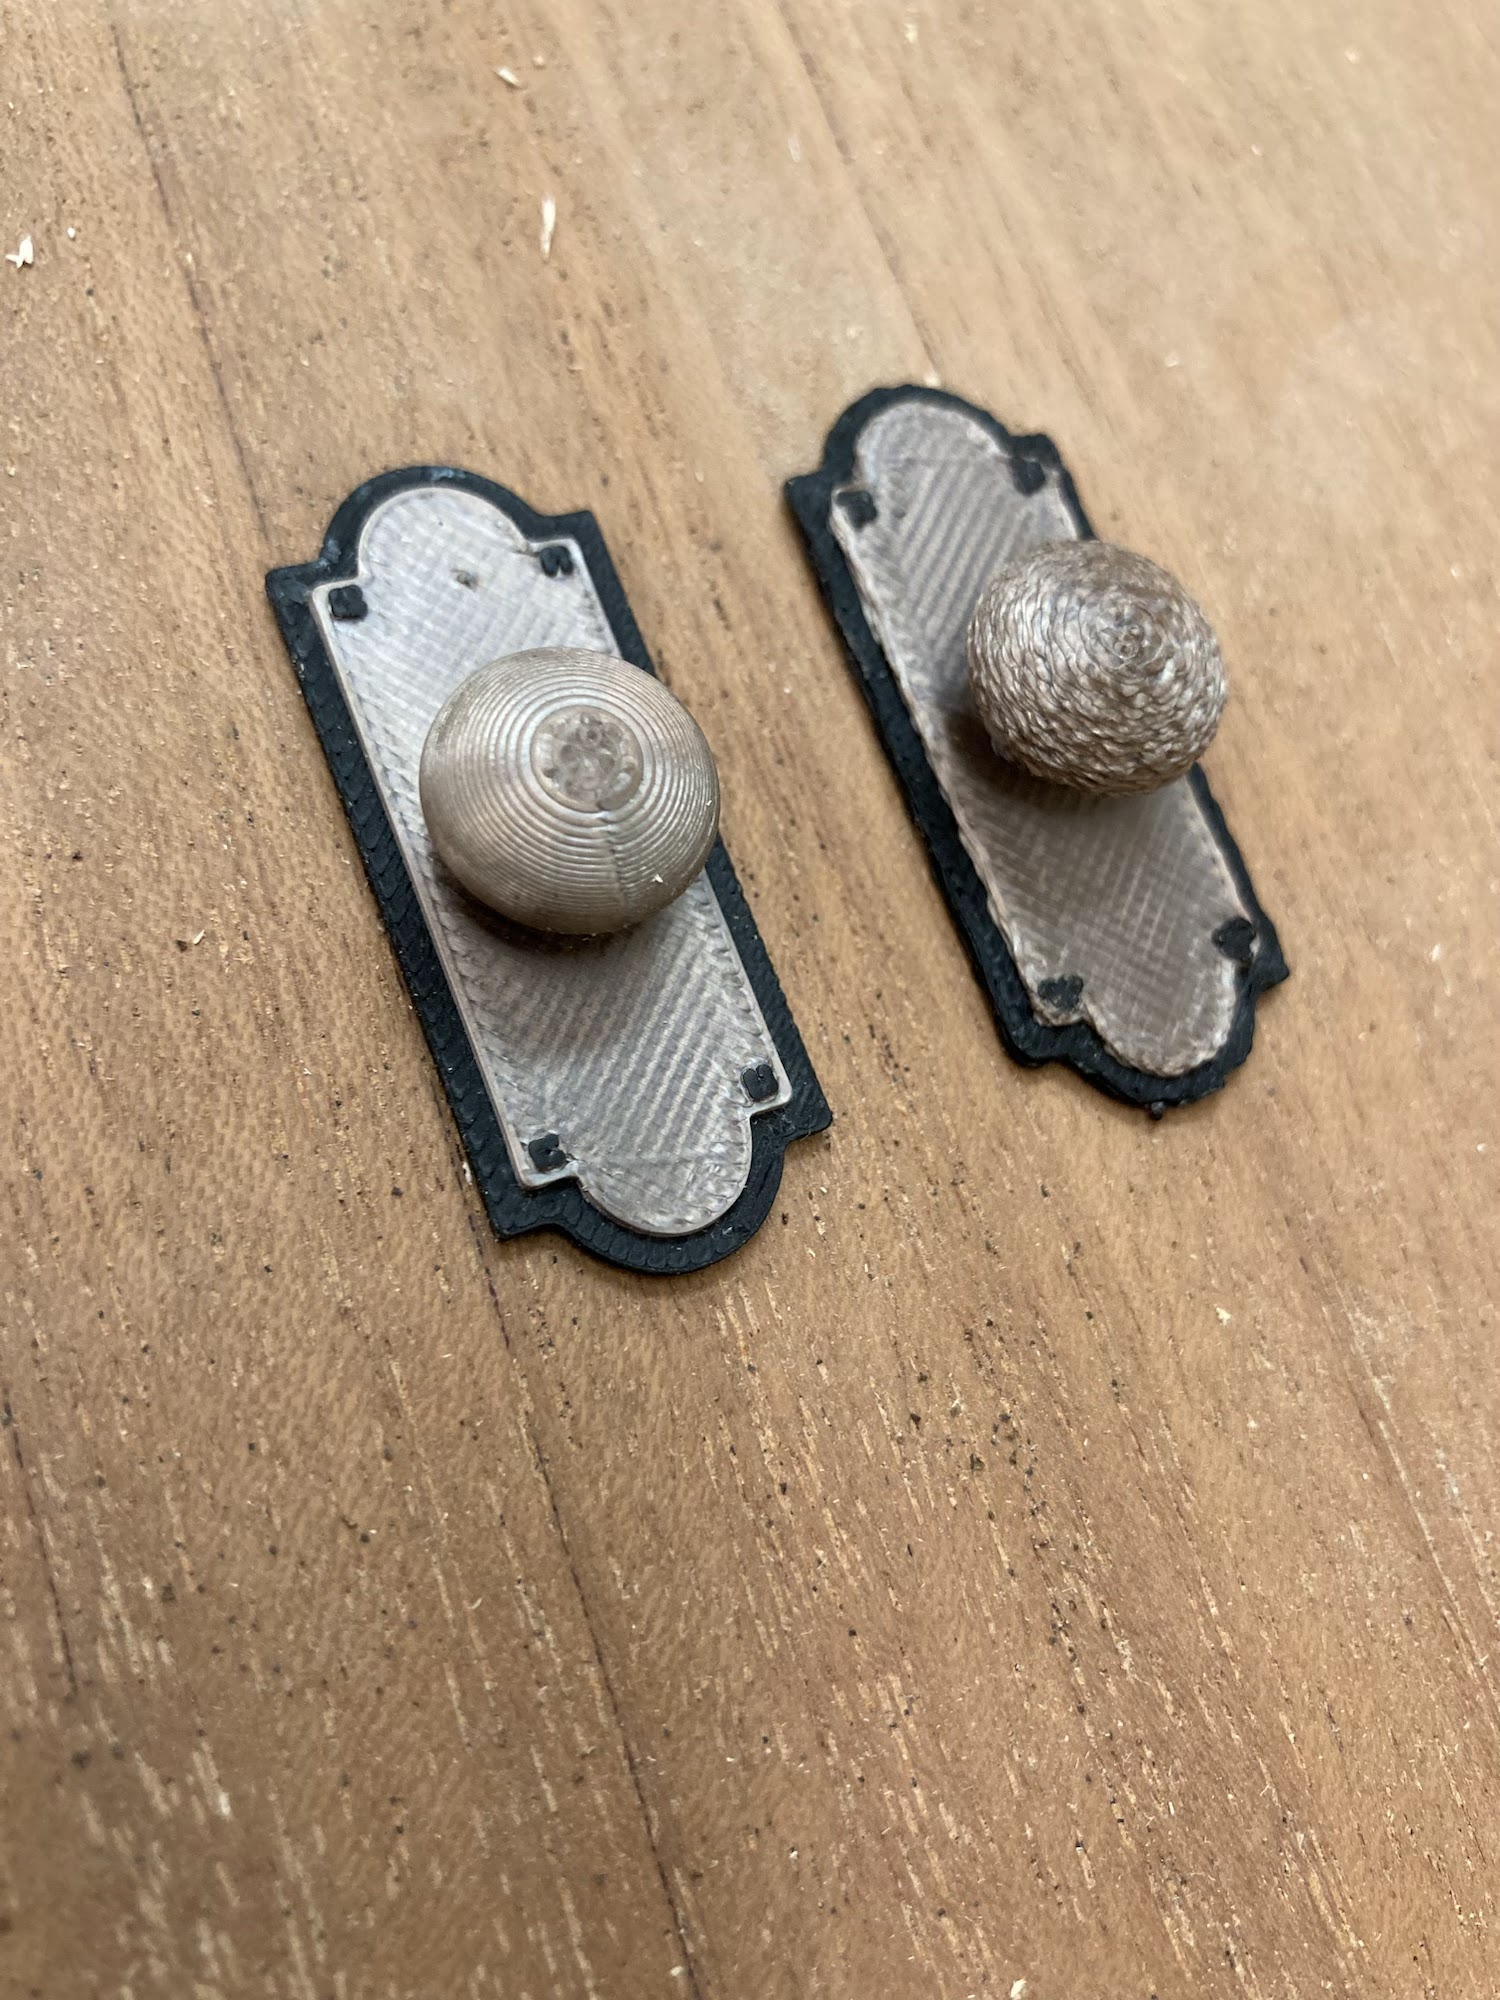
But here's the best - my buddy Rick is one of the geekiest makers that I know, and I sent him a picture of this doorknob, to see if he could print a mini version of it on his 3D printer. Or something close. 

These were the first two prototypes. 

Note to self: put something in the picture for scale...


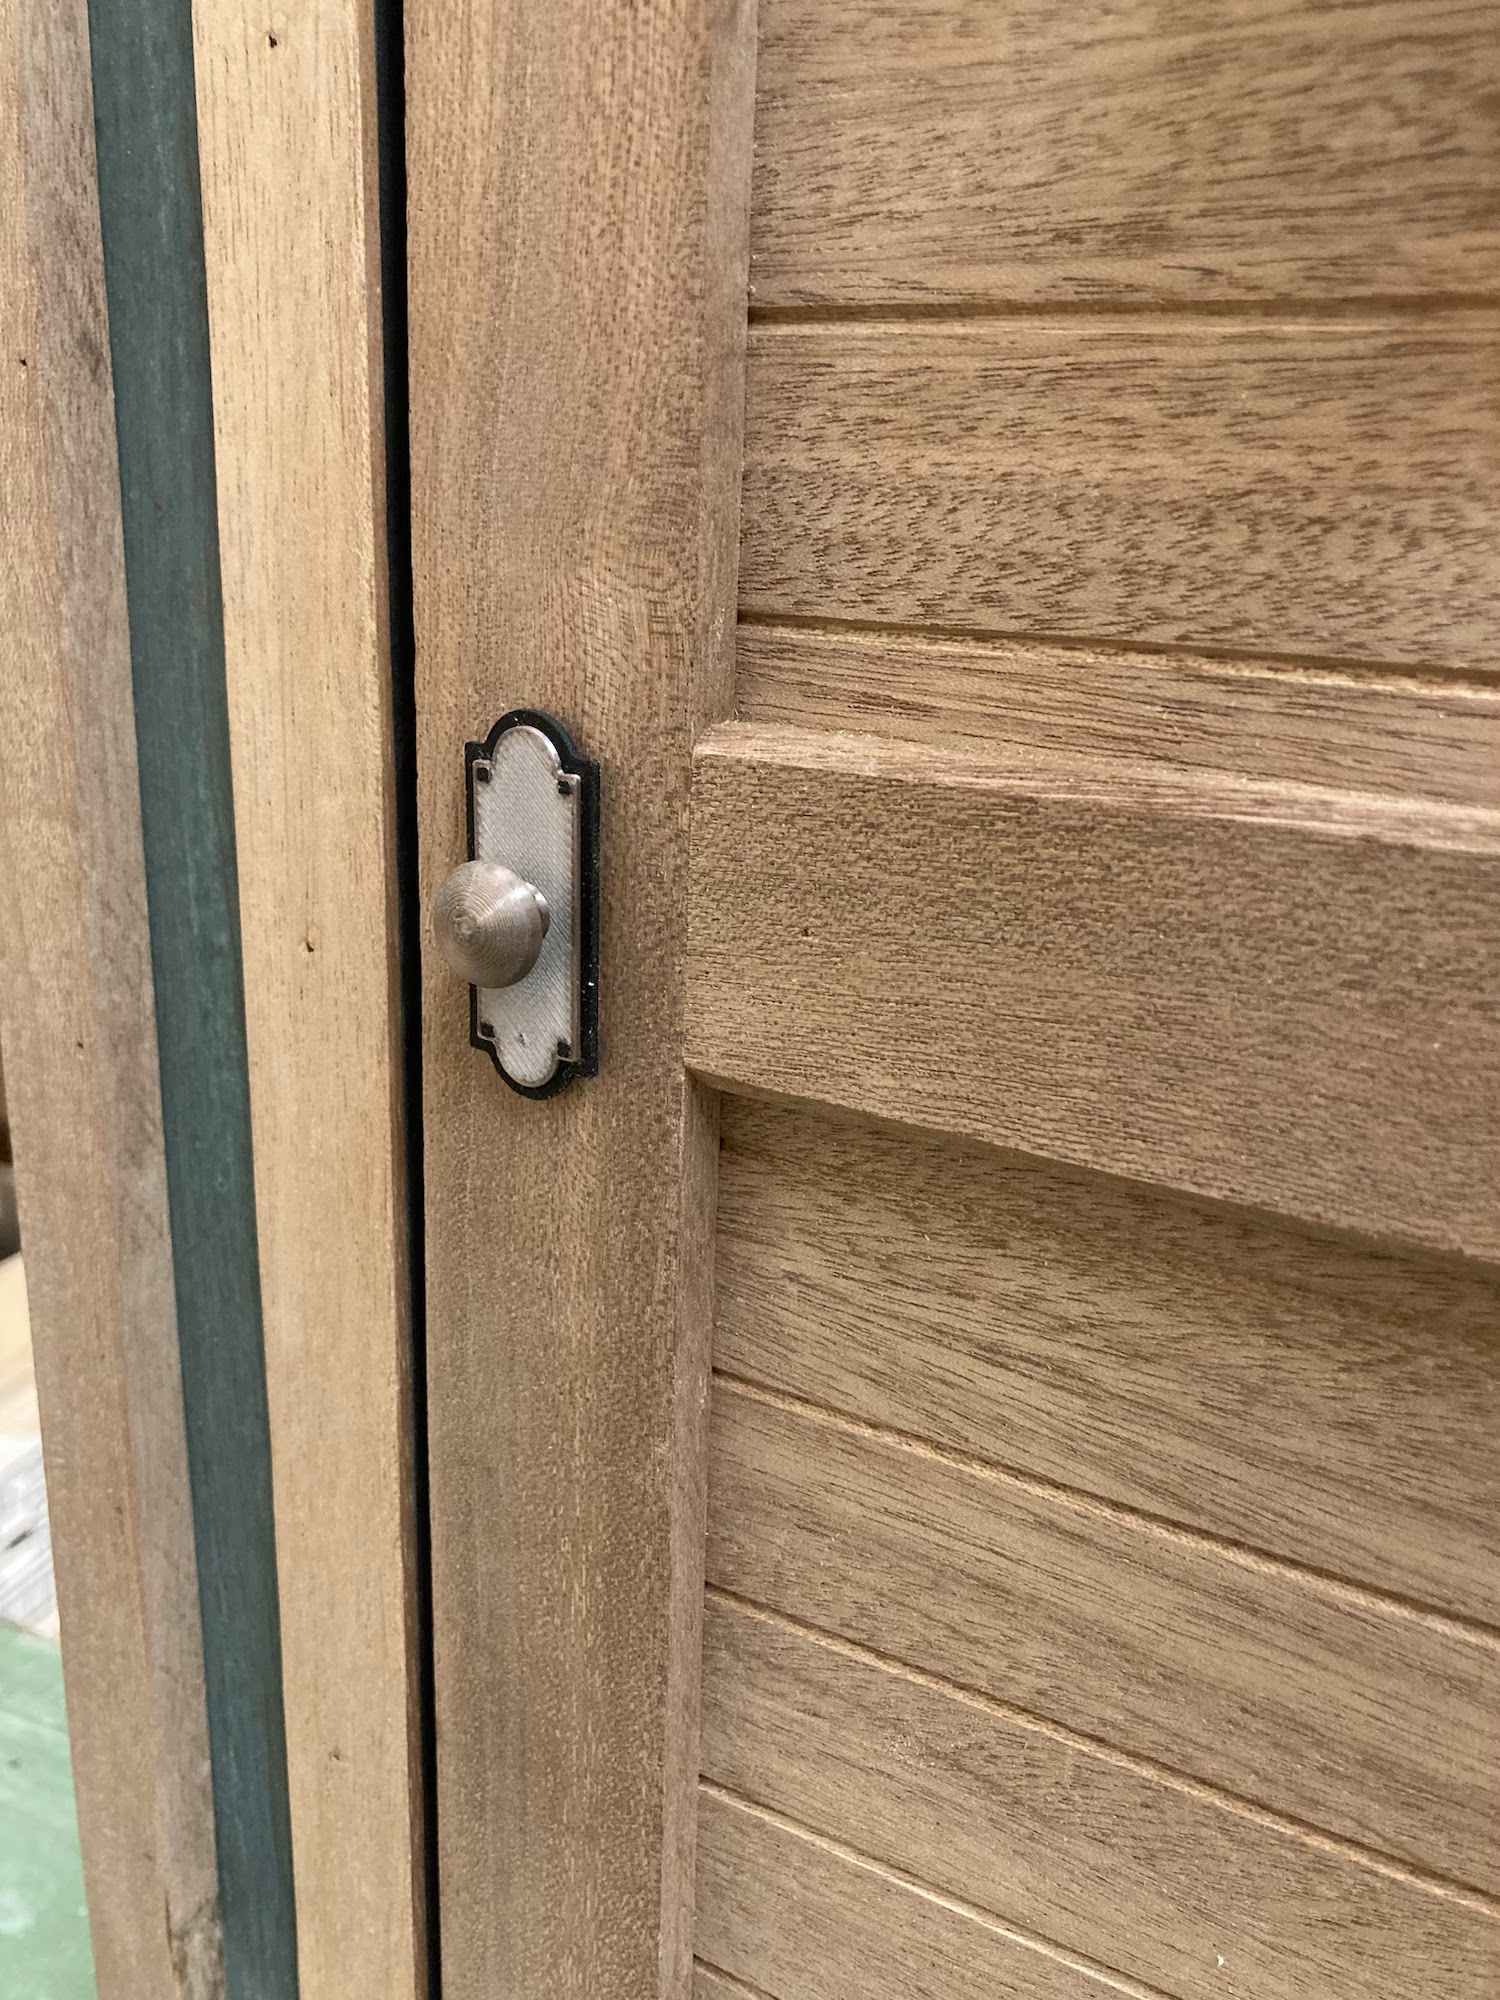
Once he worked out the kinks, he printed them in a perfectly colored filament. 


Like I said - ridiculous!


And just like that, another door project is done! 


I have one last door to make, and it's the one I've been most looking forward to building. 

Stay tuned!