Friday, May 15, 2020

Designing the base for my tie cabinet

With the casework mostly finished, it was time to set my sights on building the base. I had a vague idea of what I wanted, with the simple sketch of the base. 


And to be honest, I was channeling James Krenov's muse in deciding the height of this piece.  (His pieces are very diminutive.) I'm about five feet tall, and I wanted to cabinet height to be around that height.  If it was much taller, I wouldn't be able to see inside the top drawer! 

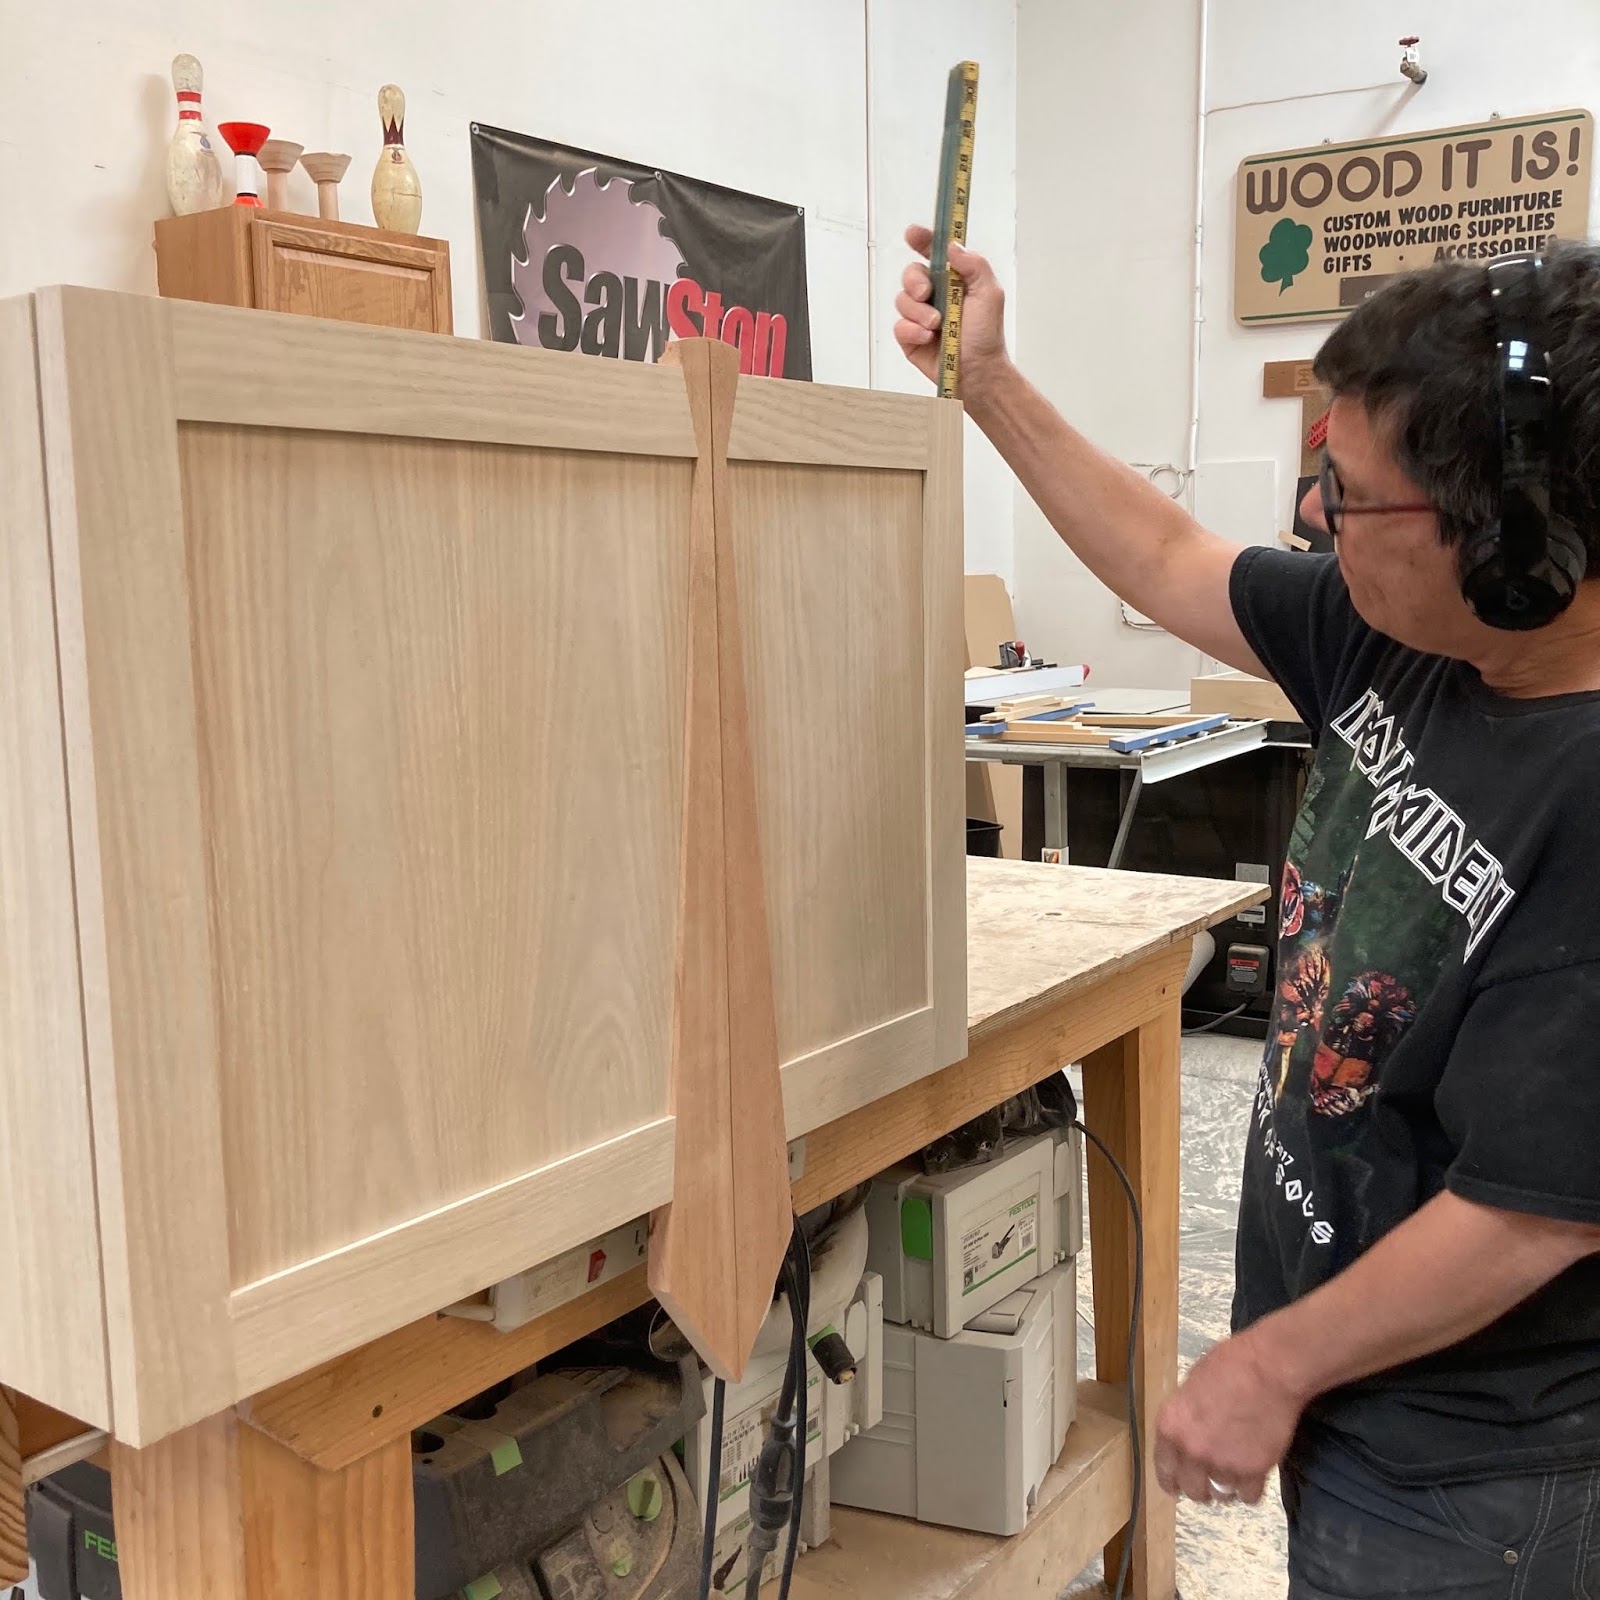
Putting the cabinet on a bench gave me a little perspective in determining the height of the base. In situations like this, I think best with a cup of coffee in my hand. 


With a few measurements,


 I came up with a scaled drawing, and mortised the tops and bottoms of the base. 


To lighten things up a bit, I scalloped the bottoms. I like how this creates an integrated "pad" for the feet, and allows it to sit better on an uneven floor. 


Then it was time to cut tenons on the uprights.


 There are so many ways to cut tenons, but I like machining these with a sliding cut on the tablesaw. I start with the shoulder cuts, which establish the length of the tenon. 


Cleaning up the rest of the tenon goes pretty quickly. 


 With a little sanding, the base went together perfectly. It was glued and clamped overnight.


All that's left is determining how wide the base needs to be. With a little luck, I'll have this base together today, and can start on the drawers.

Don't faint - this is the first piece I've built myself in years. And I have another one started!


Friday, May 08, 2020

A true test of craftsmanship - hardware installation


One of the biggest challenges when making a piece of furniture is hardware - finding the right hardware can be difficult. On top of that, I like black or statuary bronze hardware, which is even harder to find. Most of the time, it's a special order. 

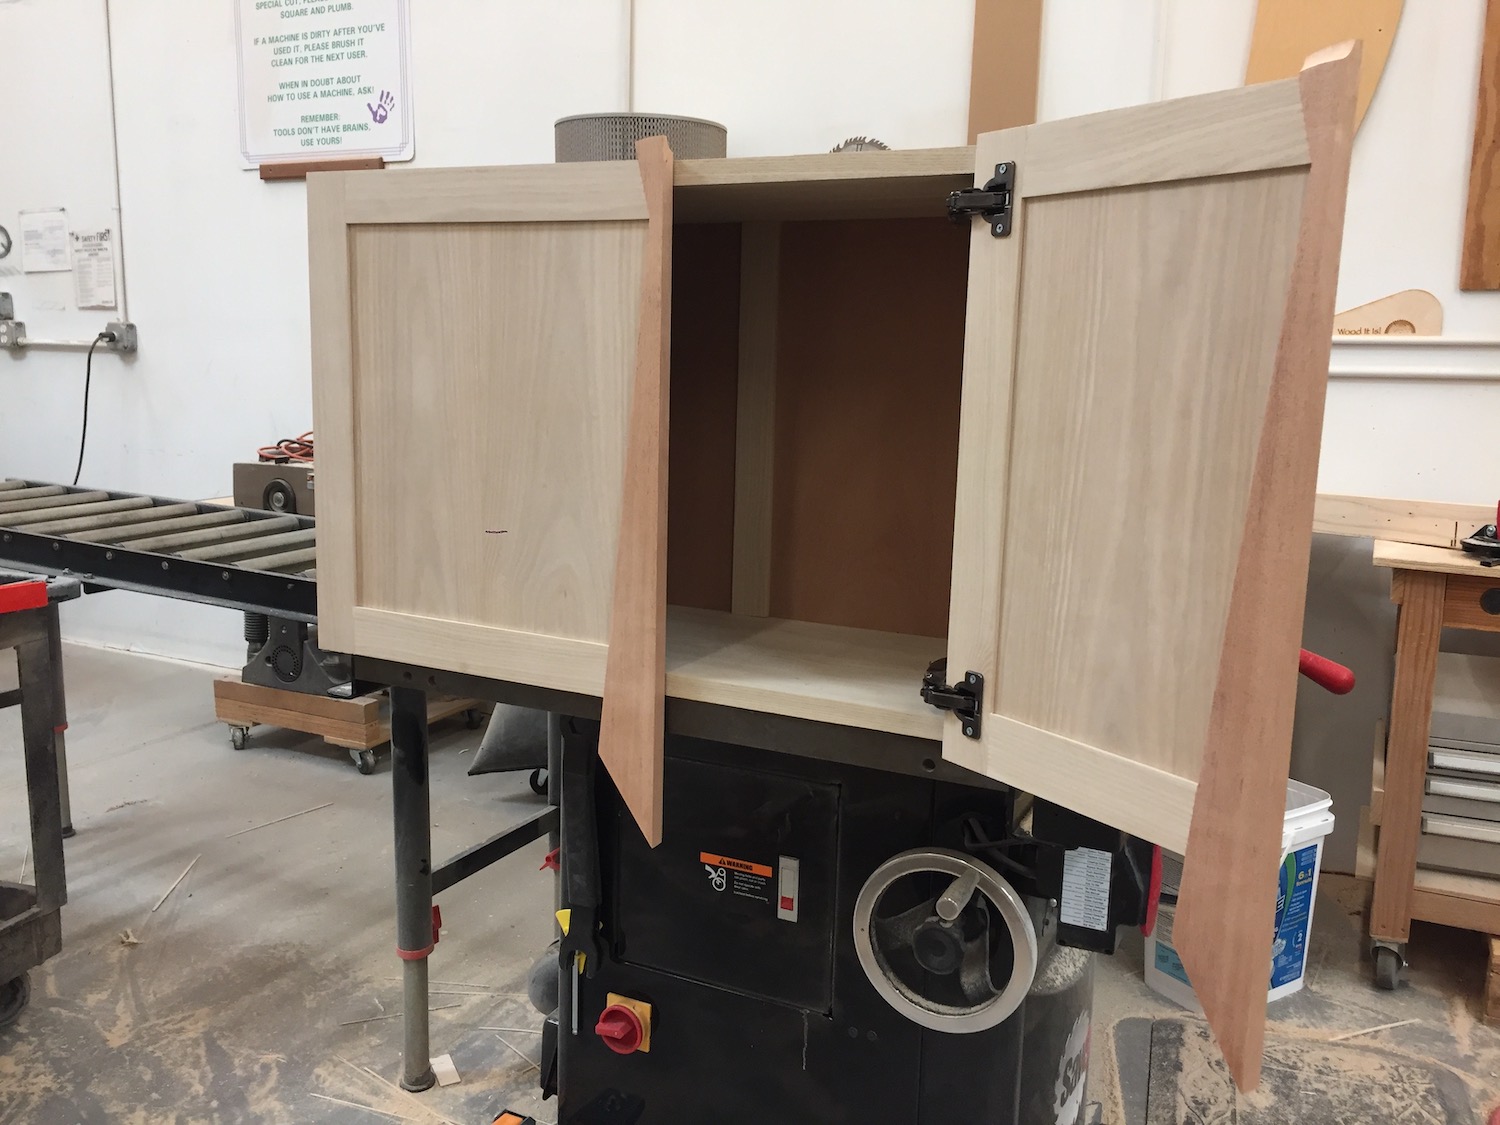
I found a few pairs of cup-hinges in "ebony" and had to install them in places that I wouldn't normally choose - based on the layout of the drawers. I'm planning on building four drawers,  and they'll be stacked fairly close together. So the hinges had to be spread out at the very top of the case, and the very bottom. 

Getting your driver into tight spots is tough; it's easy to scratch the interior of the cabinet, so I pulled out the offset driver. 


The second challenge of hardware (after locating the right stuff) is installing it. I think that's a true test of craftsmanship - and I marvel when I see someone installing knife hinges or Soss hinges perfectly, without needing adjustment. Here's my cheater's tip: drill a few cup holes in scrap wood until you get the right locations of your holes. I've learned that lesson the hard way. 

These hinges were actually pretty easy to install, although the doors fit very tightly together, and I'll need to go back and create a margin between them, so they don't hit each other. I was pretty happy how they installed with very little adjustment.


 I'll go back and fit the doors in a bit, but it's time to turn my attention to the drawers.


I'll also need to start thinking about that base. 

I'm really enjoying this break, and getting back to making (my own!) sawdust, 

Monday, May 04, 2020

Close your eyes and imagine you're drinking a root beer float...


They say your sense of smell holds most of our memories. Like the smell of your grandma's kitchen, or someone's perfume. Or even a musty closet - smells can take us back to memories that we've sometimes forgotten. Have you ever walked past someone and gotten a whiff of something that transports you to a different time and place? That's what I'm talking about.  More on that later...

It feels so good to be building furniture again!

  I finished up these cabinet doors, and started on the carcase. 


There was a luxury to having so much lumber to choose from, as I could carefully match the grain and color of the boards, for the best effect. 


Gluing the sides, 


and planing them made the whole shop smell like root beer. Sassafras is my favorite wood, for so many reasons. It's kind of nerdy, but if you click on that link, you'll read some amazing facts about sassafras - its culinary uses, medicinal uses, and much more. Fascinating, I think. 

But for me - I love the color, the grain, the ease of working with it, but most of all - the smell. As I was planing these boards, the shop filled with the most fragrant and sweet smell. I can't tell you how many times people walk into the shop and comment about how much they love the smell of wood. Well let me tell you - smelling sassafras in the air is a whole new experience. 


Back to the case work - the boards were planed, trimmed to size, and domino'ed, but the dado (that's the channel that will hold the back in place) needed some work. 


The dado runs end to end on the top and bottom,


 but the sides both had a stopped dado like this. 


It was curved, because I cut it on the tablesaw, so that curve mimics the shape and diameter of the blade. 


A few cuts with a narrow chisel squared up that dado,


and I tested it with a scrap of plywood, to ensure it was sufficiently cleaned out. 


Usually, I have a good variety of sheet goods in the shop, and would have been able to dig through them, to find something suitable for the back. But these aren't usual times, so the piece I found was a little narrower than want I needed. So I had some make this back in two pieces, with a center divider. 

This is a little "cheating" technique that we sometimes do, when we run out of material, by the way. 


Some sanding and this piece was assembled in no time. 


Now I know a lot of you think that you're the only ones that make mistakes when building, but I made one here. I'm not sure why, but I made this cabinet 17" deep, and once it was together - it just looked too big to me. The scale was off, which was going to throw everything else off. 

So - Plan B - I cut a few inches off the cabinet. Building is about being flexible, and  well... I could have done this and never mentioned it, right? 


Time to turn my attention to the doors. 


 I finished shaping the "tie" and dry fit them, in order to measure for the door panels.


Cutting the slots for the panels would normally be accomplished on the table saw, but - these were not ordinary doors. So I pulled out my 1/4" slotting bit,


 clamped the doors down, 


and cut the slots with a router. 


Again - this resulted in curved corners, as shown below. 


A little more chisel work was needed to square up those slots.  


And BAM! - we have doors! 


I don't normally sign my work - but in this particular case, I think it's nice to commemorate it. So I'm designing some sort of plaque that I can laser, to attach to the back of this. Here's my first iteration, but I'm sure it will change as this piece progresses.  

Next up? 

Hanging the doors, building drawers and designing the base. 

Stay tuned!

Monday, April 27, 2020

My 17 year old design...


Honestly, it feels like the tool I've used most during the last couple of weeks is my rice cooker. I don't think a day or two passes without pulling out this bad boy and making some comfort food. 


I might be getting rusty with my other tools, though...

Someone called me with their "emergency" and needed a 24" circle cut from plywood.  Sure, no problem - I had the plywood in stock, and told them they could drop payment through my mail slot in the door, and I'd cut it and have it ready in a day or so. 

Hands free woodworking - just like the big pizza chains!

Imagine my dismay when the depth stop on my plunge router slipped, and I cut a partial circle in my bench top while cutting their circle.


  It's a good thing that sacrificial top is easily replaced, but it still pissed me off. 

All is not lost, though - I've actually started building furniture for myself again. I'm getting rusty in the shop, and that's not acceptable, so I pulled our a few old sketchbooks and thumbed through them, trying to decide what to build.

Some of these pieces have been rolling around my brain for years, with never enough time to make them. 

I guess that time is now. 

Years ago, I used to wear a lot of neck ties; I have a really nice collection of them. 

Over the years, I collected some really amazing ties - hand-painted ones with woodworking motifs such as C-clamp designs, or saw blades or whatever I could find. I don't wear them anymore, but I just can't bear together rid of them.

So I've been staring at the box of ties for years. Then I remembered this prototype door I made years ago, at a woodworking class held at Anderson Ranch.


The class was taught by Roseanne Somerson, but the first couple of days, Gail Fredell stepped in to teach it, too. If you know anything about woodworking in America, you'll recognize these two names... bad-ass woodworkers, both!


In the class, we generally focused on design and textures, and then were cut loose in the shop, to actually make something. I designed these two doors for the front of a tie cabinet that I had in my mind, and then... these doors hung on a wall in my studio for 17 years.


 You read that right. Seventeen years.

I told that to a friend the other day and he was shocked that someone could have a design rolling around in their head that long.


I have another design in my brain that is older than that, so if this shutdown lasts much longer, I wouldn't be surprised if I start working on that one!


 I bought a unit of Sassafras a while back, with the intention of finishing the bedroom set that I started in 2013 or so.  The pile has dwindled down to half its size.


It's the classic case of the cobbler's children walking around in worn out shoes - my stuff always gets put on the back burner. So - with a stack of wood and all the time in the world, I finally started these doors.


The "tie" seemed the trickiest part, and I decided to make those parts from a contrasting wood - in this case, some very nice Mahogany I had in the shop. 


A few tricky cuts later and I had the start of the doors.  The older prototype of the doors utilized half-lap joints like this one,


but that joinery seemed clunky to me, so I decided to use Festool Domino joinery instead. 


That added a new complexity to the design - how to cut the dados for the door panels. 


Stay tuned to see how I solved that one! 

It feels great to finally be starting on this cabinet, and let's face it... it's about time!