Sunday, July 21, 2019

AWFS - Day one!


The anticipation has been intense! The AWFS convention finally arrived, and I think it was the best show in years! 


This giant AWFS backdrop greeted everyone as they entered the hall, and you could tell it was a great investment for the organizers of the event. Everyone and their brother was taking photos in front of it - with photos of it plastered all over Facebook and Instagram.


 The hall was packed, and companies spared no expense on the design of their booths. 

This Arauco booth had some major beam construction going on, 


and I'm always fond of these "desks" made of a faux unit of lumber. They were everywhere!


First on my agenda - finding the Fresh Wood area - where high school and college kids enter their furniture into a competition with some pretty nice prizes. 


I ran into Paul Downs at the show, and we chatted for a while - he's been an idol of mine for a while and I met him at the last AWFS show two years ago. Whip smart about running a woodworking business, and very giving of advice and guidance. I think that's what this show is all about... networking, connecting, learning.


If you ever get a chance - you should check out his book.. Boss Life.  


 I've gifted this book many times to other business owners in the woodworking industry, and it should be required reading for new graduates.

After our chat, we walked around the FreshWood entries, meeting a few of the instructors whose students built these pieces.  Paul thought this piece was the best one there... more about that later. 


  I actually liked these two pieces the most - this small cabinet is everything I want in a piece of furniture - clean lines, beautiful grain management, interesting handmade pulls - all in all - just a wonderful piece. I met Owain Harris, the instructor who guided this student, and we also had a nice chat. 


Another one of his students made this - one of my other favorites... a small valet table with really nice lines. This really was a terrific design, and I watched quite a few other woodworkers get down on their knees to inspect the underside, which sort of lets you know how much everyone appreciated this piece. When someone inspects your work from every angle - they not only love the piece, they're trying to figure out how to make it!  


Some of the other highlights were this iPhone coffee table, 


and this tamboured jewelry cabinet,


this amazing coopered daybed,


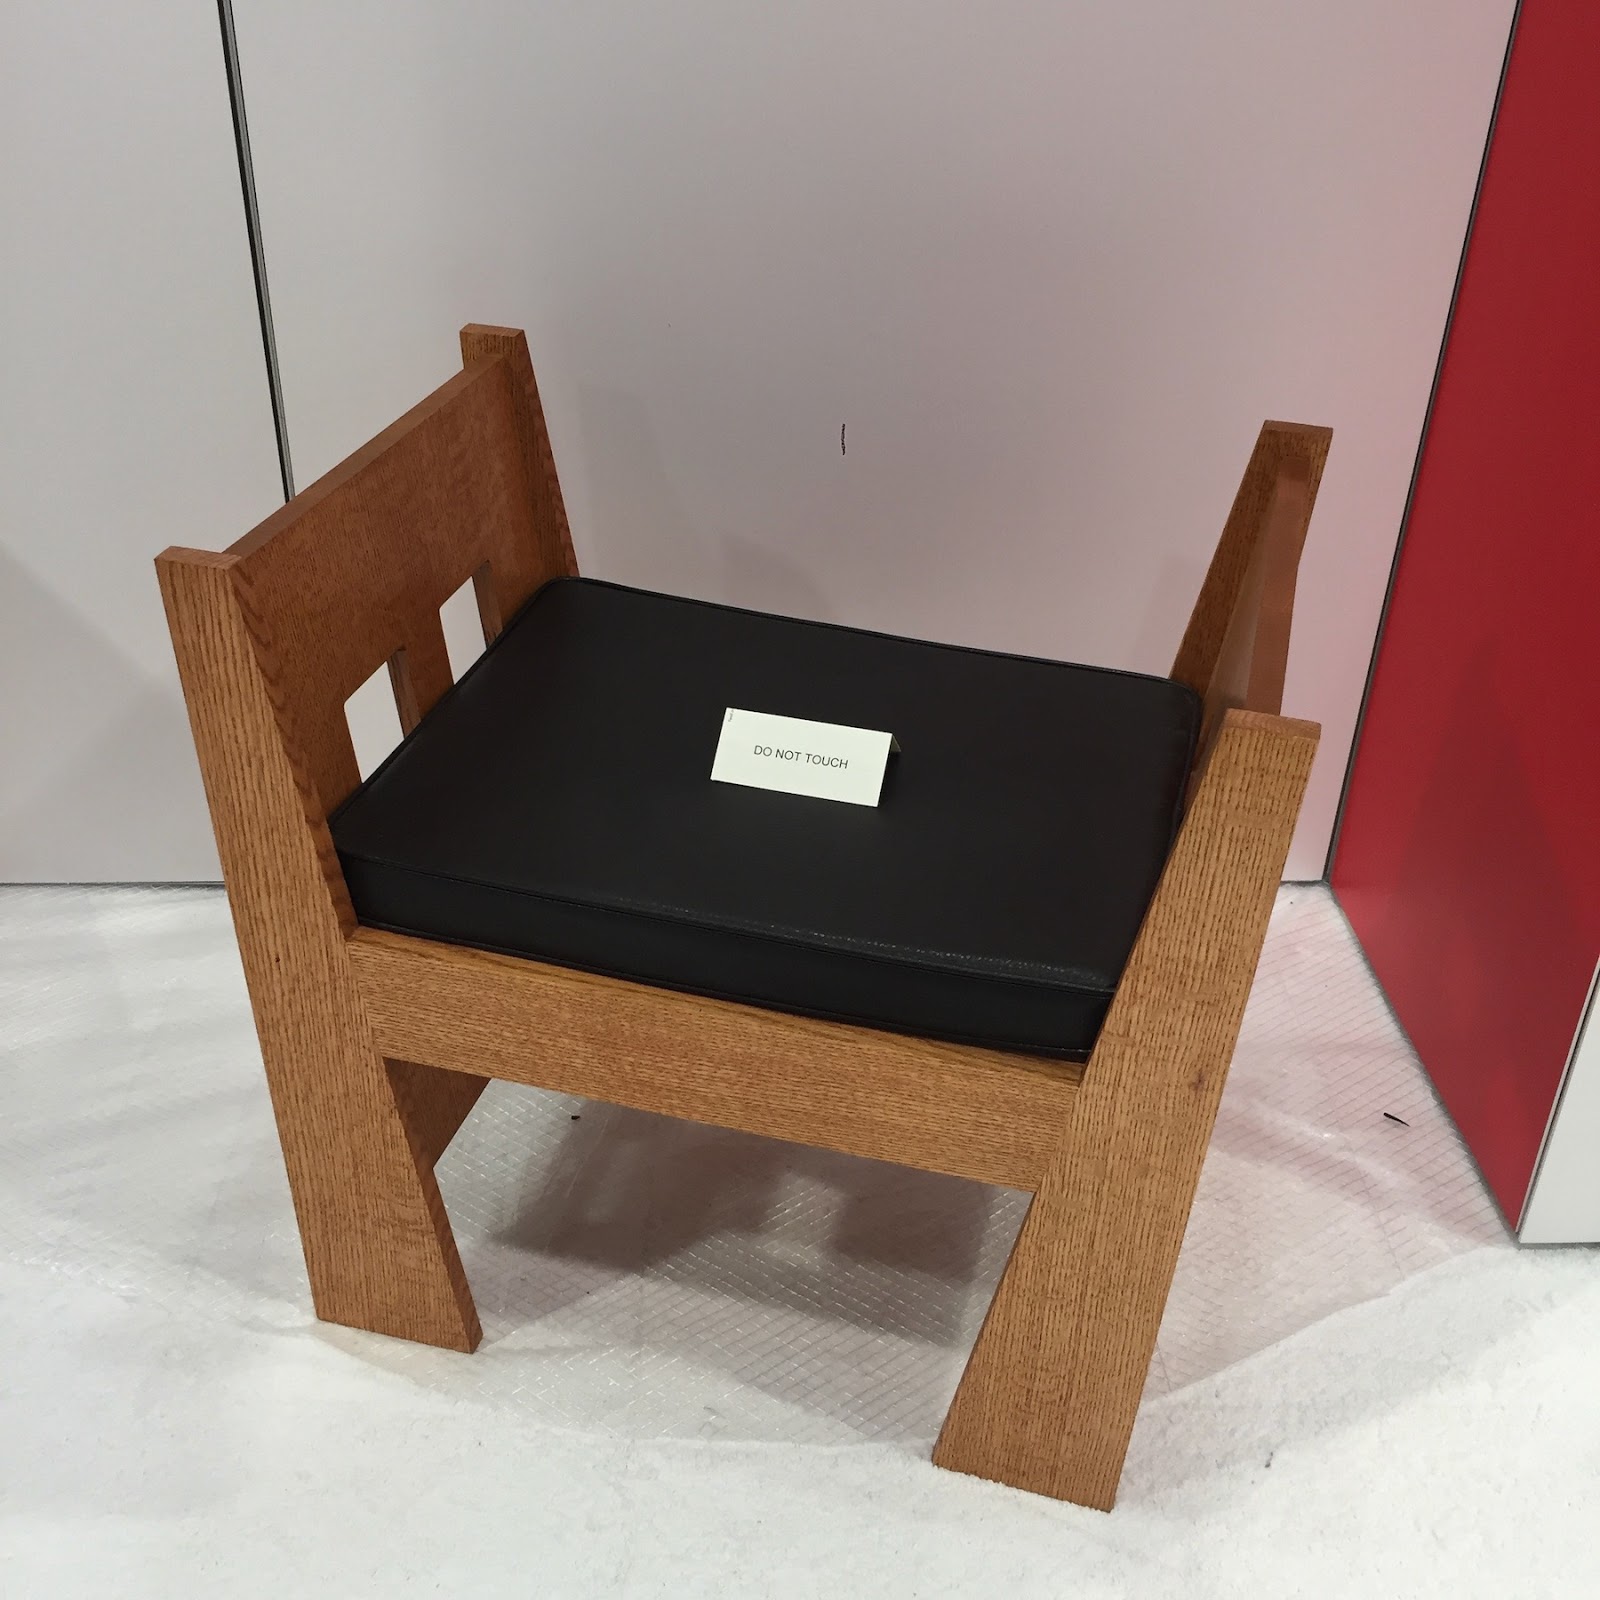
this Morris chair, 


and stool 

this poker table, 


and guitars galore! 


Music has always been a big theme here.


I particularly liked this piece, 


with its "quilted" wooden back. I wish the student would have included some cushions on this piece, but I suspect they were lost in transit, as there was a furniture blanket on the seat for the first day, and the second day - there was nothing.  

With cushions - this would have been an outstanding piece!... actually, it still is!


The wood turning demos had everyone's attention. 


Damn, they make a mess!


As usual, I drooled over a few machines -  like this massive Felder jointer. It would be a dream to have this in my shop. Dammit, I want this!


And I'm always a fan of these giant box-generating machines - you plug in the size of the box you want, and add in some details like how it hinges or seals, and which direction it should sit, and out pops a custom box.  


The cardboard feeds in one end, and a box comes out the other side. Very cool.  Every single FedEx and UPS store should have one of these.


Shaper was well represented, and their booth was packed. 


Speaking of that - everything was packed - a very nice turnout on day one.  


Celebrities were everywhere, and my buddy Rick sent me these shots he took with the biggies.... April Wilkerson and Matt Cremona, 


Norm Abrams, 


and of course - Marc Spagnuolo. Rick was having a really fun time meeting everyone, and he even picked up Marc's book. A good deal for everyone!


Part two coming up.... stay tuned!


Tuesday, July 16, 2019

Giving this tool a little love...


If you've ever worked in my shop, then you know I'm not a huge fan or radial arm saws. 

Oh, they do a great job of breaking down long boards, so that's all I use mine for... but for the most part - their cut is little sloppy, and not 100% accurate.  I don't have a lot of love for that tool - until now. 

Someone donated this old saw to the shop. 


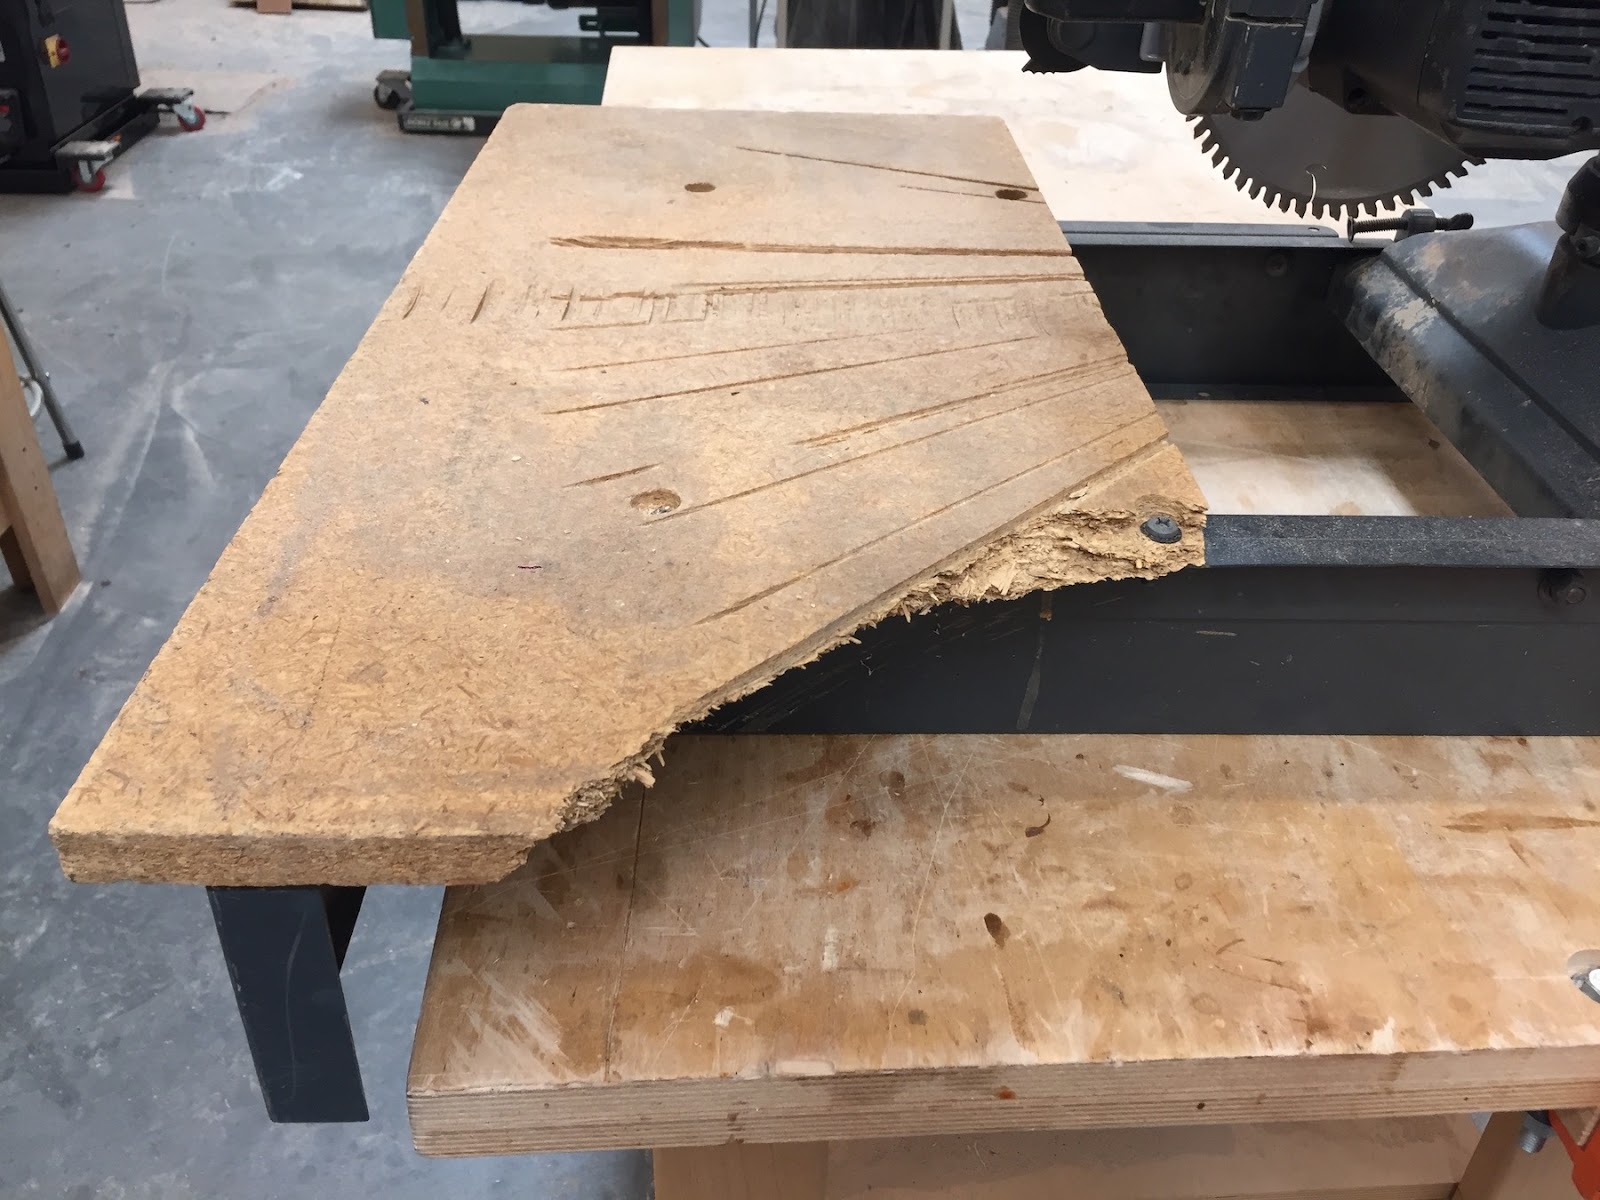
The table was in horrible shape,


 and this back bolt was bent. This holds the fence in place, and allows you to adjust the fence square to the blade, so it's an important component. 


The previous owner installed a terrific blade in it, 


and the crosscut capacity was better than my other RA saw. 

I decided it needed a little love. 

It was easy to remove a few bolts and remove the old table. 


Although that old table measured roughly 20x30, I decided to make the new top a little bigger, with more capacity on the left side. Most people are right handed, so it made sense to lengthen the left side, to support the boards there.  


I've never seen a RA saw that uses a blade this size, so I had to figure out how tall the back fence could be. I experimented with a few boards I had in the shop, until I figured it out.  


Once that was all determined, I straightened that bolt, and installed the new table and back fence.  


Last step? 

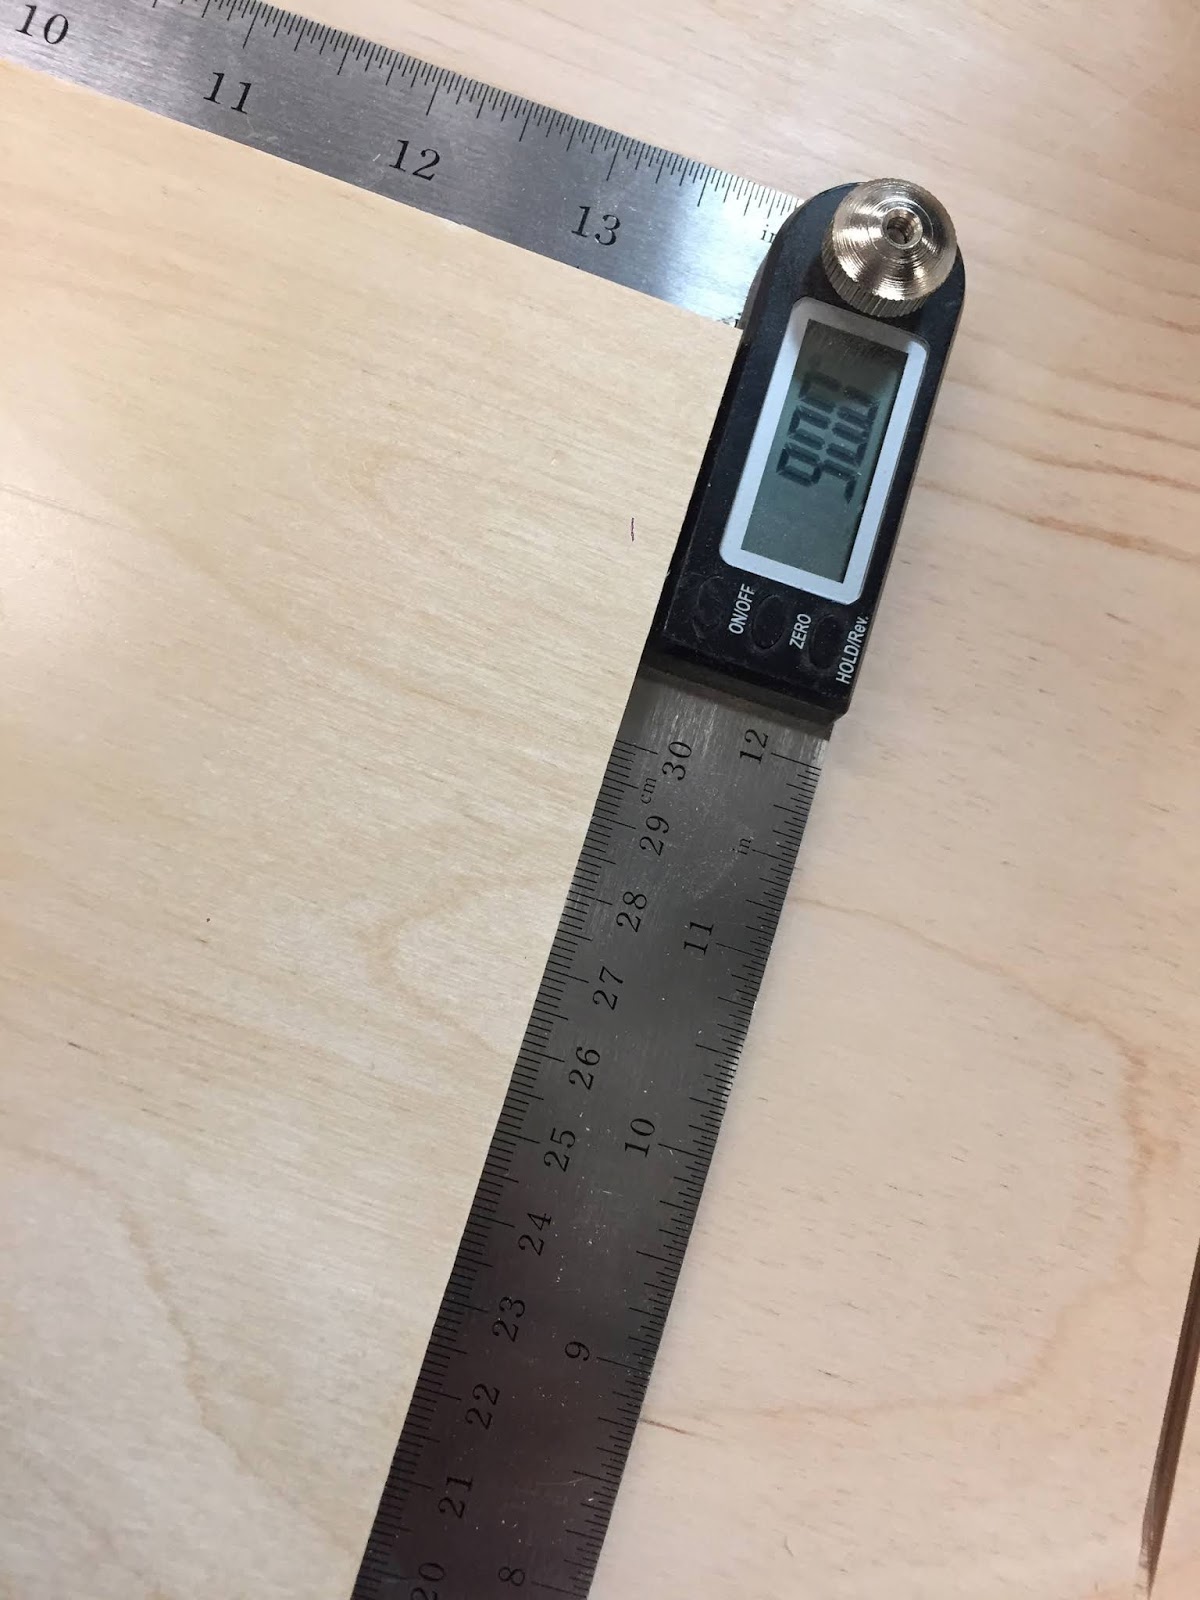
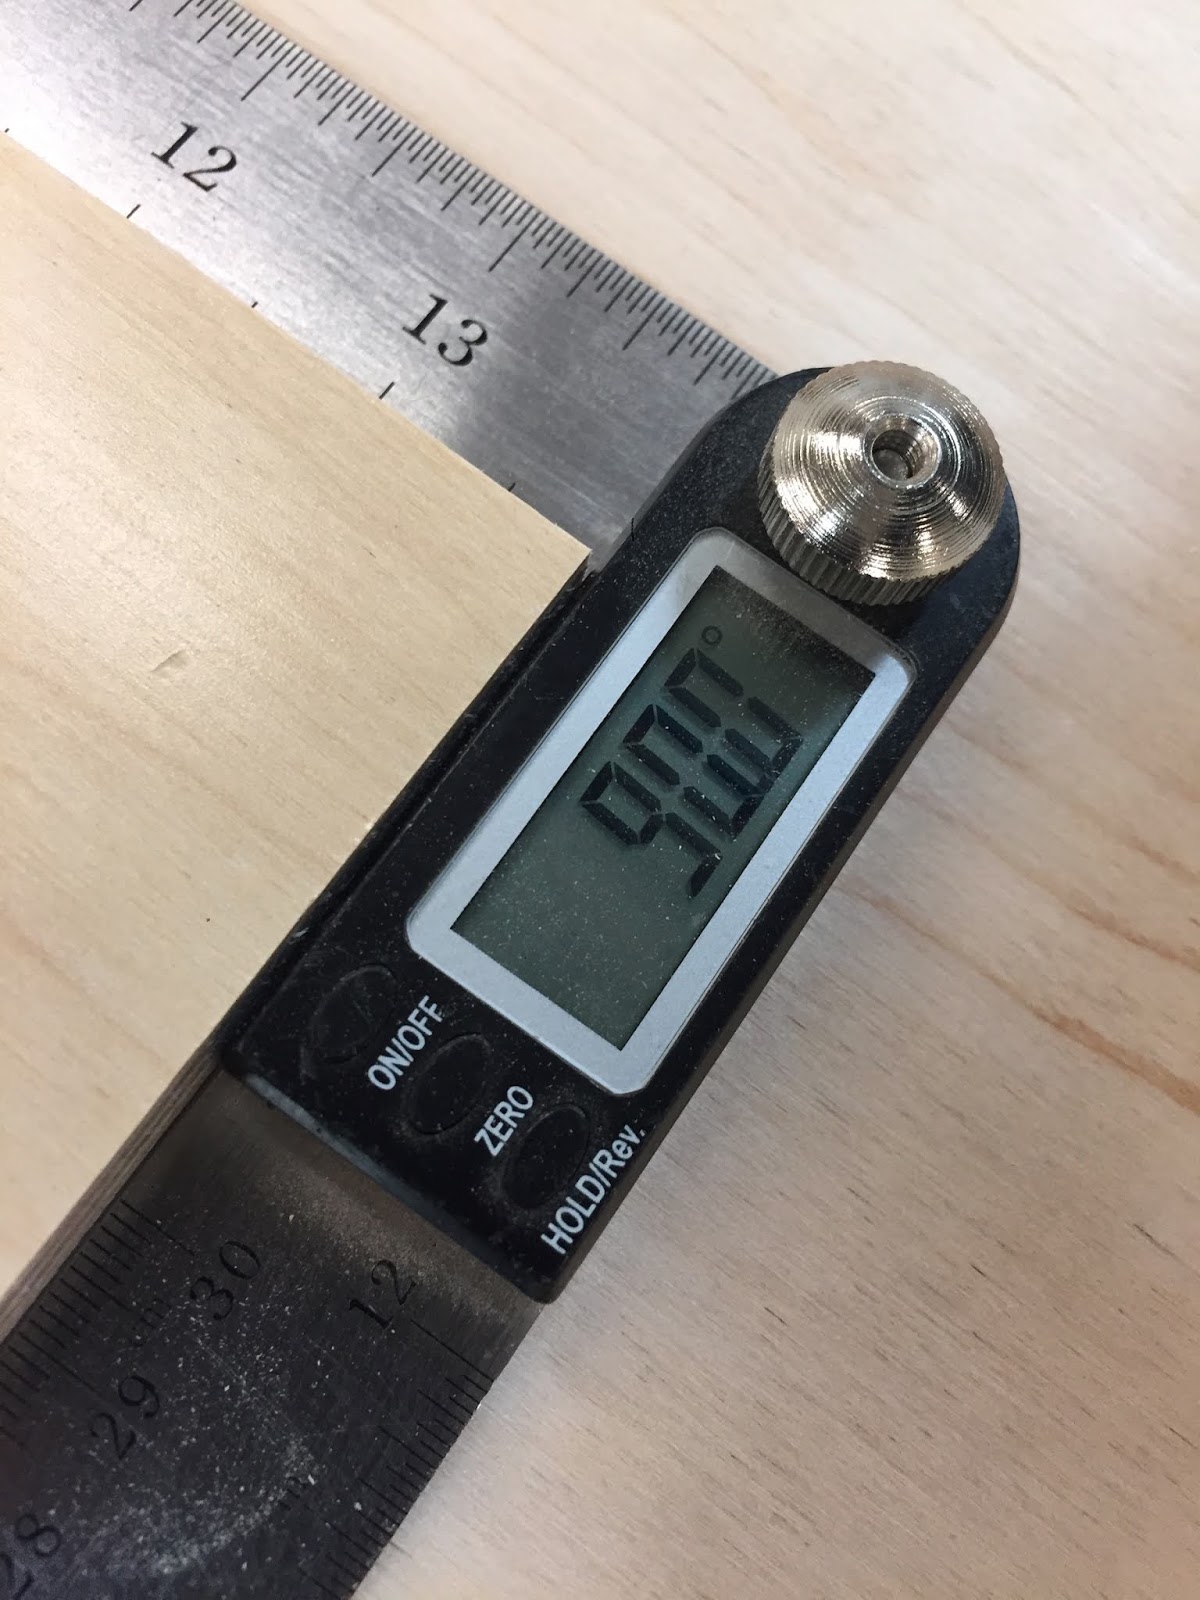
Squaring up the fence to the blade.  Using a digital protractor, I got it fairly close, and then made a few cuts to dial in a perfect 90 degree cut. 


The first cut was off ever so slightly  (.05˚) to be exact! - so I tweaked the bolt on the fence, thus slightly changing the angle to the cut. 


It sounds complicated, but it was actually a simple process. 


Perfect!


I mean...PERFECT!


This tool really changed my mind about radial arm saws. It's accurate, cuts very nicely, and doesn't push along the cut as the carriage travels, like most radial arm saws do. 


It's a terrific machine, and I'm really conflicted - sell it or keep it? We already have two of these in the shop, so space is starting to become an issue.

Come to think of it - we have at least two of almost everything in the shop! 


Thursday, July 11, 2019

A follow up on the Colliflower insert


We've been using the zero-clearance insert made by Colliflower designs about about 2 weeks now... 


and I've gotten a few messages from readers, asking my thoughts about it. 


Remember that right off the bat, the insert cracked when raising the blade through it...I probably should have anticipated that.  The insert itself is made of MDF (with a melamine skin) which is very fragile, so it shouldn't have surprised me that it cracked. 

  After a weekend of students using it, the split got bigger, essentially cracking the insert into two separate pieces.


 The separation makes the piece on the left side lift up a bit - see how it's sitting a bit above the surface in the photo below?  


That's not a big problem, but the crack in the front edge of the insert IS a problem  It makes for a slightly raised lip on the front edge, often catching the material when it is being cut. 


 My solution?  

When I cut a new replacement insert, I will make it out of 1/4" plywood, instead of MDF. It should be stronger, and less prone to splitting. 

All in all - I really like this addition to the saw. My only complaint would be about the replaceable MDF insert, but I honestly think once I re-make the pieces with plywood, everything will work as it should. 

Would I buy it again? 

Absolutely! In fact, I might buy two more for the other two Sawstops in the shop. 


Sunday, June 30, 2019

Time to review, recharge and reset.

It's been a busy couple of weeks in the shop, but classes finally ended this past Friday and it's time to review, recharge and reset. 

Maybe relax, too... who knows?

I saw something that caught my eye the other day and checked out a website I'd never heard of - they make high quality zero clearance insert plates for tablesaws.  


The best part? The actual insert is replaceable - so instead of needing the whole plate, your can just replace the 1/4" insert that wears out over time. 


Sweet. 


Ok, maybe that brings out the nerd in me, but this is a big deal. 

When your standard insert is used for a while, the saw blade slot widens. This could come from using different blades, or tilting the blade... but when it's too wide, a couple of things can happen. Your wood can chip out on the bottom of your cut, or worse... a thin strip of wood can slip into the slot, which can jam your dust collector chute. 

Not to mention that it's dangerous to have strips of wood being sucked into your saw. All in all... it's a problem, and Jack Colliflower recognized it. 

At $100, it's not an insert that everyone's going to rush out and get, but I decided to try one at the shop. It came fast - just a day or two after ordering it.


 Well wrapped, 


the plate itself was bundled with a couple of spare inserts. 


The old and the new. It's very nicely machined -  fits perfectly, and looks great. The replaceable 1/4" insert is perfectly cut, and I'll use one of the spares as a pattern to make my own. 


It's branded, so there's no confusion who made it. 

Own it, Jack! 


There are five different set screws that will help level it with the top of your saw. 

The inserts and plates came without instructions on how to cut a new slot, but I've done it a hundred times on other inserts. So I figured that technique would work with this insert. 

To cut a slot on a new zero clearance insert, you bring the fence over the blade, to hold the insert in place when tasing the blade. Make sure that the blade won't hit the fence when you raise it. Then -  flip on the saw and raise the blade,  cutting a perfect slot into your new insert.


I'm not sure if you can tell from this video, but when I raised the blade through the plate, the MDF insert flexed enough to delaminate it, and crack the melamine face. 


Not a disaster, but I had to pull out the insert and glue it back together. In the future, I'll probably support the insert on both sides, so it can't flex as much. 

Or - I'll cut the slot on the saw ahead of time. 

All in all, I give this new insert plate a solid B+ - and if if works like I hope it does, I'll upgrade that to an A.

Stay tuned....


Thursday, June 20, 2019

Getting our Mallet on....

Who knew making a mallet could be so fun!


We finished up the mallet class by coming back to the shop and making a few more, just for fun. I'm not sure why, but this really was a satisfying one!


Monday, June 17, 2019

Working with "sentimental" logs


Someone brought me a few "sentimental" logs recently, asking me to turn them into rolling pins. The tree had grown in their yard for decades, and when it was time to cut it down, they couldn't bear to simply discard the wood. Or burn it. 

I've made my fair share of rolling pins out of "sentimental" logs - in fact, one year, a family dropped off a whole trunk full of wood, and asked that I make as many things from the wood as possible. That kept me busy for a while, and it was a fun project, as I had artistic license to make whatever the wood dictated. 

Here's an amazing video with some new technology for wood splitting... this sure would have been helpful when I lived back in Ohio, and spent each Fall splitting wood for the upcoming winter. 

Thursday, June 13, 2019

Just a reminder to secure your load....

Saw this on Facebook recently - I've certainly had my fair share of losing loads on the road - but never this bad!