Saturday, May 21, 2011

Ferrari Crankshaft Base - Part Two - The Dreaded Sanding


Well, the world didn't come to an end, so there's no use in putting off the sanding any longer. Time to attack the sanding. I had a few days to think about the best way to sand those curved areas, and came up with what I think is... a brilliant idea.

But first - I asked if anyone could guess how I cut those curves, and got a few guesses. Very close, but no cigar. My buddy Dan let me borrow his sliding compound miter saw, so I loaded an 8" blade in it. Then, I positioned the saw on the rails, and locked it into place, so that the cut was centered over the board. I checked the depth, because I didn't want to cut all the way through the board. But since I was using a smaller blade, it was more a problem of not cutting deep enough. So I added a sheet of 1/2" plywood under my Cherry blank, to raise it up a bit. That allowed me to cut about halfway through the blank.

Then - all that was required to cut those curved slots was to lower the blade, make a cut, slide the wood over, and do it again. Each 3" section required about 25 cuts, since I was using a thin kerf blade. So by the time I'd cut all six slots, my muscles were burning and bulging. Arnold Schwarzenegger
has nothing on me. (Except a love child.) By the time I'd finished this part of the project, I'm fairly sure I could have arm-wrestled him and won.

Those curves have an 8" diameter, so I grabbed a piece of scrap one-inch thick plywood.


With a plunge router, and my trusty Router Buddy, I cut an 8" disc of wood.


The center hole was small, so I had to re-drill it with a larger bit, so that I could mount it on my drill.


What's that line about necessity being the mother of invention? I needed a handle on the left side of the disc, so by buddy Dan grabbed a socket and we screwed the whole thing together with a long bolt. Here it is, mounted on the drill - a perfect solution for sanding those curves. I covered the whole disc in 100 grit sandpaper, put on a mask, and got to work.


After about ten minutes of sanding, I noticed two distinct things - this disc sanding system worked like a charm! And that I might have to buy some new shirts, since it's possible that I was going to bust out the seams in my old ones. This method of sanding was a great upper body work-out!
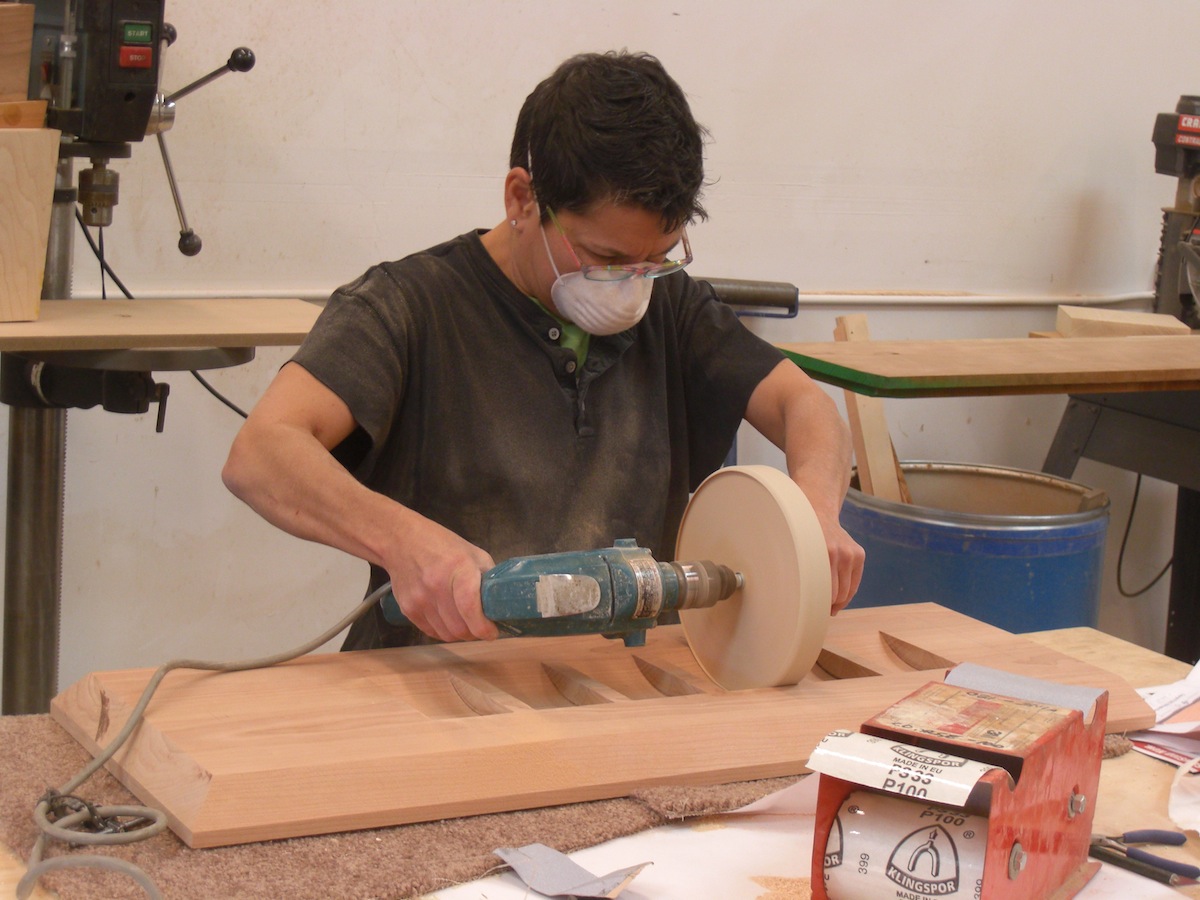

Truth is, I could only sand for about four or five minutes, then rest and whine about it, and then start sanding again. (Thanks for taking the pics, Denny!) After all the slots were sanded with the 100 grit paper, I moved up to a finer grit of paper.


Since I'd covered the end of that disc with sandpaper, too, I could sand both the curved areas and the ends of these curves, where the end grain was a little burnt.


This system worked perfectly.


Half the battle of being a good woodworker is being a good problem solver. A dilemma like this sanding issue is a perfect example of that. Implementing what you've come up with is another important part. Yes, you have to tap into the "McGuyver" side of your brain, seeking solutions that aren't found in books. There's a bit of mania in it; but it makes you a better technician in the long run.


Next step? Making the two end supports that will hold the crankshaft. Stay tuned, and pass the Tiger Balm.

Friday, May 20, 2011

30 1/2" of pure sexiness

You know I get some of the coolest commissions in Las Vegas, right?

Here's another awesome one I'm working on right now - it's on my bench and I'm enjoying every minute of it. Let's start with a Ferrari crankshaft - that's 30 1/2" and about 80 pounds of utter seductive steel.


This shaft is from a V-12 engine, so there are six sets of two counterweights.


I'm not sure why, but I've always loved the stark graphic techie-sexiness of machined parts.


The task at hand is to build a wooden base to display this piece - and to make it a little more interesting, my client wants the counterweights to rest in curved slots in the wood. Proper spacing of those slots was critical, so I laid them out on a sheet of paper. Here, I'm using some 1-2-3 blocks to help determine the exact locations of the counterweights.


Here is the exact spacing, so that I can cut the slots.


I transferred these lines onto the piece of wood I'd laminated for this piece - a gorgeous piece of 8/4 Cherry. (That's 2" thick, for non-woodworkers.)


The diameter of the counterweights is around 7", so I knew I would want to machine a groove that would be close to that. But how would I do it? Router with a jig? Carve it by hand? Then came the light-bulb-over-my-head moment. Lets see who can guess how I did it.

Here is the piece, with it's six curved slots, perfect for holding the crankshaft. Any guesses yet?


These are about 3" wide, with a gap of 3/4" in between each one.


There is a fair amount of sanding to do, and frankly, it's one of my least favorite things to do. Festool has a very cool new sander that I've been drooling over, but I'm not sure it's worth buying for this one piece.

But until I start the sanding, I still had some work to do - mostly profiling the edge of the wood block. I'm a sucker for a nice chamfer, so I tilted my tablesaw blade and cut a bevel on each edge.


Next step - making some supports to hold the piece, and then final sanding and finishing. Just in case the world really does come to an end, I put off the sanding for a couple of days.

Friday, May 13, 2011

World Naked Gardening Day

Did you know that today is World Naked Gardening Day? You can read about it here. Who knew?!

I did my part.


Since I have a full day planned at the shop, I wasn't sure how much time I'd spend in the garden today. But I did manage to get outside this morning, for a little play-session with Stella.


It's tough being a single mom.


Funny how much things can change in a week. While I was in Ohio, the garden spouted up like it was on steroids. This little lemon tree is very happy.


Last year, it really didn't produce that many lemons, but just seeing the colors of green it produces makes it a lovely addition to the yard.


The nectarines are growing in clumps of three or four; I really need to figure out what to do with all of them.


Although this plant looks like it's flourishing, the peppers really aren't doing that well this year. I'm not sure what they need, and keep meaning to do a little research about what I should add to the soil. Any tips?


As I mentioned before, I planted four zucchini plants. Things are going to be a little dicey around here in another few weeks. At one point, I counted 52 blossoms. This breaks the heart of every Italian I know; why aren't I frying them up?

Finally, the artichokes, which are really the main performers in the yard, are completely amazing. (Kris & Jen - here are some photos for you to enjoy!)


When they first bud, they grow at the very bottom of a stalk, and are so small. Maybe the size of an almond.


Then they shoot up like aliens!


Have a great day in your garden. Get Naked!


Wednesday, May 11, 2011

An extended mother's day

This has been a week of "mom time," spent visiting my mom (and family) for Mother's Day. That's always a trip down memory lane. Well, OK, it's just a trip.

Who else kept all of my woodworking projects, good and bad? MOM!

Here's the first cutting board I ever made. A looooooooonnnnng time ago. I'm not even going to mention the year (1974) I made it. But suffice it to say - it's embarrassing.

Still, she won't give it up.


Worse yet, here is the second piece I made. A really funky wine rack,


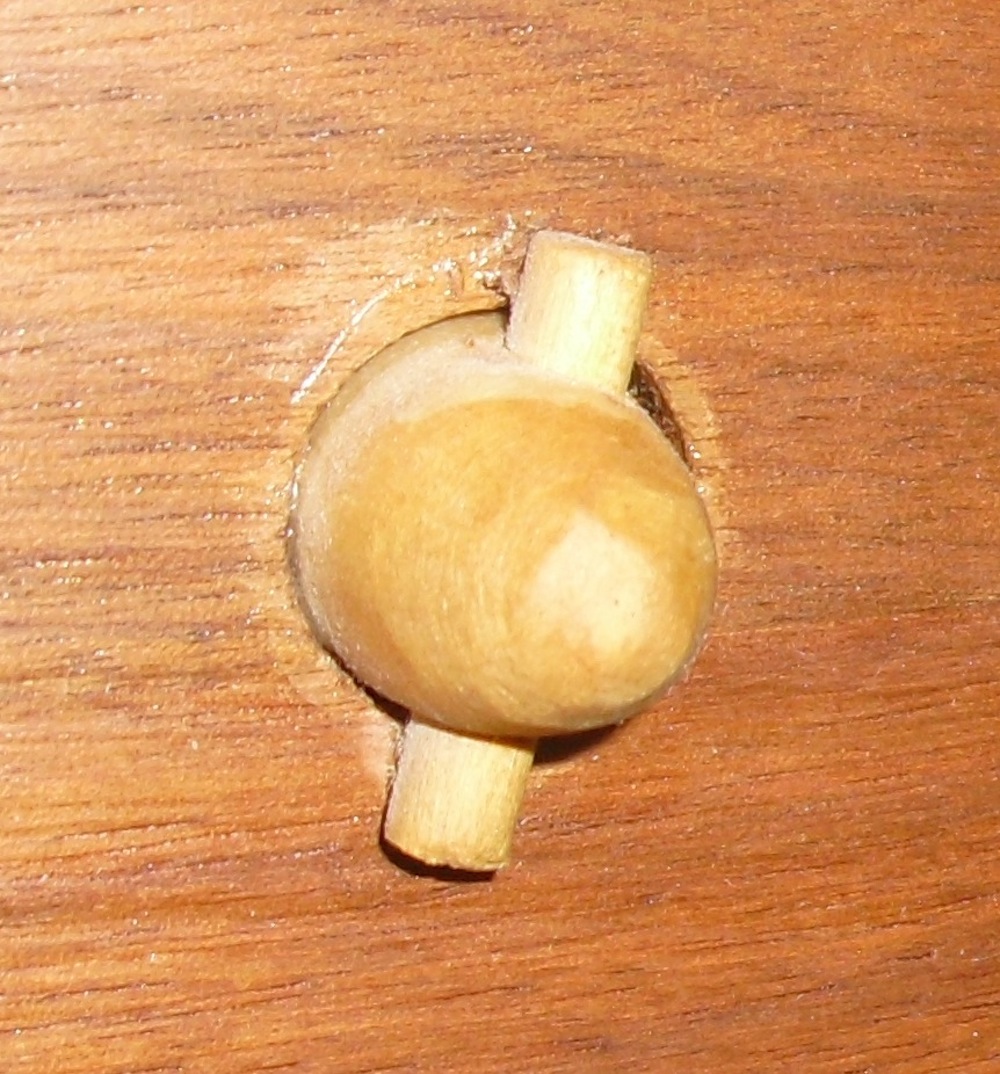
with little pegged joints. Ambitious, when you're a 15 year old.


For the next project, I tried a cutting board with a sculpted handle and small feet, which raised the board up a bit. This appears to be my mom's "go-to" board, even today.


Luckily, I think my boards have gotten much more creative through the years.


I joke that most of my family and friends beg me to quit giving them cutting boards. Seriously, you ask for one, I'll give you a half dozen. Here's the latest one I just gave to my mom - not that she asked for it.


I made it with the hope that she'd toss out that funky one, the first one I made. But knowing her, she'll hang onto it for another 37 years.


Hope you had a great week, mom! I know I did! (And I probably gained ten pounds, too.)

Heading home tomorrow, and back to the shop.

Friday, May 06, 2011

Great dog video!

Thought this video was great! This reminds me of something Stella would do.

I'm taking a short break from the shop, but will be back making sawdust soon.


Tuesday, May 03, 2011

How to make a dowel rod

Sometimes the best solutions are very simple ones.

A few months ago, I made a shadowbox/flag case for a fallen soldier. The fellow who commissioned it called me with another woodworking project. He asked if I had a lathe, and if so, could I make a six foot long pole. I explained that my lathes didn't have the capacity to hold a six-foot long piece of wood, and asked a few questions, to figure out just what he wanted.

Turns out, all he needed was a long dowel, about 1 1/2" in diameter. It's curious how people think - the first thought he had was to use a lathe. My first thought was to use a router.

It's just simple geometry - if you want to make a dowel of any given diameter, all you need to do is locate a round-over bit whose radius is half that size. So if you want a one-inch dowel, all you need is a 1/2" roundover bit. Easy-peasy.


In this case, I had a 3/4" roundover bit. It's a huge bit, one that could be used for that perfect bullnose edge you might have on your Corian kitchen counter. Here is a scrap of wood measuring a perfect 1 1/2" square.


Here the bit is set up in the router table, where I'll rout all four edges.


That will make a perfectly circular shape.


If you put the miter gauge in it's slot,


you can easily rout the tip of the dowel to create a domed end.


It's the best (and safest!) way to hold the dowel while routing the tip.


Once I tested the cut with this piece of scrap, I cut a nice piece of Ash (no pun intended) to the length I needed, and routed it. Some sanding and a coat of stain,


and viola ~ a six foot dowel.


Like I said, easy-peasy.

Sunday, May 01, 2011

New woodworking graduates

Just finished up another very successful session of woodworking classes. Here is a peek into what we accomplished. (If you click on the slide itself, you'll see the images full screen.)