If I'm going to be honest, this pandemic shutdown is starting to get to me. In good ways and bad ways, too.
It not so much the cessation of classes; I can handle that. In fact, I'm trying to look at it as a blessing, so I'm doing some heavy duty sorting and decluttering at the school. And I have some really nice commissions I'm finally having a chance to complete. So I can't complain there.
But... It's the uncertainty.
I've never been a fan of that. Call me boring, but I like certainty. I like schedules, and timelines and calendars with firm dates. Some people can live by the seat of their pants, without firm plans or an idea of where they're headed. That's not me.
Anyway, I've been working on this cabinet and it was time to turn attention to the base. I experimented with a few different widths for the base to finally determine its width.

I couldn't be sure until I actually put the cabinet on top, so ensure I had the proper margins.

At the same time, I was experimenting with the drawers that I need to build.

I'm trying to decide if I want integrated pulls in the drawer faces, or not. (Probably not.)

When I'm in the "designing" phase, my shop basically is trashed...and the workbench takes the brunt of it.

With the base dimensions finally determined, I clamped it together,

and turned my sites toward the carcase. Although I Domino'ed the carcase together, I felt that it needed some added fasteners, and remembered that I'd bought these Lee Valley square punches a while back... just for a project like this! They allow you to create some square plugs, a very nice detail that I love to add into my work.

The punches come in a few different sizes, and I chose the 3/8 inch for this job.

You start with a hole (I drew lines here so that I would get the proper location),

and then give the punch a few solid taps with a hammer.

The punch shears off the excess to create a perfectly square hole.

A small chisel helps get rid of any little bits that don't come out cleanly.

Then I drilled a pilot hole for the screw and BAM! A perfect solution fro beefing up the case of this piece.

But... where do I get the square plugs to fill these? Now it would have been really easy to just cut a strip of wood, and make smalls plugs... but....
the grain would have been running in the wrong orientation. So I took a board, cut a few 45 degree angles,
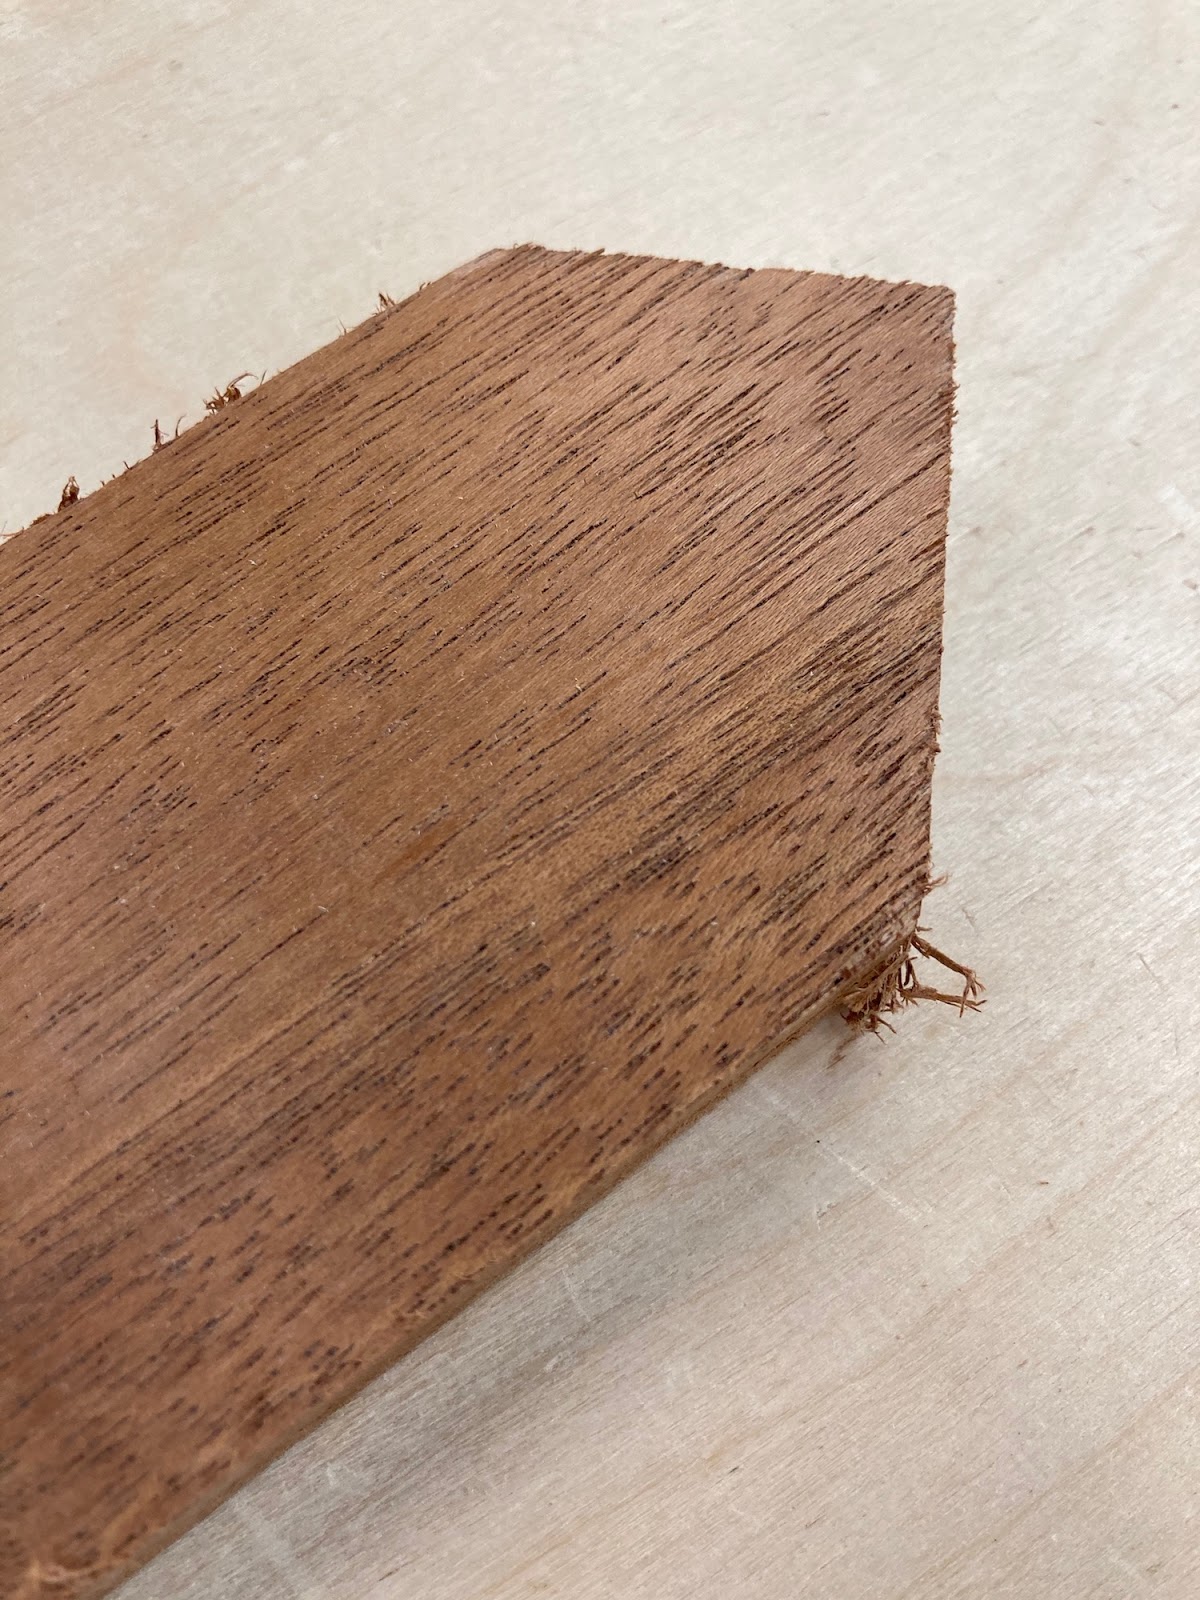

and managed to make some plugs with the grain running the proper direction.

It took a few touch ups on the sander, test fitting them in this scrap.
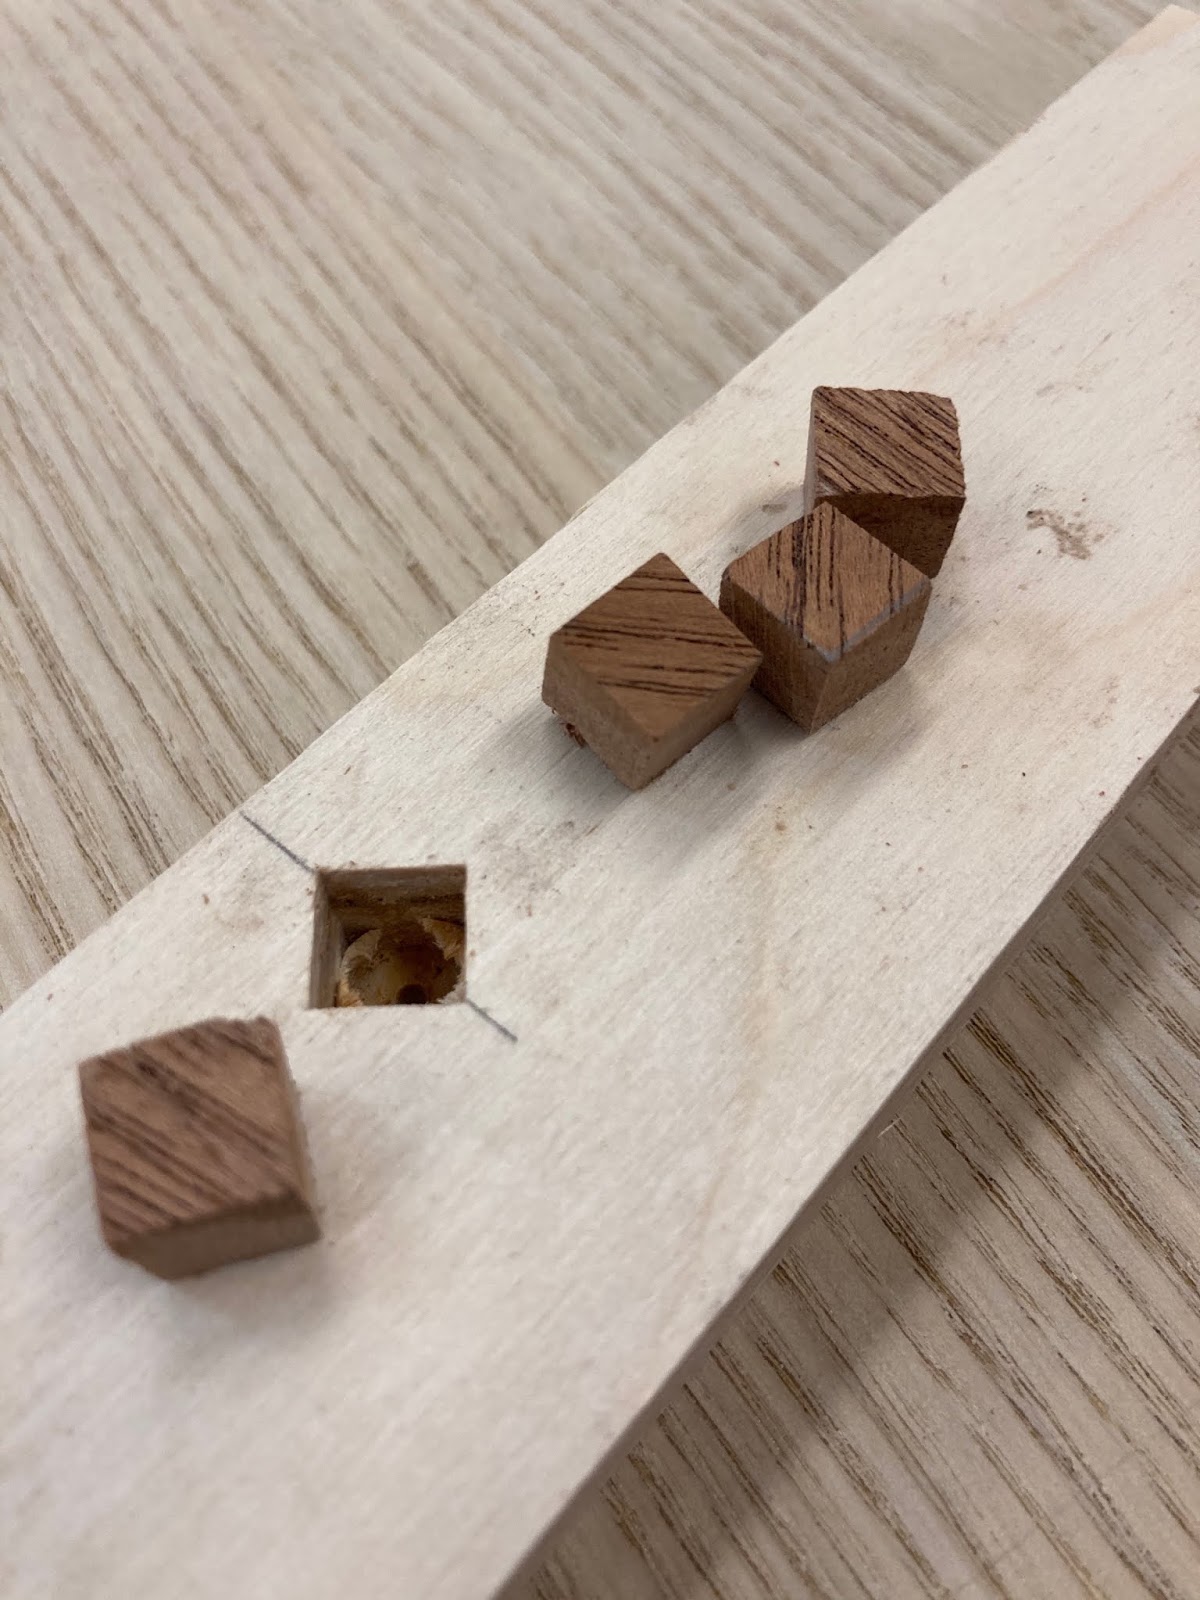
A little bit of glue holds them in place.... and then the chisel magic begins.

I love chisels, BTW. They're one of my favorite tools.
Paring down a plug with a sharp chisel is one of woodworking's true joys.
Finally - I designed a little sign for the back of the cabinet. Might as well commemorate this situation.

I particularly like the barbed wire border, which just about sums up life these days.

Next up?

Drawers and finishing. This piece is 85% done!
1 comment:
Your tie cabinet is looking very good. I like the grain matched square plugs. And love how you cut tenons. Slightly different from how you thought me to do them. I like cutting tenons. One of the few repetitive tasks I really enjoy.
Post a Comment