There is no doubt, I have clearly jumped down a rabbit hole.
It started with door knockers, so I built a door to display one of them.
And then... another day, another knocker!
Apparently, knockers with hand motifs are very popular. The Google search found 7,700,000 results in 0.44 seconds.
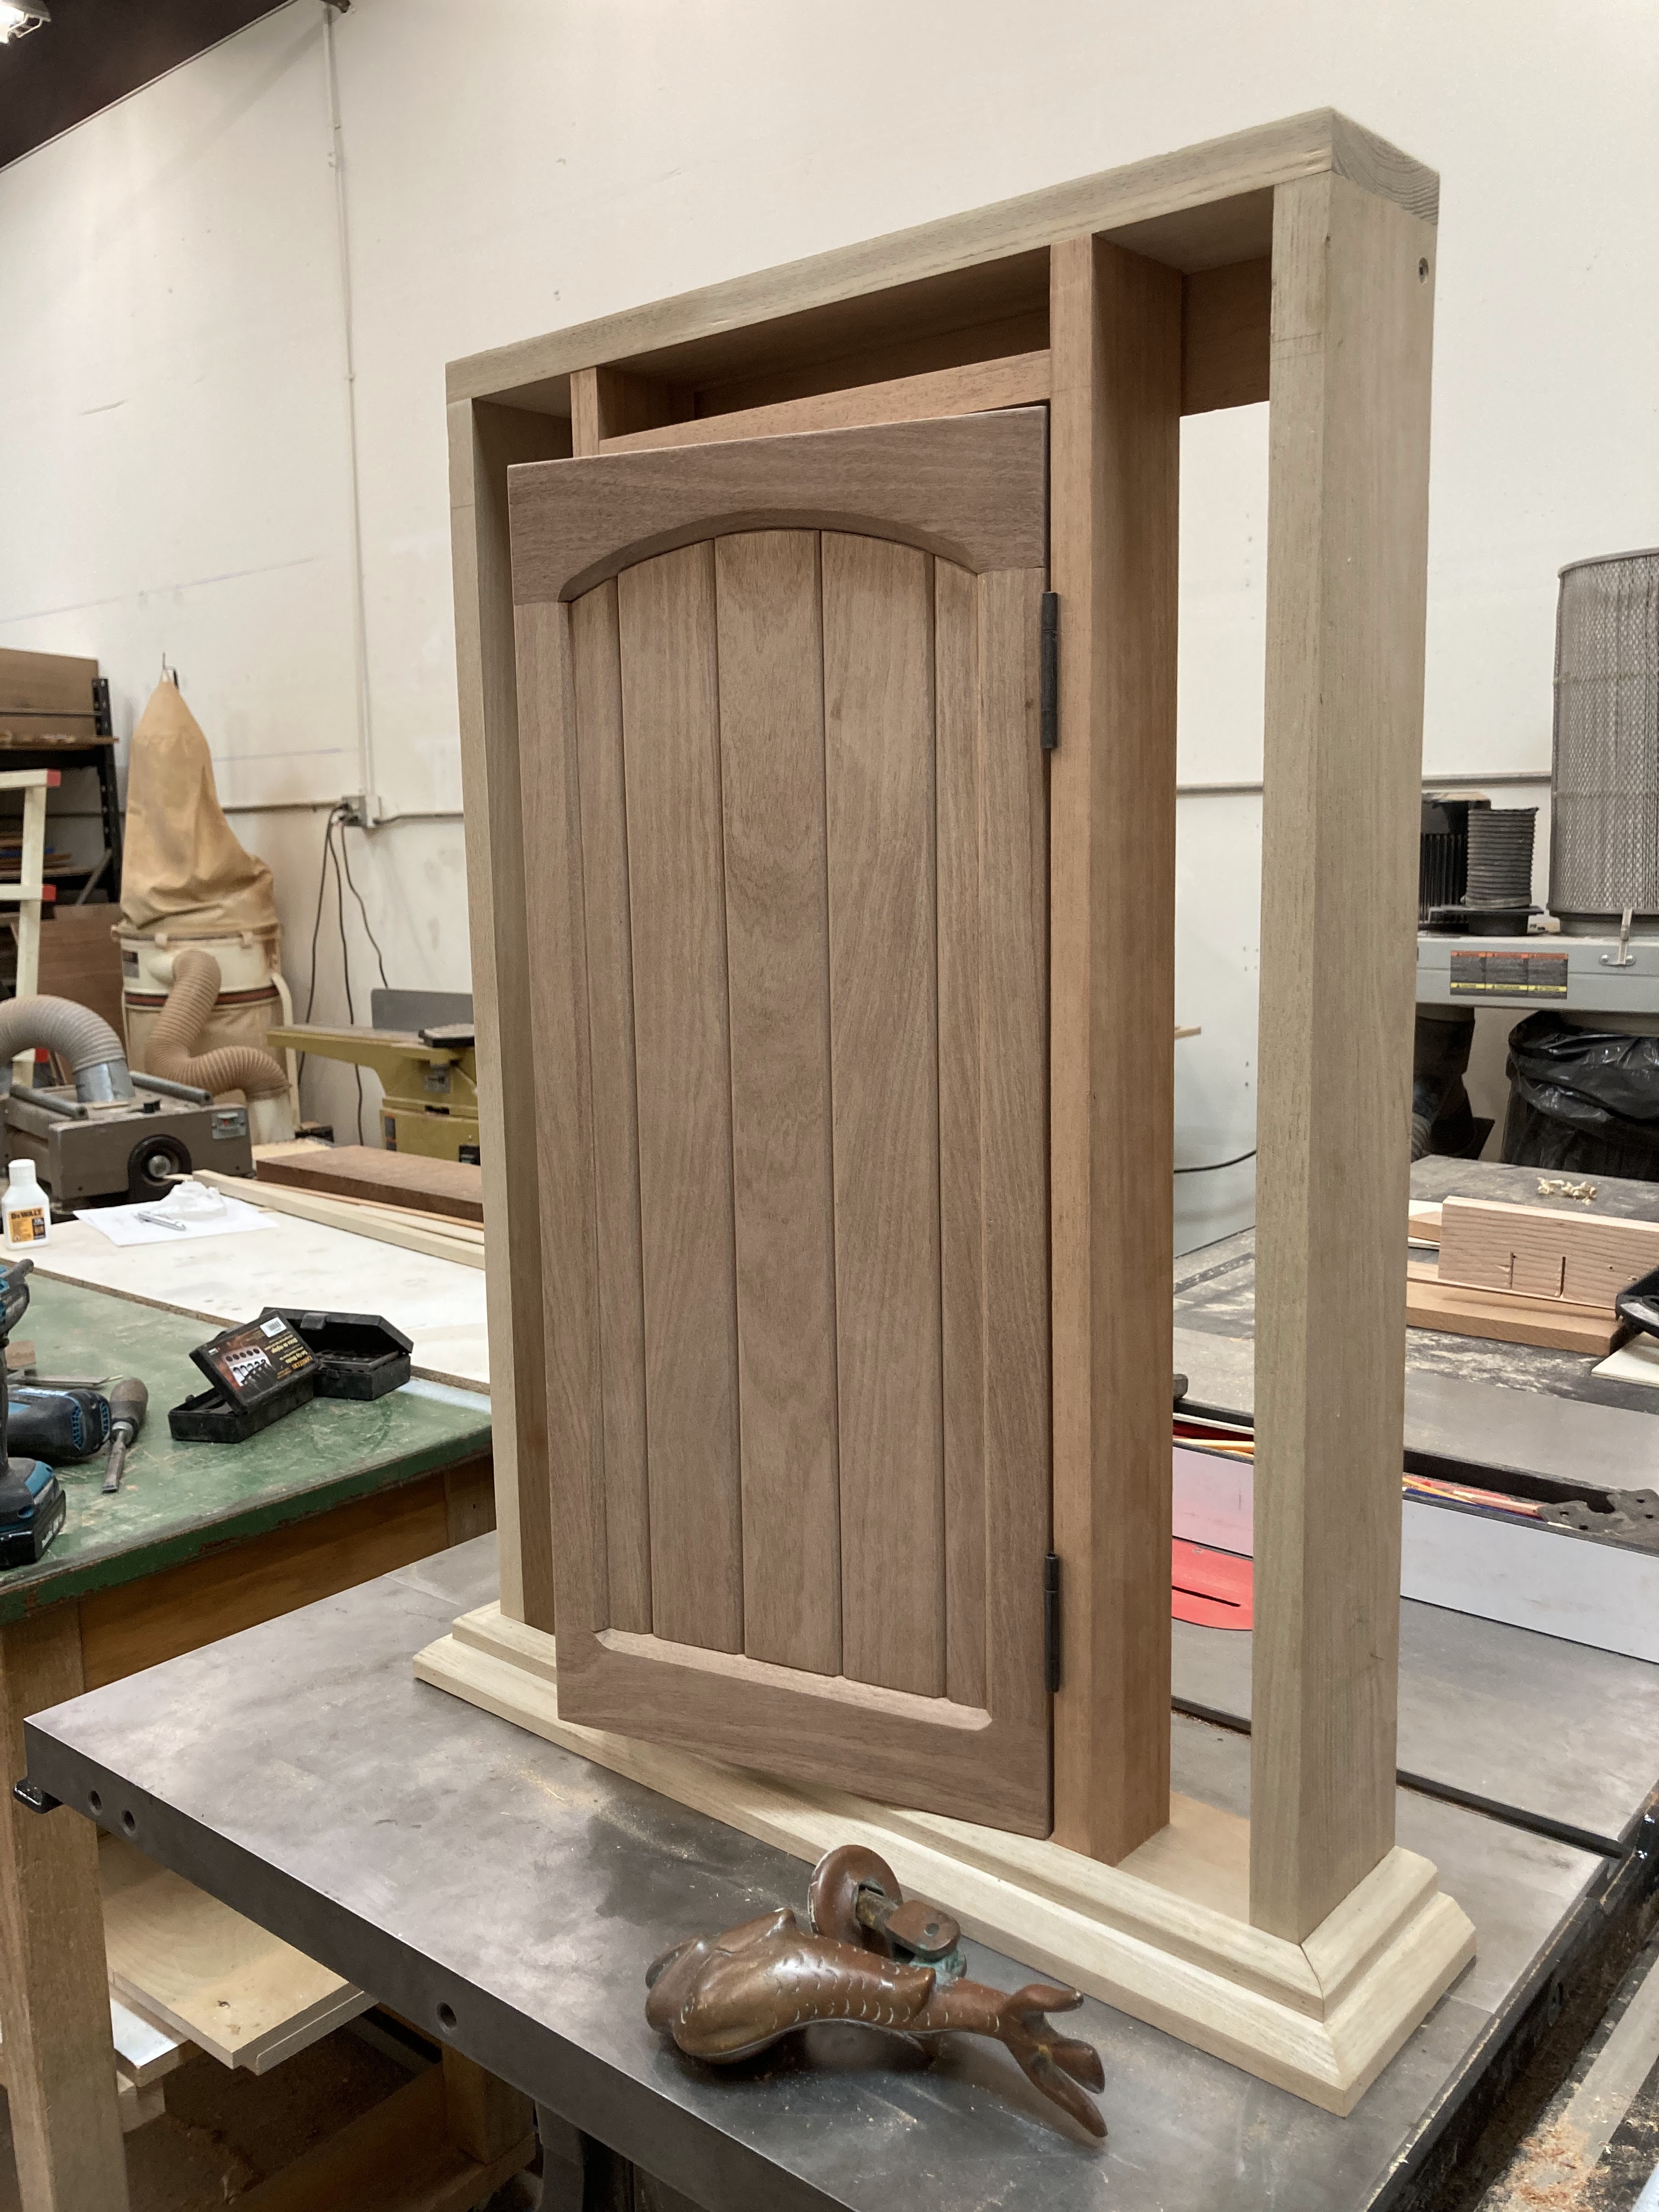
It was easy enough to make this arched door. And hang the knocker.
But I hadn't thought ahead, considering that I would need a curved jamb for the door.
So I made a plywood form, and then bent some plywood around it.
By the way, I've never used bendable plywood before, and it is a game changer. What a cool product, I'm definitely going to incorporate this into some new projects.
I wanted the jamb to be about one inch thick, so I cut four strips and QUICKLY spread the glue.
It's so warm here, glue sets up faster than you can spread it.
Once the jamb was trimmed to size, I could visualize the door hanging inside of it.
Honestly, this is the fun part of building - I call it building on the fly.
You get to play around with shapes, different dimensions, overhangs, it's just perfect when your client lets you make all of the artistic decisions.
This project was a little bit different than the last one, I had some size constraints to work within, so the framework around it is a little smaller than I wanted.
The last door jam project I worked on utilized MilkPaint, but I wanted this one to be different. More wood!
So I decided to make miniature cedar shingles , otherwise called shakes. Now there are a ton of doll houses out there that use shakes, but I couldn't really find any info about making them. But - they're really nothing more than small shims, and I've made buttloads of those.
So I trimmed some boards to the rough size I needed the shakes, and did a little experimenting.
The miter gauge was set to 2° and I cut a shim, flipping the board over each time I made a cut.
The first sample was a bit too thick, so I reset the miter gauge and cut one again. Better!
The trick for mass-producing shims is pretty slick.
Just set a stop and flip the board over for each cut.
The area that I needed to apply shakes to was about 17 inches long, and I laid out a line of shims to test my spacing.
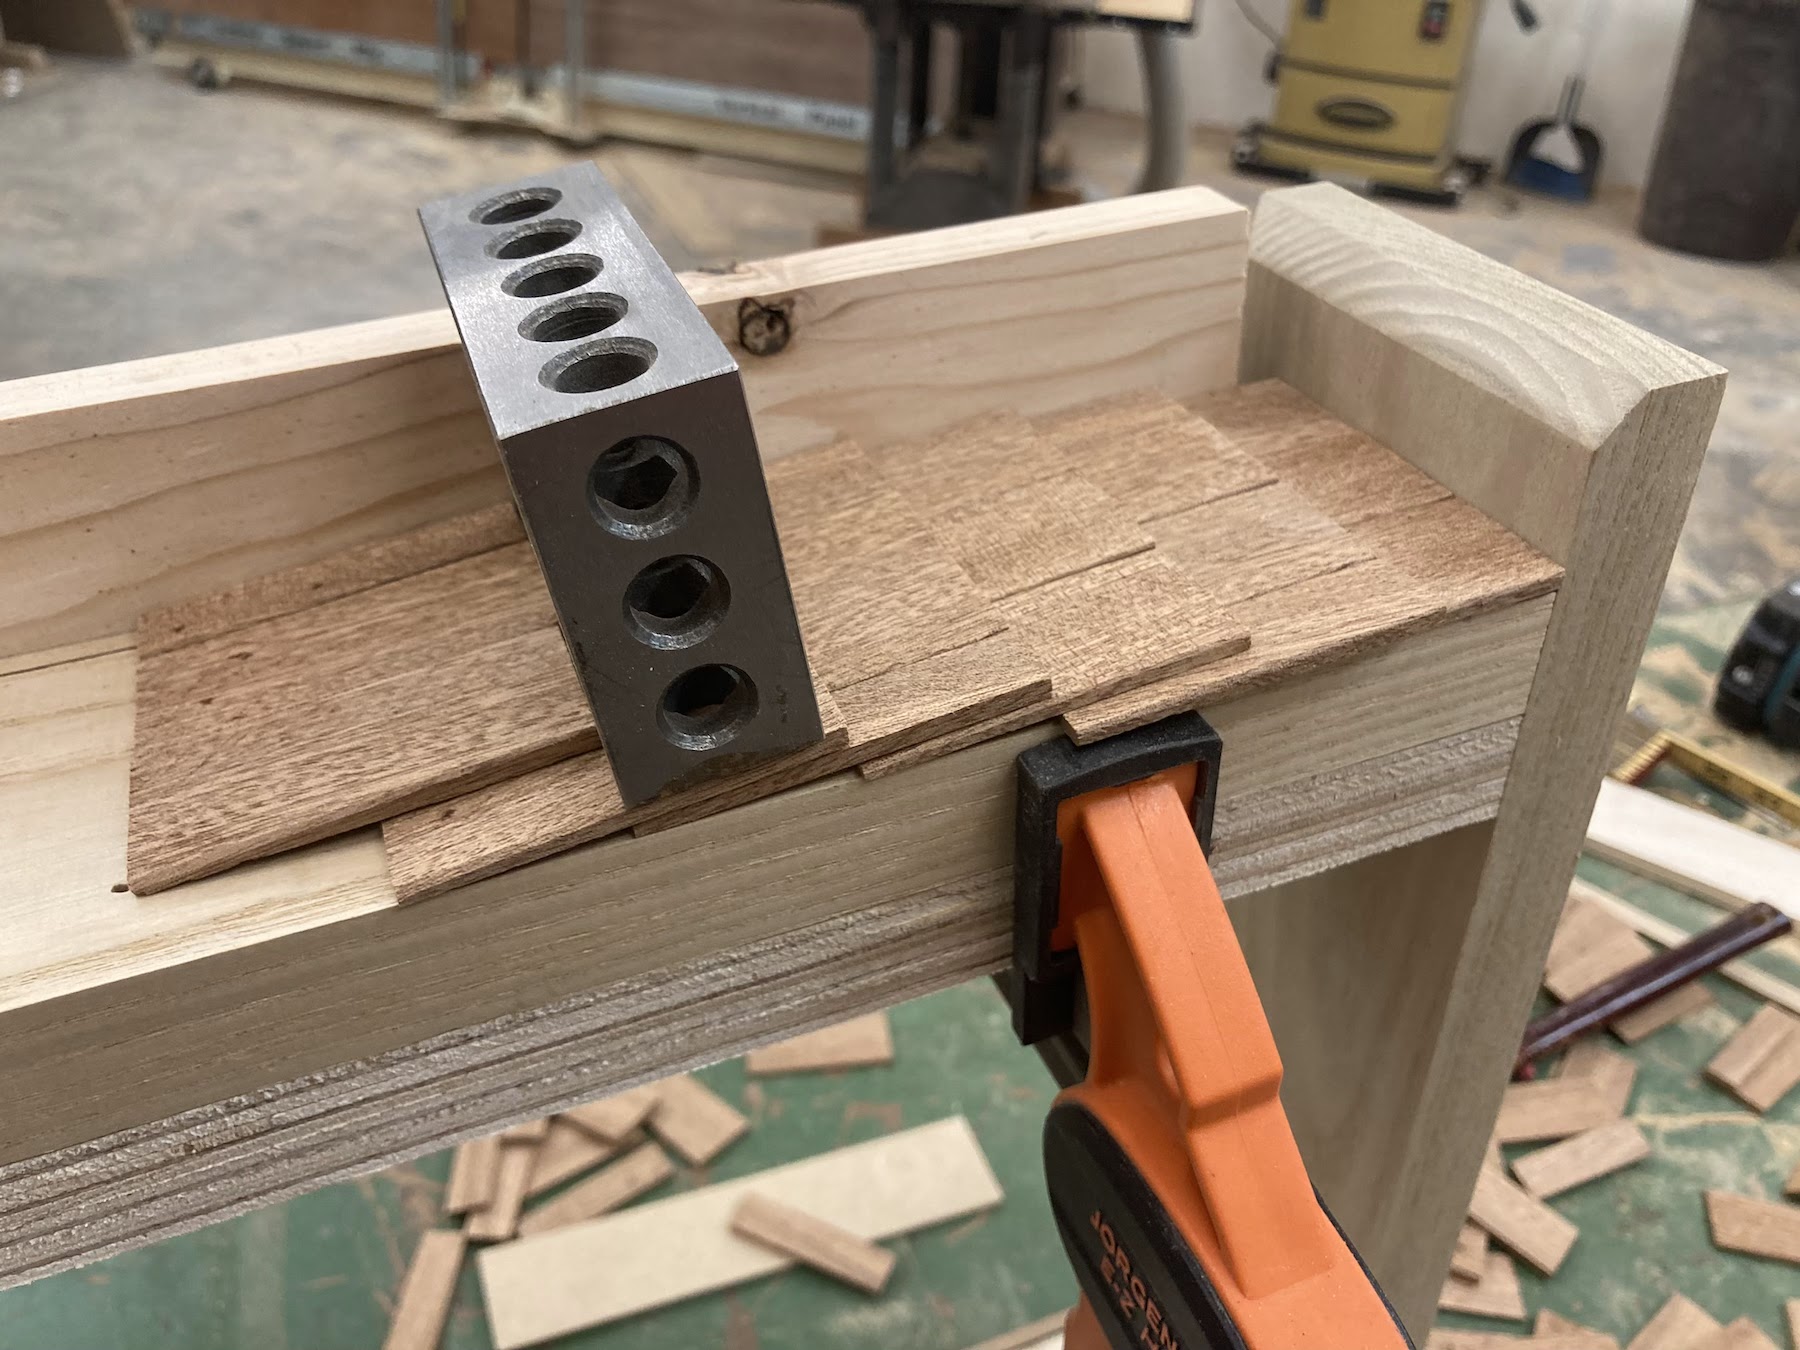
Once I figured it out, I started applying them. Using the 1-2-3 Block made quick work of it, and I had one side done in no time. The second side went much easier. And a block plane helped me trim a few of the pieces that overhung too far.
I’m not the only woodworker out there who makes a disaster out of their workspace, right? My shop was completely trashed - it took me longer to clean up than it did to shingle one of the sides.
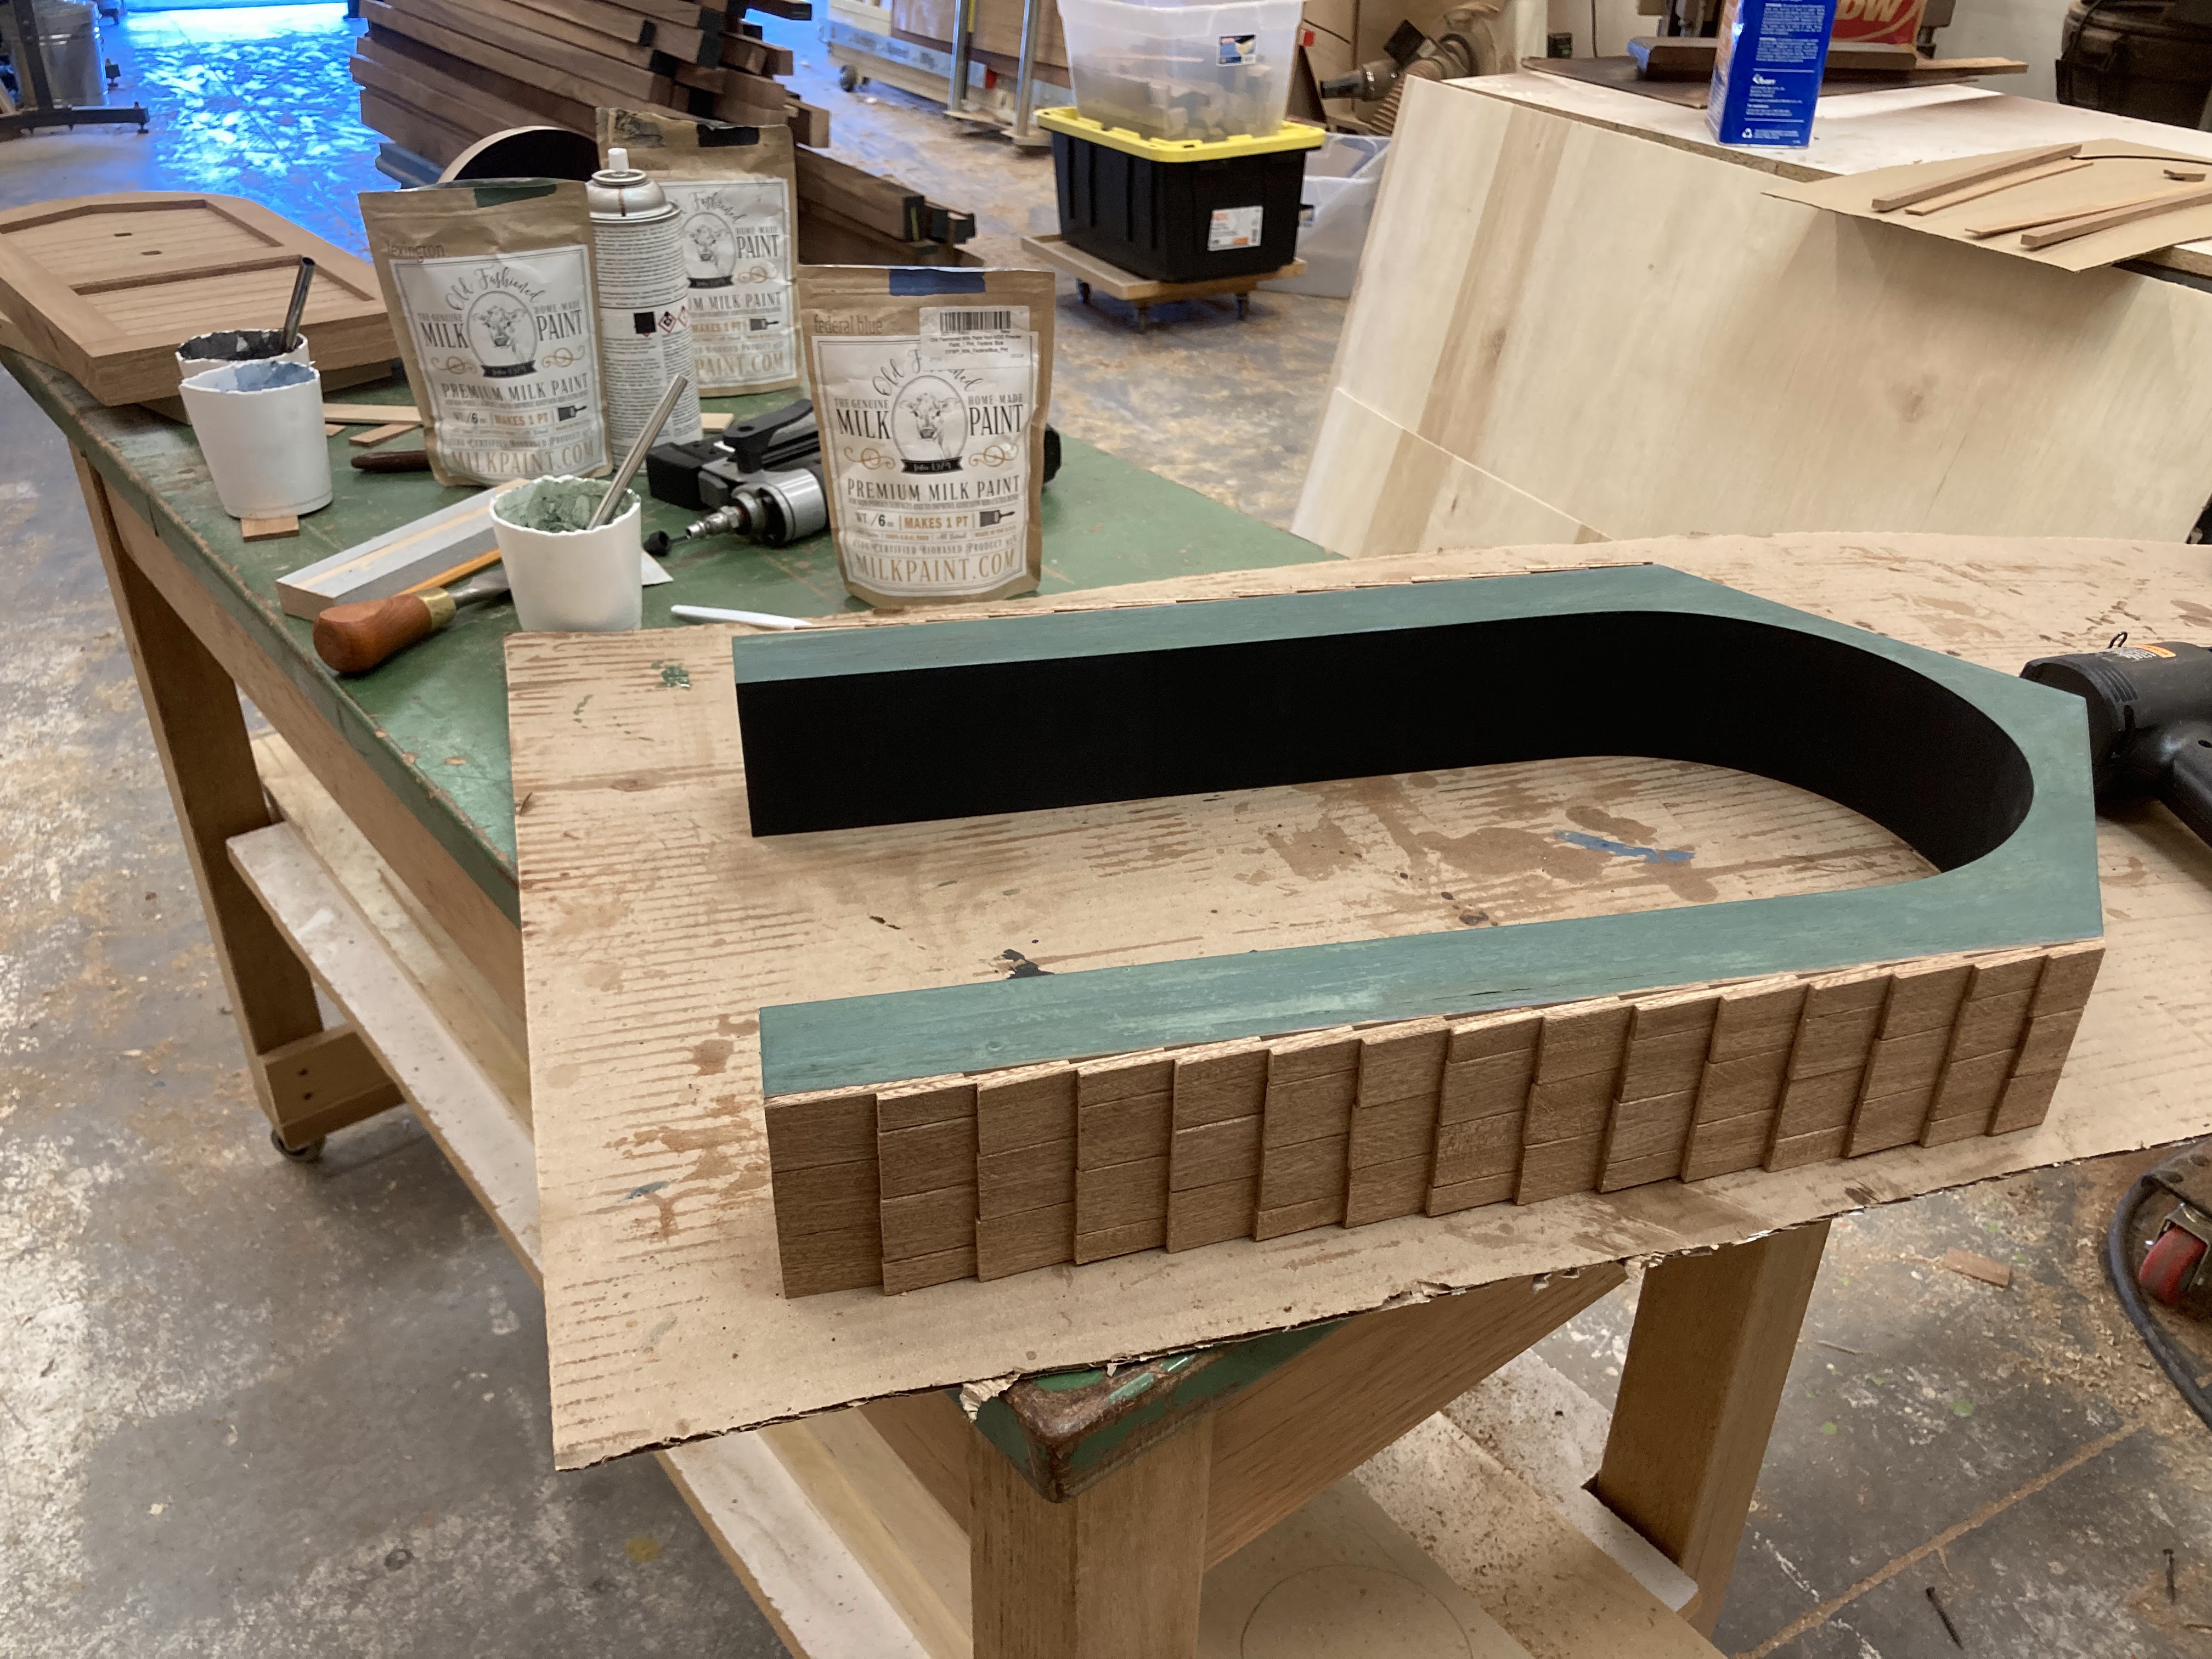
A little milk paint added some much needed color,
I needed to start thinking about the casing around the door. The diameter was around 9 1/4", so I cut the curved trim with my laser - an easy solution for cutting a perfect semi-circle.
BTW, my customer asked me to incorporate some special dates and initials into one of these door projects. So I lasered the dates into three of the shingles.
It looks like someone climbed onto the roof and pulled out a pocketknife!
Just a few details left - the door had a tendency to swing open just a bit. So I added a magnetic catch. And true to this architecture, I added a keystone on the arch. Little details like this are ridiculously fun to do.
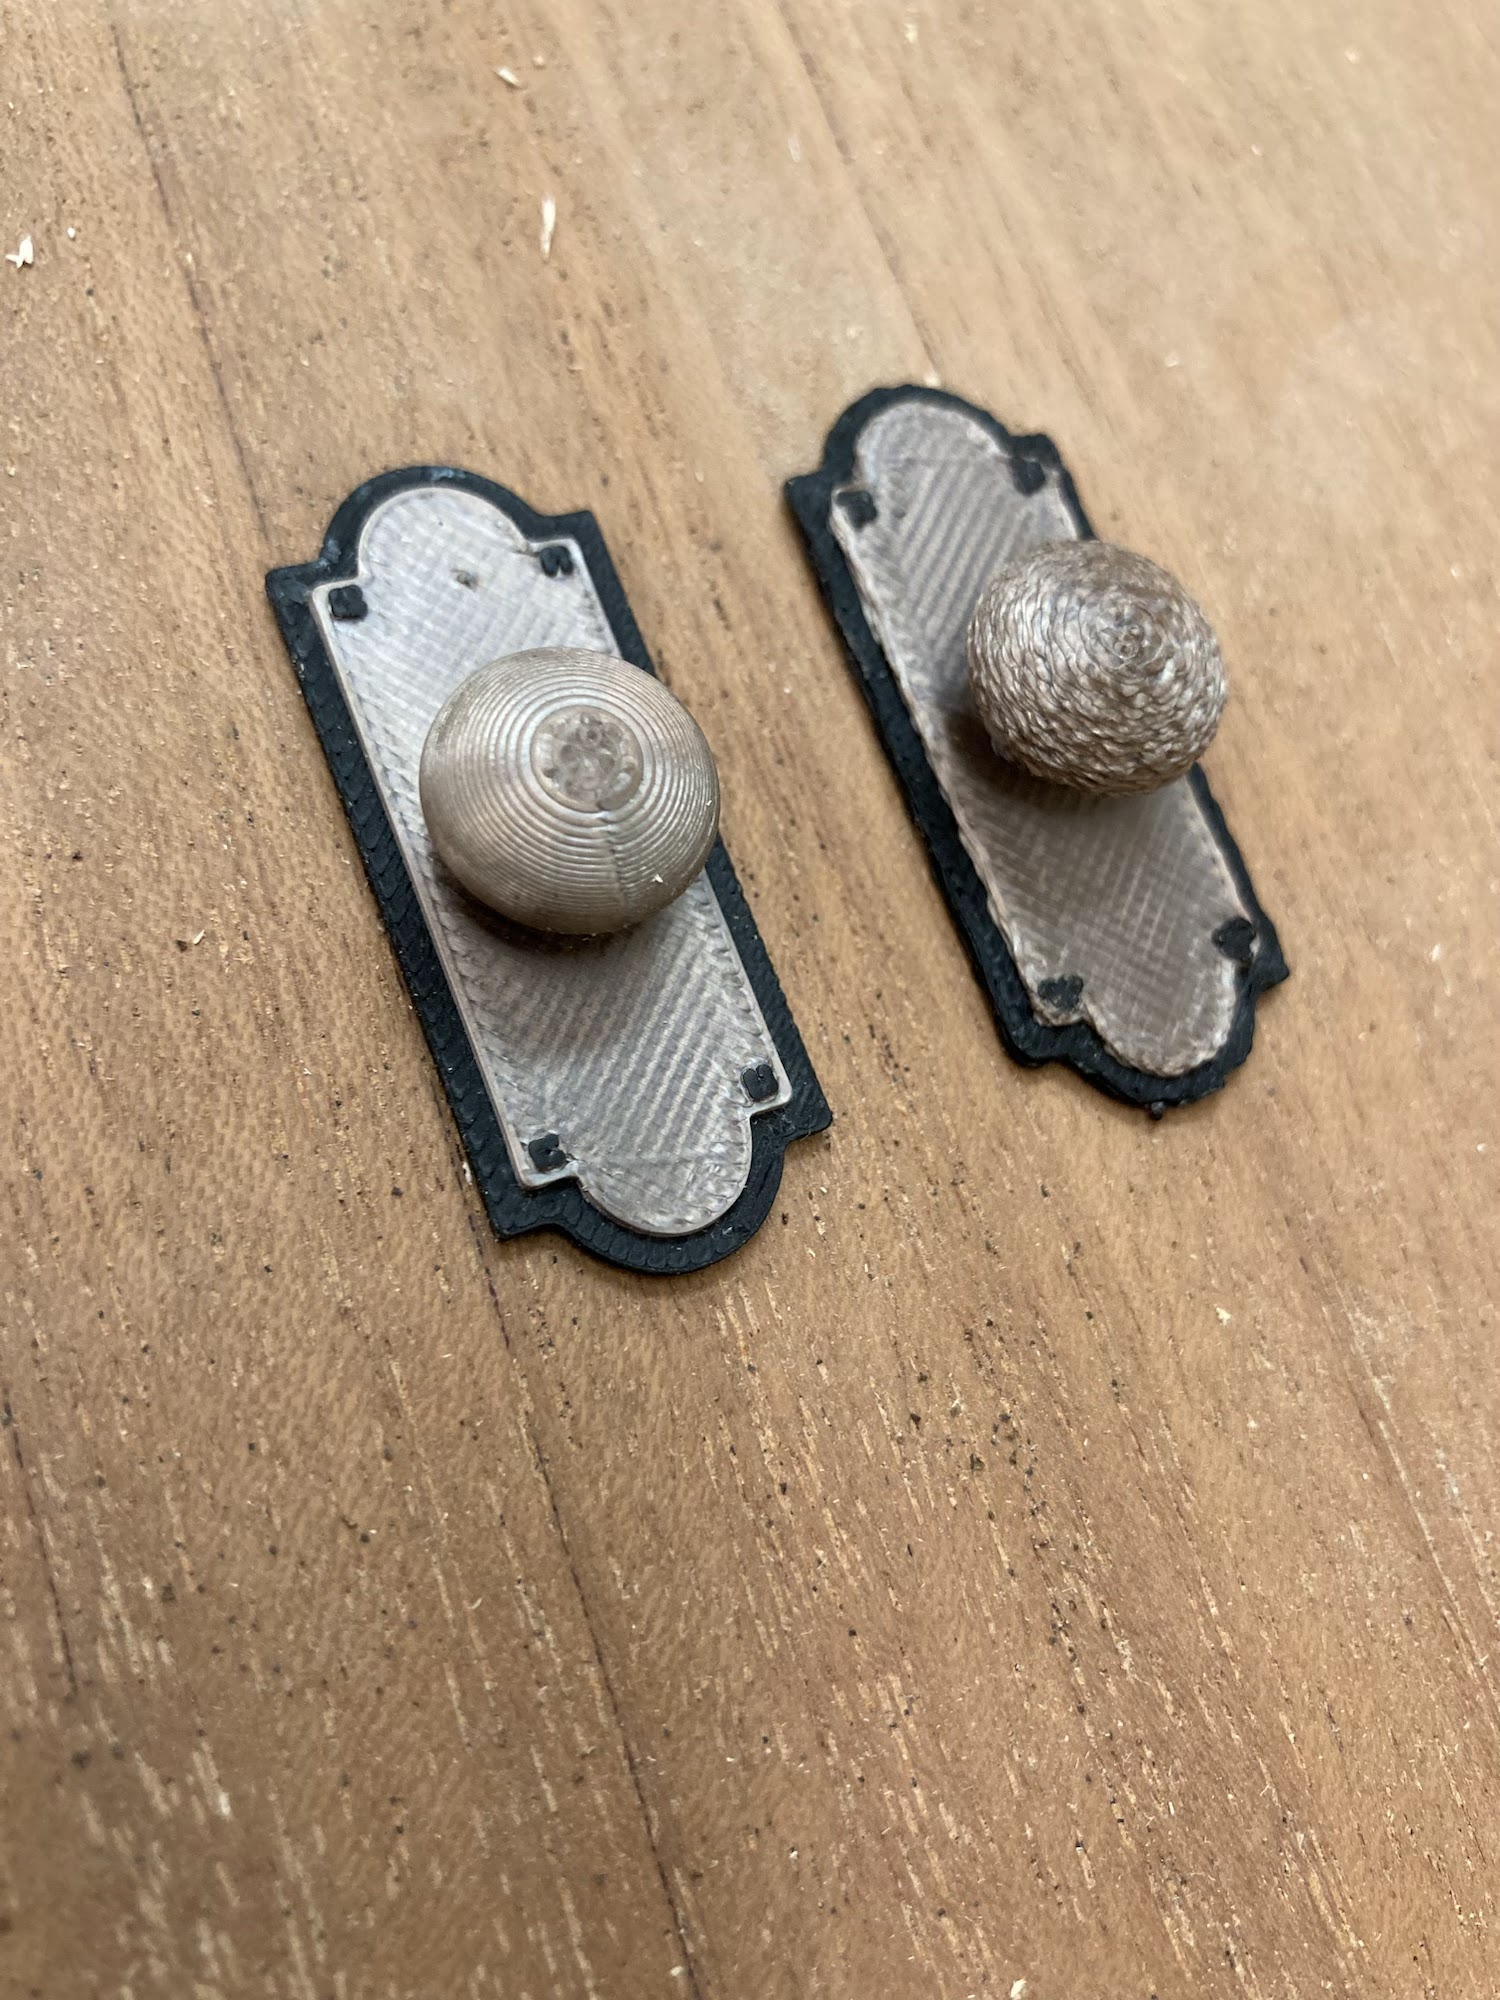
But here's the best - my buddy Rick is one of the geekiest makers that I know, and I sent him a picture of this doorknob, to see if he could print a mini version of it on his 3D printer. Or something close.
These were the first two prototypes.
Note to self: put something in the picture for scale...

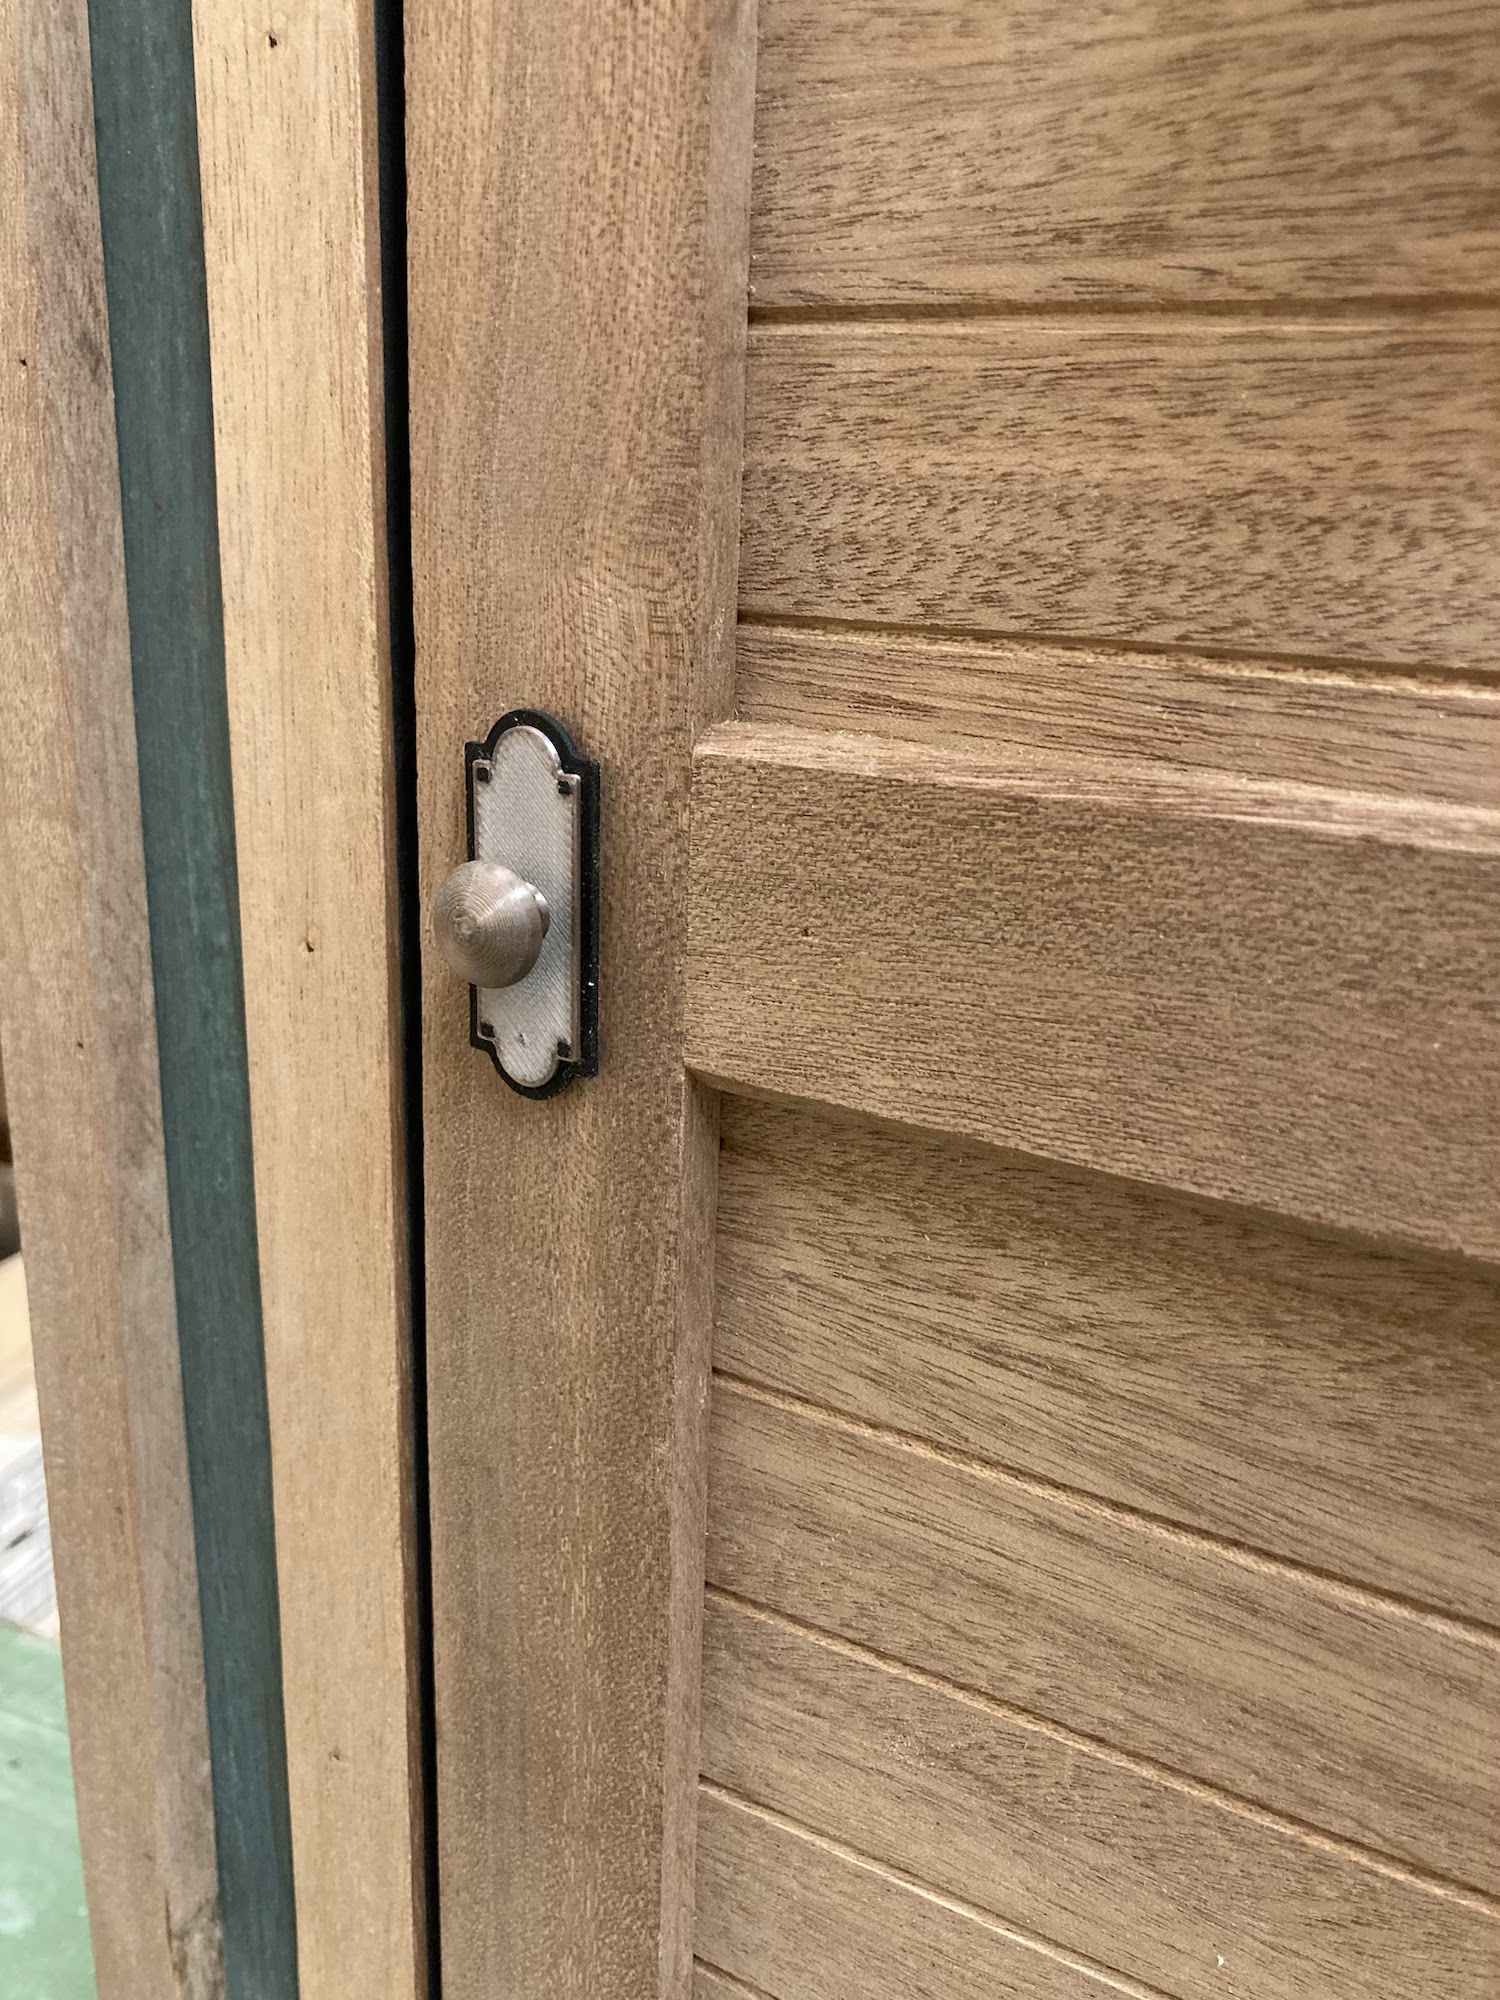
Once he worked out the kinks, he printed them in a perfectly colored filament.
Like I said - ridiculous!
And just like that, another door project is done!
I have one last door to make, and it's the one I've been most looking forward to building.
Stay tuned!