When I was contacted recently about making something from a “Chinese Blueprint”, I naively thought I’be be working with building plans in Chinese.
Like I said - naive…
I’d never heard of that saying, but my usual answer when someone asks me to build something is - “Sure! I can build that!” and then figure it out later.
My challenge? Make two grips similar to the one on this gun.

Adding to the further challenge, instead of making these gun grips from a squared up piece of wood, I was given a couple of recycled rifle stocks, the value being in the type of wood - Chu, which (again) I’d never heard of… have you?


There were some tricky parts to this piece - a fairly long, diagonal holes had to be drilled through the handle, and a nut had to embedded in the bottom. Again - tricky, as drilling an angled hole can often prove a challenge.

The easiest way to figure out the angle was to put something through the existing hole, and determine the angle. I slid a long drill bit into it, and drew its path on my workbench.

Using a protractor, it was easy to figure out the angle, and with geometry as my friend, I could lay out the piece fairly easily.

Using a protractor, it was easy to figure out the angle, and with geometry as my friend, I could lay out the piece fairly easily.

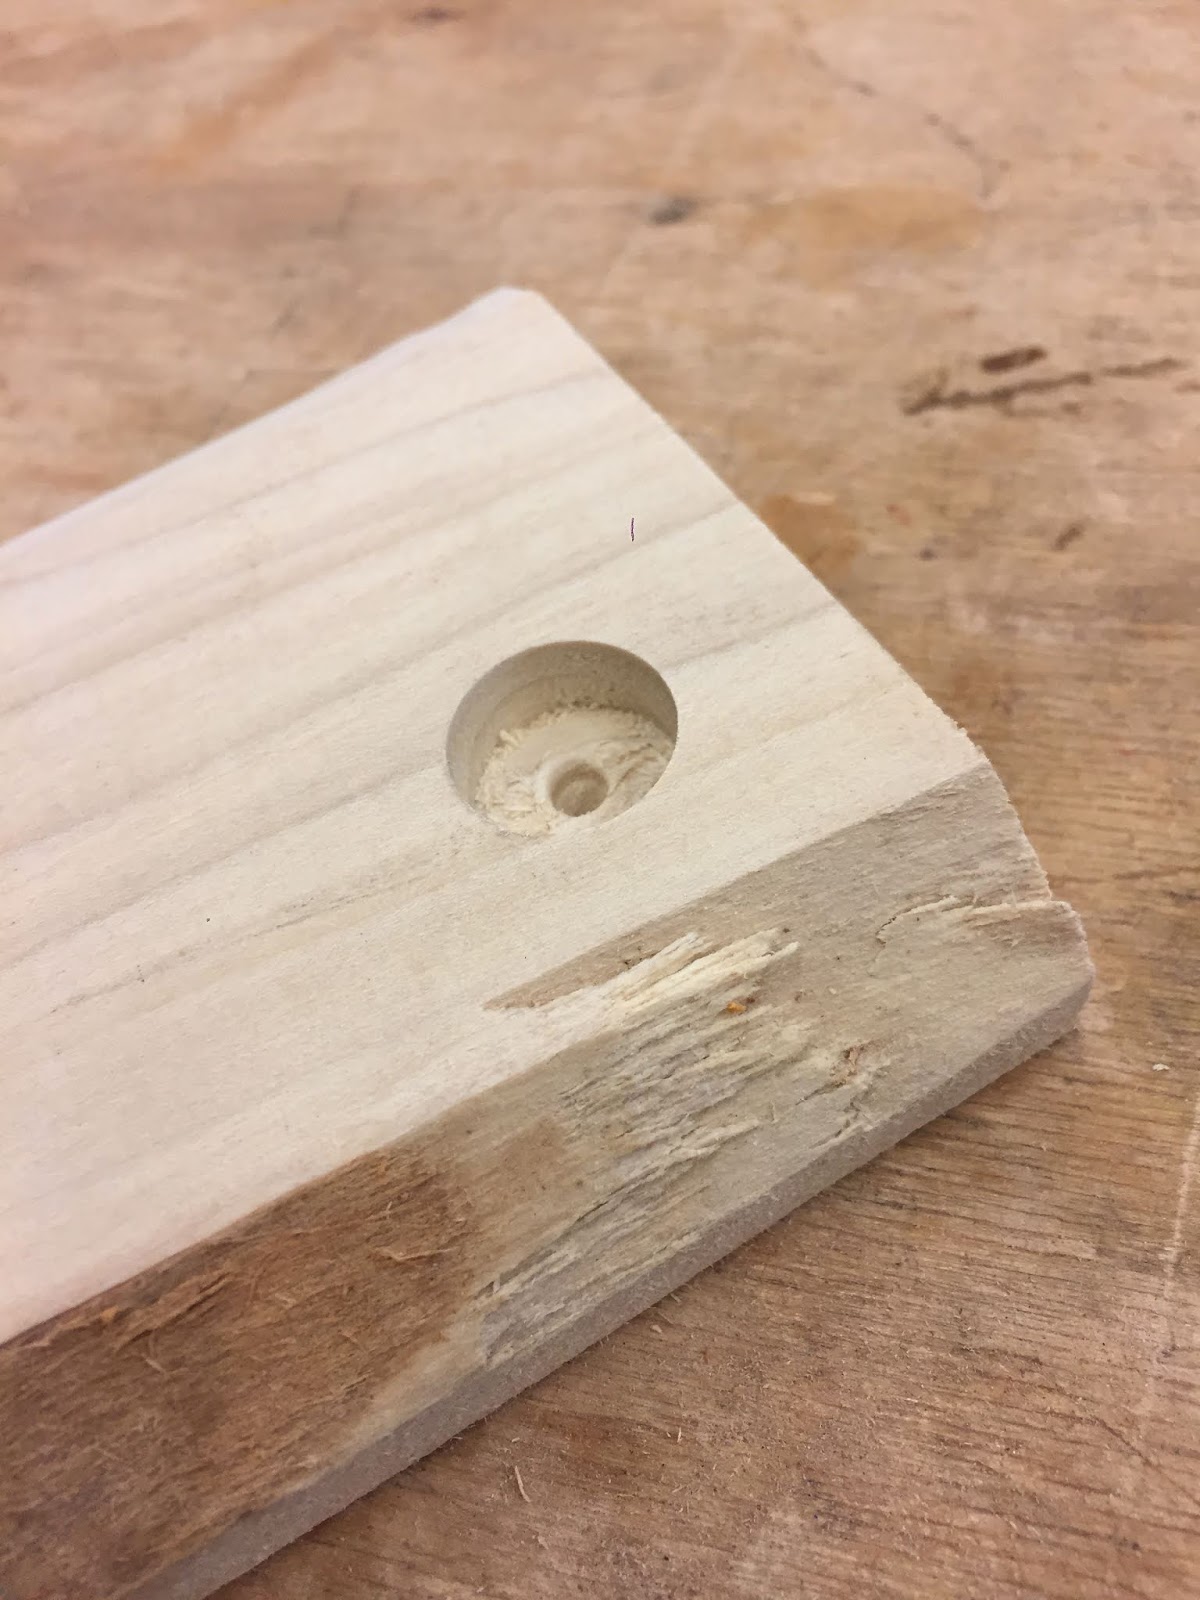
A bit of measuring and testing gave me the size of hole that would hold the nut in place.
There were two nuts in the existing rifle stocks, so I cut them out, and then popped the wood apart with a chisel. These seemed proprietary, so my plan was to re-use these nuts on the new grips.


They fit perfectly in this scrap of poplar that I tested.

When I work with material that is valuable or irreplaceable, I often make the part in pine, first, to ensure I don't make any mistakes. So here's the pine sample, with some layout lines and sample holes.


And here's the (somewhat) finished Pine grip. I was pretty satisfied that I had conquered the details, and was ready to start cutting the Chu.

Let the lay-out begin!
Adding to the challenge, these rifle stocks were oval shaped,

with no flat reference surfaces.

The parts had to be cut from the thickest part of the wood,

and then I had to square up the blanks. That was a little tricky; cutting rounded pieces on the tablesaw can result in some unwanted kickback, and I didn't feel like eating wood that afternoon.
Let's just say I made some severely unsafe cuts on the saw, ones that I would never recommend to anyone else. That was probably the hardest part; cutting small pieces on the saw.

After that tablesaw insanity, drilling the holes and cutting the shapes seemed easy. I drilled the holes while the blocks were still square.
First the bigger hole for the nut,

and then the smaller hole all the way through.

I'm glad I did it in a block of scrap, first!

After drilling everything, I cut the angles on the blocks, thus creating the overall top and bottom shape. and then traced the grips.


You have no idea how stressful making something like this can be, when there is absolutely no room for error!

But luckily, the worst was over - some routing and shaping and for the most part, these grips were done.

All in all, this was a very challenging and fun project, and for the record, I've worked with Butternut quite a bit, and this wood reminded me of Butternut in its color, density, workability and grain.

It wouldn't surprise me to learn that Butternut and Chu are in the same family... any gun stock makers could probably get away with that substitution without a hitch.
No comments:
Post a Comment