Because MilkPaint is water-based, it raises the grain when when applied to wood. I spent a good hour or so with a ScotchBright pad, knocking the grain back down and sanding out the color of the MilkPaint.
Once it was sanded, Watco Danish Oil was applied. Oil and MilkPaint are a match made in heaven - like peanut butter and chocolate, or lemonade and Absolut.

The oil "sets" the MilkPaint, and brings out its vibrancy. I made sure to stay away from the tenons on each end, which will be glued. The oil would keep the joint from gluing up tightly, sort of the way you might oil a pan to keep something from sticking to it.

I sanded the dogs just a bit with some 600 grit sandpaper, to bring out the wood grain,

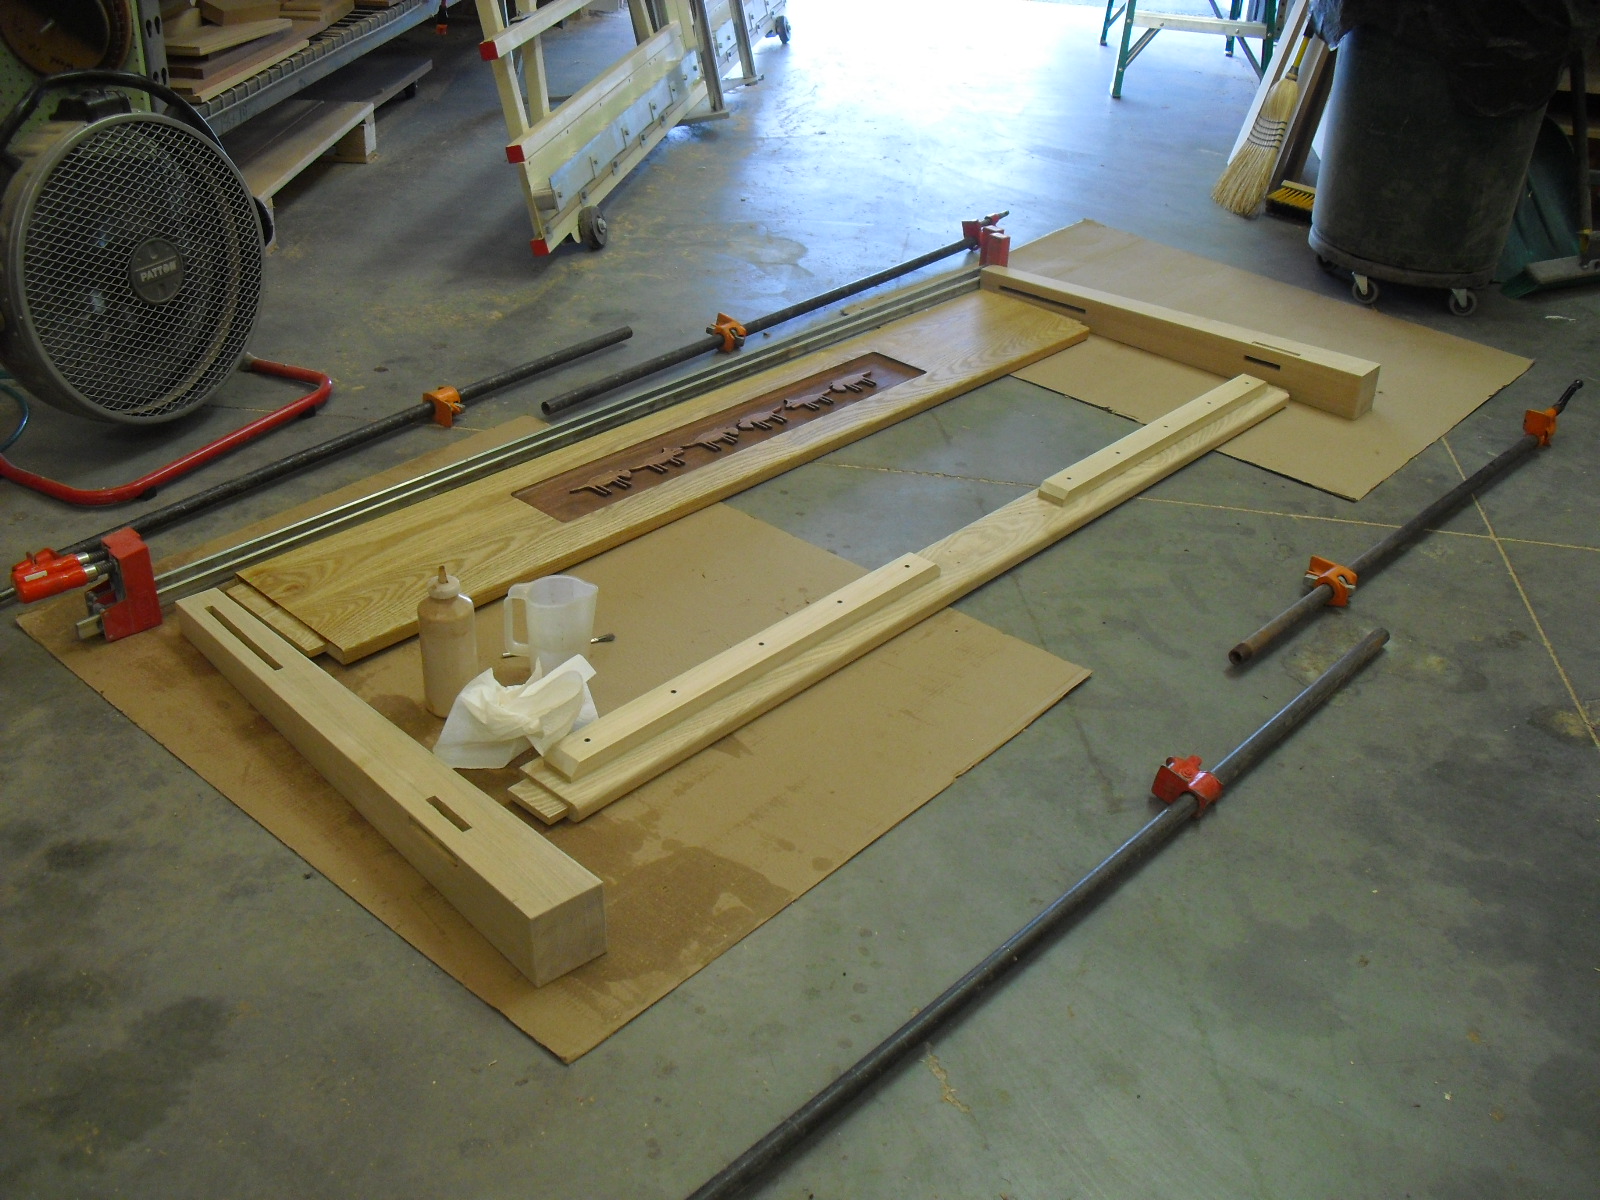
I sure as hell can't afford these, so I borrowed some huge Bessey clamps from my buddy a few doors down and laid everything out for assembly.
By now, there was a little curiosity about the headboard - or maybe they're just taking bets on when I'll finally get this thing done!
A crowd was assembling as I spead the glue and put everything together.

I have to say, it was looking really sweet as I tightened the clamps.

The celebratory beverages were ready to be cracked open.

It feels funny when you're working in front of an audience. Everyone is usually offering suggestions, or lending a hand. These two were screwing around the entire time, making me laugh. It's a wonder the piece went together square, and with tight joints!

Danny was so inspired by my carving that he grabbed a chisel and started in on his own masterpiece.

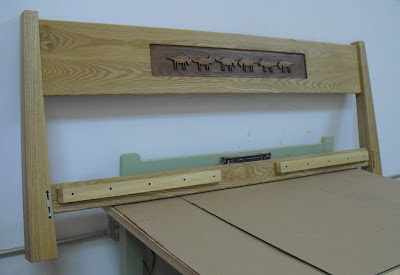
The next morning, the headboard was unclamped and received another coat of oil.

The next pictures you see will be the bed assembled - by now you're probably sick of hearing about this, and frankly, I'm ready to move on to something new.
1 comment:
The end result looks really nice! Makes it all worthwhile doesn't it?
Post a Comment