Maybe I'm turning into an old geezer, but every time someone talks to me about the "newest and greatest" thing in woodworking gear - my eyes glaze over. People bring up everything under the sun - helical cutters heads, router lifts, silicone glue brushes, Micro-Jig push blocks, blah, blah, blah .... what ever happened to just doing woodworking? Without wasting your money?
So when I need a compass attachment for my router - I pull out my very fancy circle cutting jig (eye roll) - a piece of plywood with a router base attached to it. I've cut circles with this set-up for 30 years. In fact, that piece of plywood might be the original one - a thirty year old piece of plywood.

I'm getting ready to make the jig for curving the seat backs, and I need a set of rails for the it. The radius for these rails is about 45"

so I set up the jig to cut these rails on a low workbench at the shop.


When finished, I'll have two matching sets of rails -
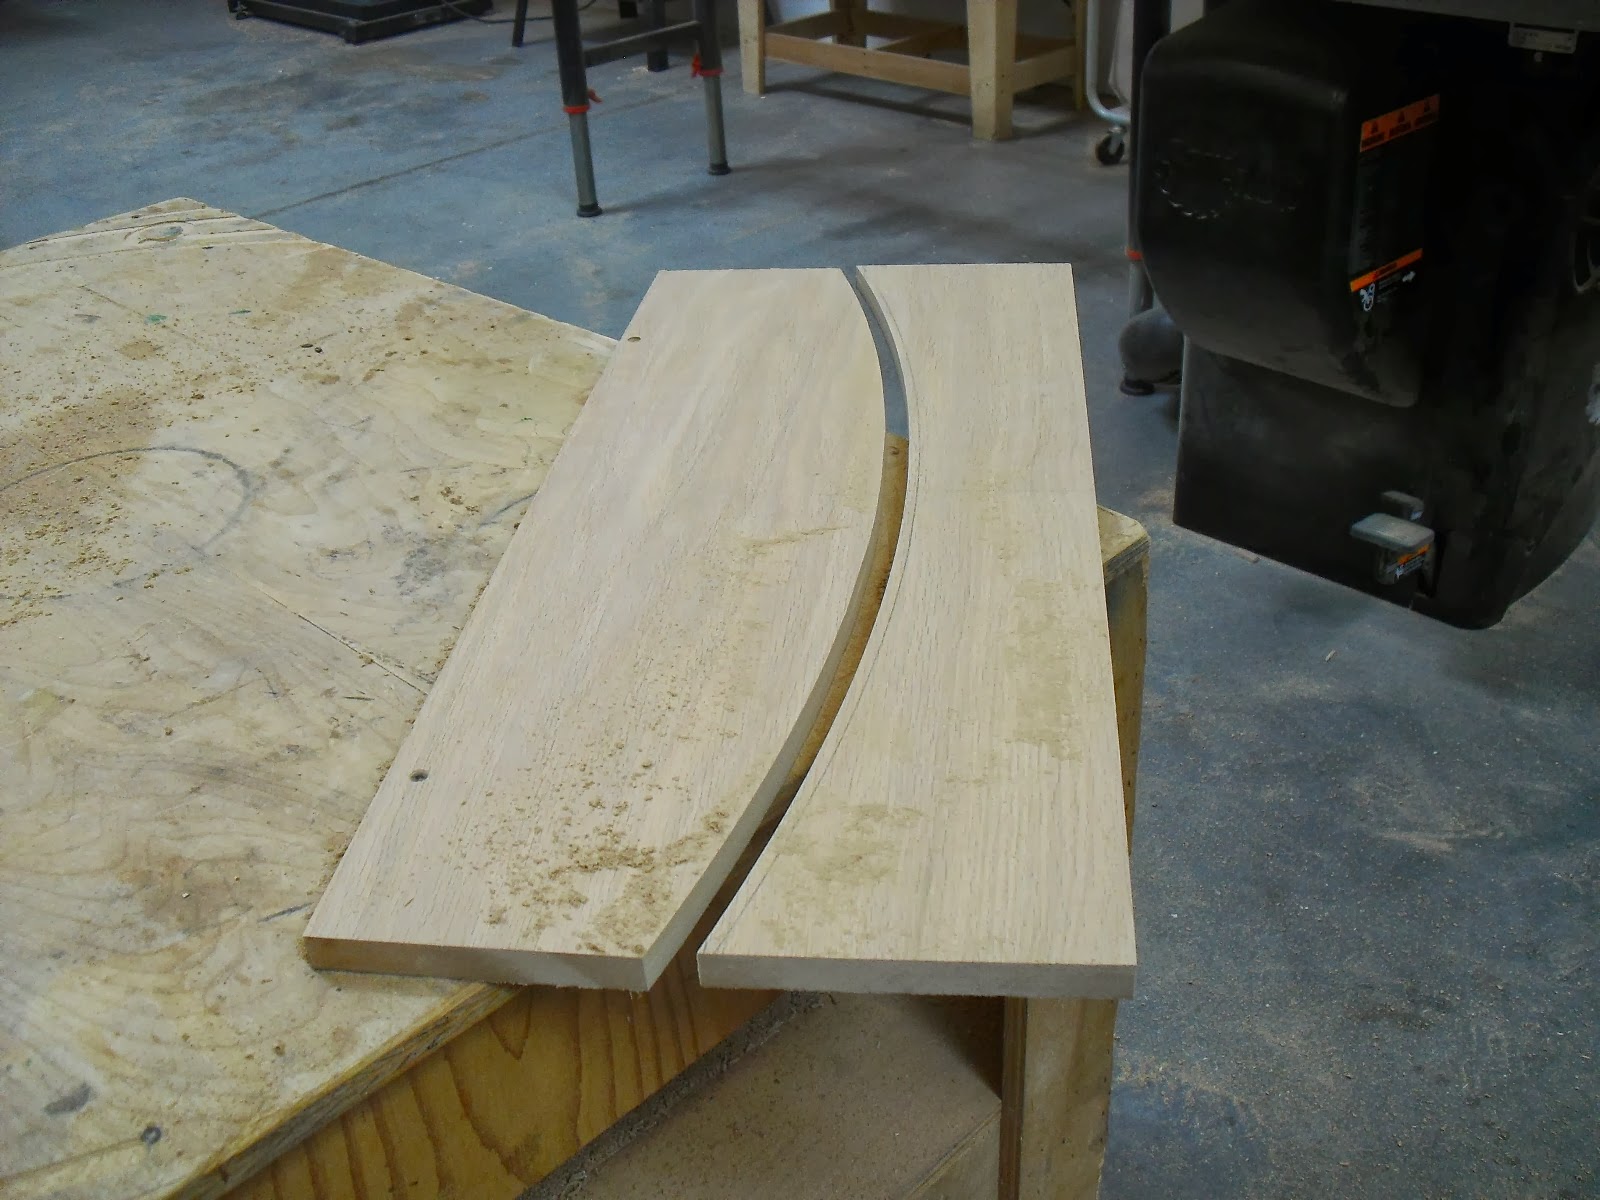
both the convex and the concave sides.

Here's the seat back that I want to curve - and yes, I could use a bandsaw to do this. But I don't love the bandsaw for work like this - the blade can potentially drift, and I like things exact.

Many years ago, I saw Tage Frid demonstrate how to use a jig like this for machining curves - and I had to wrack my brain to remember how he put the jig together.

There wasn't anything available on the web to jog my memory, so I pulled out a few of his old books, hoping I would find something. No luck.
So I sat down with my sketchbook and tried to come up with something that would work, based on what I'd seen him do 25 years ago... and I actually was able to remember most of it.
That's pretty good, coming from someone who can barely remember what she wore yesterday, or had for dinner two nights ago.
Here's the jig with the seat back held firmly in the center.

The router has runners attached to the bottom of it, to ride along those side rails.

And here's how it worked!
After I'd cut the concave side, I switched out the rails and routed the convex side, which gave me a perfectly shaped seat back.

It's sort of a rite of passage to build the stool that Tage Frid discusses in his Furniture making books, so I built this set a long time ago.

Using this jig would have come in very handy, but instead, I shaped these seats by hand. The two dining chairs are nearly complete - I need to do some shaping and routing, but they should be ready to assemble in no time!
3 comments:
Totally AWESOME jig!!! Now I have to make something to use it. Who knows... Might make yet another special stool or chair after I manage to finish my current cabinet project.
I purchased a set of Tage Frid books at the last woodworking show in Vegas. They were almost giving them away, and couldn't afford not to buy them. My favorite one is the third book on furniture making. You can actually "see" how all the theory from the first two books is synthesized beautifully into his creations.
If your readers don't yet have these books, I recommend that they get 'em. Thanks for turning me on to Tage Frid - and to teach me how to pronounce his name! Lol!
I just came across your video absolutely brilliant love it
I just came across your video absolutely brilliant love it
Post a Comment