A forum for discussing woodworking, specifically furniture making. Feel free to post comments and questions about your current projects, tools, studio set-up, or whatever is on your mind.
This blog is moderated by Jamie Yocono, owner of Wood It Is! Custom Cabinetry in Las Vegas, NV. Her website is wooditis.com. If you need to speak to an actual human... call 702-672-8981!
Now...let's talk wood!
Monday, July 12, 2010
This weekend was all about maintenance and cleaning. Classes start up again tonight, and the woodshop was a mess. Although it's not very glamorous, someone has to clean the bathroom and vacuum out the tablesaw cabinet.
And like almost every woodworker I know, I have more than a few projects sitting around, in various stages of completion. One was a base for one of my filing cabinet benches; the pieces had been cut six months ago, and - truth is - I just got tired of seeing them sitting on a shelf, collecting dust.
This was a perfect time to pull out the Domino and get the base assembled.
In the past, I've used mortise and tenons. Machining those would have taken me about and hour and a half.
With the Domino - maybe fifteen minutes, and that includes figuring out the metric equivalent to inches. (Note to self: make a sample board of the various height settings on the Domino, so I don't have to struggle with this every time.)
As my buddy Phil would say - Bing, Bang, Boom - and it's ready to assemble.
Someone asked me recently why wood became my material of choice. Not metal, not marble, not paint, not fabric; why wood?
I decided to explore the “why” more closely.
This requires a trip back in time. When I was in college I worked in a variety of media: casting bronze via the lost wax method; centrifugal casting for jewelry making; glass blowing; clay; marble carving. But I kept coming back to wood.
Sometimes we’re lucky enough to find a niche in life when we’re young. Just like falling in love, you just know when you experience it. For me, that passion was wood.
Niche found. Love acknowledged. But why??
All artists and craftspeople bring a unique perspective to their work, colored by personal interests and psychologies. My own needs demand that I work with materials that complement me personally. For me, wood combines three qualities that no other material can match: spontaneity, forgiveness and sensuality. Other materials might possess any one of these, but the combination is uniquely captured in wood. Again, for me, these characteristics are essential to my creative voice.
First, spontaneity.
Since no two boards are the same, the grain becomes the voice of my work. I’ve blogged before about James Krenov and his use of grain to enhance his pieces. Once I understood this concept, my work was never the same. Wood, on any given day, gives you a different message. Exploring patterns with the grain allows me to create a little magic within each piece.
Even if that is corny, it’s still true.
But perhaps more important to me is wood’s forgiveness. When building a piece, sometimes you come across issues (or defects) that need to be addressed immediately: a small knot, a change in the grain, a mineral streak or a line of sapwood. It’s possible to eliminate or correct those defects along the way, providing two benefits for me - a mental challenge and, in the end, a flawless piece.
Yes, other media may approach this quality, but never to the extent of wood. When working with clay, you can spend hours on a piece only to pull it out of the kiln after its final firing and find any number of irreparable things: a crack, a glaze defect, a warping, just to name a few. These pieces, sadly, end up in a scrap pile. I’ve lost some fabulous ceramic pieces because of these problems.
But I’ve never lost a piece of furniture due to circumstances beyond my control. See? Forgiveness. Wood allows you to figure out the ways in which it needs to be worked so that most things remain in your control. It allows you to work with it, instead of against it, and it will reward you every time.
Finally, wood appeals to so many senses. It is warm where marble is cold. It is fragrant where fabric is bland. It is resonant where clay is silent. Running my hand over a piece of wood; looking at its chatoyance, feeling it's softness, examining its grain — these actions give infinite sensual gifts. I like to brag just a bit that my pieces are just as gorgeous when viewed from the underside as they are from the top. Try that with mass produced pieces - you'll probably be surprised at what you'll find.
So that’s why wood.
Perhaps the better question is - how could I have chosen anything else?
Did you ever get a burst of energy and just go crazy for a day? I've been nursing a sore back, but it's finally starting to feel better. So when the Fourth of July rolled around, I went a little insane.
First, I unloaded two of my kilns that I had fired a few days ago. Every potter knows it's like Christmas when you unload a kiln.
Then I started working in the garden, trimming the artichokes back
and harvesting the spaghetti squash.
I stupidly planted too many onions. Way too many, like 160 total. Who knew they'd sprout up like demons and overtake the whole garden?
Let me tell you - the only way I could get through cleaning onions for two hours was to promise myself a reward at the end.
On top of everything else, the "kids" wanted to play, despite it being really hot outside. They usually like to stay inside, where it's cool, but if I'm outside, that's where they want to be.
Stella is my "special needs" child.
I can't tell you how disgusting she gets when she plays with her favorite toy - a racquetball. I have to rinse her beard and mouth and paws with the hose before she can come back inside.
The first honeydew of the season!
I've never had luck with cukes, this one could use a little TLC. If anyone has some tips about growing these, I'd appreciate your help.
Everything is starting to sprout all over the yard.
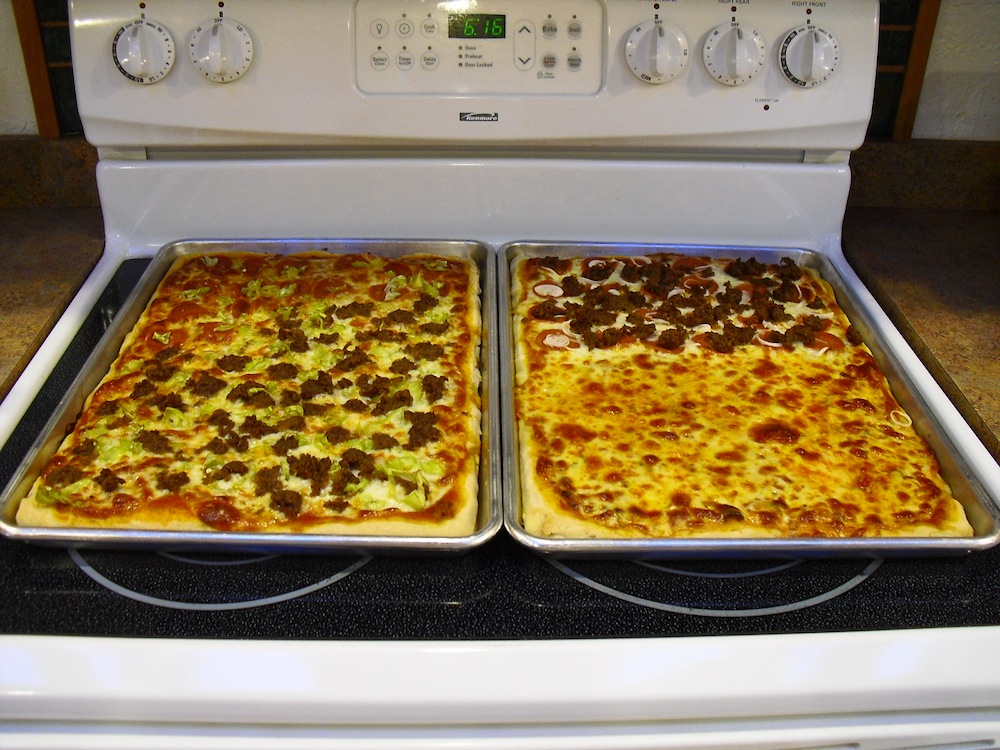
On top of everything else, I made fresh dough in the morning, let it raise all day, and baked a couple of sheet pizzas for dinner.
You can bet I slept like a baby that night!
Hope your Fourth of July weekend was as fun (and productive!) as mine was. I'll get back into the woodshop soon - I'm replacing the bearings on my drill press, so I hope to blog about that soon. And I have a nice commission in the works, so stay tuned.
At last month's Sin City Woodworker's meeting, I gave a short demo on cutting finger joints. I have a portable Dewalt Tablesaw that I keep outfitted with a stacked dado blade set, and showed the group how to set up the jig for cutting the joint.
My buddy John blogged about the demo here. John teased me a bit in a recent e-mail, as when I did the demo, I had to make a slight adjustment for the fit of the joint. The best adjustment tool I have is a small hammer, and with one whack, I was able to get a perfect fit for those corners. Or as John says - I lead a charmed life in the woodshop.
Cutting all four corners is a breeze when you've got the jig properly adjusted. You can make a box in less than three minutes. Sweet.
But this post isn't about cutting finger joints - you can find info about how to do that in many different places. Tage Frid's book on Joinery is one of the best investments you can make, if you're looking to add new joints to your woodworking arsenal.
This post is about something a little more obscure - how to machine the dado around the inside of the box, to hold the bottom in place. I shared my secret weapon with the group, and I've already heard from several members who have gone on to purchase it.
When making a box with mitered corners, you can simply run your dados from end to end on the box sides. The dado will never show, so it's simple. But with finger joints, you have to machine stopped dados, and since you're working with short end grain, it's quite easy to blow out the ends of the grain. That's where this slot cutting bit comes in - from Lee Valley.
It's available in a few different configurations, but I just use the simple 1/4" slotting bit.
It's simple - just cut your corner joints and assemble the box. The run the router along the inside of the box, where you want the slot to be cut. There are only a few things to think about - you have to be careful when exiting the cut. Pull the bit away from the wood before you lift it up, or you'll end up cutting out an area of wood on the bottom that you shouldn't cut.
John said he did his machining on a router table, but I usually rout mine with a handheld router.
The slot that you wind up with has a rounded corner, matching the radius of the bit. You can either square off the slot with a chisel, or round the corners of the bottom panel. I prefer the latter.
See how the bottom has square corners, but the dado is rounded? I usually just trace the radius of the bit onto the corners of the bottom, and sand them on the stationary sander.
A perfect fit!
Once everything is sanded, it's time for the gluing process. It usually takes a lot of clamps, since you want your joint pulled tightly together in each direction.
I applied the glue with a small paintbrush, and felt like I was putting a very light coat on all the fingers, but you can see, there is still quite a bit of oozing out. I'd rather see that, than a dry joint.
Eight clamps on a small box - can you ever own TOO many clamps?
And finally, after the glue dried, I sanded down the fingers that were proud of the surface.
Is there anything easier to cut and more attractive than this joint?
With all the gluing surface, this corner joint is exceptionally strong. People can argue all they want in favor of dovetail joints, but I find the set-up time for machining them to be too labor intensive. I can set up my saw and cut finger joints in a matter of minutes, and they're every bit as strong and attractive.
Most of my weekend was spent teaching an intensive three day session of Basic Woodworking to a lovely woman from Wyoming. Her crash course in the woodshop armed her with enough tool experience, as well as hands-on building skills, for her to return home and start working on her own.
One thing that really strikes me about teaching is how many people fall in love with the router. Hey - what's not to love? It performs a variety of tasks in the shop - from cutting decorative edges, to machining joints, to carving - you name it, it can probably be done with a router.
Another student of mine (thanks, Doug!) sent me a link to this video below. It's awesome, and will give you a new appreciation for what a router can also do. I'm seriously thinking about building this device.
There's an interesting difference between being a potter and being a woodworker that most people don't consider. Woodworkers switch materials all the time, from job to job. Right now, I'm working on a cherry piece, but the next one I'll start is in oak. There isn't a significant difference; the adhesives and finishes are much the same, and it's not as if I have to change my sawblade if I've switched wood. Just a little cleaning with the air compressor and the changeover is complete.
But clay poses a different problem. For the last six years, I've used a deep brown clay body called Black Mountain. I love the way it fires to a chocolate brown color. But just as all things must change, I've started mixing some new glazes, and the bottom line is - the glazes I like simply look better on a lighter clay. I'm switching to a buff stoneware called Long Beach, which I've thoroughly tested and find works perfectly for my glaze palette.
Now many potters switch back and forth, but to me - it's a hassle. That means I have to clean everything from my canvas mats to my throwing tools, to my wheel. And since there is such a drastic color difference in the two clays I use, the slightest cross contamination really pops out.
So it's with some sadness that I used the very last of my Black Mountain clay this week. I've probably gone through several thousand pounds of it; not much by most potter's standards, but for me, that's a fair amount. I threw three pieces - two small pitchers and a tumbler, on the wheel, as my final farewell.
And now the changeover begins! Time to pack away all the old glaze tests, using that clay body.
A clean wheel!
And clean tools!
The plaster molds needed a little scrubbing and organization. And the glaze area needed some straightening out. There were all sorts of slips and unlabeled mixtures, all of which went into the trash.
As long as I've giving you a tour of my clay studio, here's something that most people ask about when visiting. Call me silly, but I save my cone packs. I just think they look cool.
And finally, my current sketch wall. Whenever I'm working on a project, I sketch it in full-size, or print it with my computer. At times, the wall can be crowded with dozens of drawings, but right now - the the new clay being introduced - most of the older drawings have been retired, and new ones are being added daily.


